Vegetables
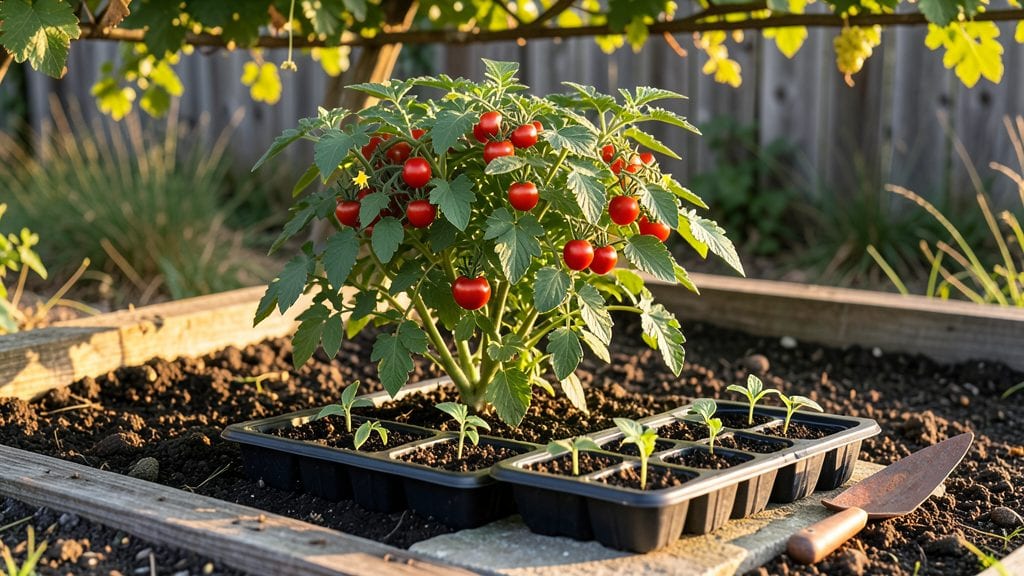
Terrace vegetable gardening turns tiny spaces into productive green zones where every inch counts. 🌱 I used to think rooftops and balconies were just for potted herbs—until I transformed a 6-by-10-foot terrace into a year-round salad bar with just a few smart containers and companion planting tricks.
The key is matching plants to their needs: leafy greens in shallow trays, tomatoes in sturdy 5-gallon pots, and carrots in deep fabric grow bags. Windproofing with trellises and cinder blocks keeps plants stable, while self-watering systems cut down on daily chores.
Even in Zone 5, my terrace yields more fresh produce than my backyard garden ever did.
You'll end up with a layout that maximizes sunlight exposure and minimizes wasted space—think vertical vines climbing trellises, bushy herbs in hanging pockets, and root crops nestled between larger plants. The best part? No more struggling with soil compaction or gopher problems that plague in-ground gardens.
Works for any balcony, rooftop, or elevated patio—even if you're renting. Here's how to design a terrace that feeds you, not the weeds.
📚 In This Guide
- What you need
- Instructions
- Tips and common mistakes
- Wrapping up and next steps
What you need
- ● Containers: 5–10+ pots or raised beds (12"–18" deep, with drainage holes). Pro tip: 💡 Opt for lightweight materials like fabric grow bags or recycled plastic bins to save space!
- ● Growing Medium: 2–3 cubic feet of high-quality potting mix per container (look for labels like "organic" or "vegetable garden mix").
- ● Drainage: Small gravel or broken pottery shards (1–2 inches per container) to prevent root rot.
- ● Watering Supplies: A watering can (1–2 gallons) or drip irrigation kit.
- ● Spray nozzle attachment for gentle watering.
- ● Fertilizer: Balanced organic fertilizer (e.g., 10-10-10 or compost tea) or slow-release granules.
- ● Seeds/Seedlings: Choose compact varieties like cherry tomatoes, leafy greens, or bush beans. Pro tip: ✨ Start with 3–5 plants per container for optimal yields!
- ● Support Structures: Small stakes, trellises, or cages (for vining plants like cucumbers or peas).
- ● Soil moisture meters to track hydration.
- ● Mulch (straw or shredded leaves) to retain moisture.
- ● Pest deterrents like neem oil or companion plants (e.g., marigolds).
- ● Portable greenhouse or frost cloth for cooler climates.
Step-by-Step instructions for terrace vegetable gardening
Turn your small space into a productive garden with these proven layouts.
🪴 Step 1: Choose and Prepare Containers
Start with containers that are at least 12 inches deep—shallow pots won’t support root growth for most vegetables. I like using 5-gallon buckets with drainage holes for root crops like radishes or wooden crates lined with landscape fabric for greens. Place containers where they’ll get 6+ hours of sunlight daily—a south-facing terrace gets the most light.
Line the bottom of each container with 2-3 inches of coarse gravel to improve drainage. This prevents soggy soil, which causes root rot. If using fabric-lined crates, secure the edges tightly so soil doesn’t escape when watering. I always test drainage first by filling the container with water and letting it drain completely—if it takes longer than 10 minutes, add more holes.
🌱 Step 2: Fill with Quality Soil and Plant
Fill containers with a mix of 50% potting soil and 50% compost—this gives roots both structure and nutrients. I avoid garden soil because it compacts in containers and drains too slowly. For 12-inch-deep containers, fill them to within 1 inch of the rim to allow room for watering.
Plant seeds or seedlings according to their spacing needs—leafy greens like lettuce can go 4 inches apart, while tomatoes need 18-24 inches between plants. Press the soil gently around each plant to remove air pockets, then water deeply until moisture reaches the bottom. You’ll know it’s soaked when water runs freely from the drainage holes.
☀️ Step 3: Arrange for Sun and Airflow
Group containers by sunlight needs—sun-lovers like peppers and tomatoes should face south, while shade-tolerant greens can go on the north side. I arrange mine in a staggered pattern so air circulates between plants, reducing humidity and fungal risks. Leave 6-12 inches of space between containers to allow easy access for watering and harvesting.
Rotate containers a quarter turn every week so plants grow evenly toward the light. You’ll notice leggy growth if one side gets too much sun—this is your cue to adjust their positions. For windy terraces, secure containers with stakes or weights to prevent tipping during storms.
💧 Step 4: Water and Fertilize Consistently
Water containers when the top inch of soil feels dry—this usually means every 1-2 days in hot weather. I water deeply in the morning so roots absorb moisture before the heat of the day. Avoid overhead watering after seedlings emerge—it spreads disease. Instead, use a watering can with a narrow spout to direct water at the soil.
Feed plants every 2-3 weeks with a balanced liquid fertilizer diluted to half strength. Over-fertilizing in containers burns roots, so I always check the soil moisture first—dry soil absorbs nutrients better. Mulch the surface with 1 inch of straw or shredded leaves to retain moisture and suppress weeds, but keep mulch 2 inches away from stems to prevent rot.
✂️ Step 5: Prune and Harvest Regularly
Pinch off flower buds on leafy greens like kale and Swiss chard to encourage bushier growth. For fruiting plants like tomatoes, prune suckers (the small shoots in the leaf axils) to direct energy to fruit production. I use clean, sharp scissors to make cuts just above a leaf node—this prevents disease entry points.
Harvest vegetables when they’re at peak flavor—leafy greens can be cut 1 inch above the soil and will regrow, while tomatoes should be picked when fully colored and slightly soft to the touch. Regular harvesting encourages more production, so I check containers daily during growing season. Store harvested veggies in the fridge for up to 5 days to keep them fresh.
Tips & tricks for perfect terrace vegetable gardening
Here's what I learned after years of trial and error with container gardening on my own terrace.
Container Depth Matters: In Step 1, when choosing containers, remember that 12-inch depth is the minimum for most vegetables. Root crops like radishes need this depth to develop properly, while shallower containers will stunt growth. I've found that 5-gallon buckets are perfect for many vegetables—they provide enough space while being manageable to move around. For larger plants like tomatoes, consider using fabric grow bags that can be hung vertically to save space.
Drainage Test Tip: That 10-minute drainage test in Step 1 is crucial. If water pools at the bottom after 10 minutes, your container needs more drainage holes. I've ruined several plants by ignoring this step—waterlogged roots lead to root rot faster than you'd think. For fabric-lined crates, make sure the fabric has holes too, or water will just pool underneath.
Soil Mixing Strategy: The 50/50 potting soil to compost mix in Step 2 is key for container gardening. I've learned that adding perlite or vermiculite (about 10% of the mix) improves aeration, especially for containers without much depth. This helps prevent compaction that can suffocate roots. Also, avoid garden soil—it compacts too much in containers and drains poorly.
Rotation Reminder: The weekly quarter-turn rotation in Step 3 makes a huge difference for even growth. I've seen plants grow lopsided when I forget to rotate them, especially in my south-facing terrace where one side gets more intense sunlight. This simple habit prevents leggy growth and ensures your plants develop evenly toward the light.
Pro Tips for Terrace Vegetable Gardening
- Here's what I learned after years of trial and error with container gardening on my own terrace.
- Container Depth Matters: In Step 1, when choosing containers, remember that 12-inch depth is the minimum for most veg...
- Drainage Test Tip: That 10-minute drainage test in Step 1 is crucial. If water pools at the bottom after 10 minutes, ...
Frequently asked questions
Got questions about terrace vegetable gardening? You’re not alone—let’s tackle the most common ones to help you grow with confidence!
What’s the best layout for a small terrace garden?
Opt for vertical gardening (wall planters, trellises) or square-foot gardening to maximize space. Use raised beds or tiered shelves for herbs, leafy greens, and compact veggies like tomatoes or peppers. Arrange taller plants (e.g., pole beans) at the back to avoid shading shorter crops.
When is the ideal time to start a terrace garden?
Start indoors 6–8 weeks before your last frost date for cool-season crops (e.g., lettuce, spinach). For warm-season veggies (tomatoes, peppers), wait until soil temps hit 60°F (15°C) or use containers to extend the season. In tropical climates, plant year-round with shade adjustments!
How do I keep terrace plants from drying out or overwatering?
Use self-watering containers or drip irrigation for consistency. Check soil moisture daily—stick your finger 1 inch deep; if dry, water thoroughly. Mulch with straw or coconut coir to retain moisture. Avoid watering leaves to prevent fungal diseases ().
What are the most common terrace garden pests, and how do I prevent them?
Watch for aphids, spider mites, and whiteflies on leafy greens. Use neem oil or insecticidal soap as a natural deterrent. Encourage beneficial insects like ladybugs by planting marigolds or basil. For slugs, set up beer traps or use copper tape around pots.
Can I grow vegetables in a terrace garden without soil?
Try hydroponics or aeroponics for space-saving, soil-free growing. Leafy greens (kale, Swiss chard) and herbs (basil, mint) thrive in nutrient-rich water solutions. Just ensure proper lighting (LED grow lights work well) and monitor pH levels (aim for 5.5–6.5).
Wrapping up and next steps
Terrace vegetable gardening proves that small spaces can yield big rewards—whether you’re balancing urban living or just maximizing your backyard! 🌱 With the right layout, materials, and a little creativity, you’ll enjoy fresh, homegrown produce year-round. Start small, stay consistent, and watch your green thumb grow!
Ready to dive in? Sketch your terrace plan today, gather your supplies, and take the first step toward a thriving garden. Your future harvest—and hungry neighbors—will thank you! 🍅✨