Tools
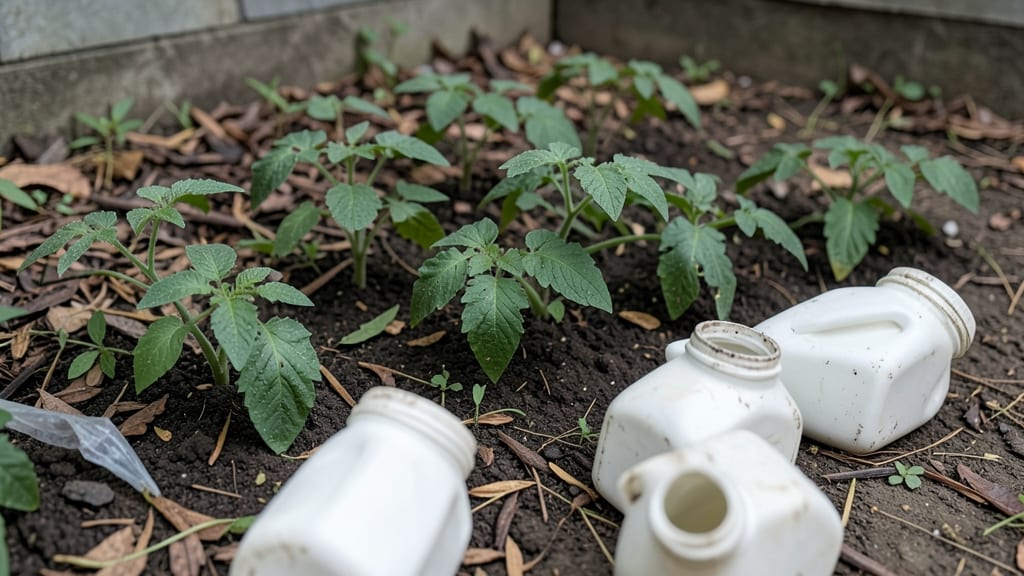
Turn empty milk jugs into thriving herb gardens this weekend—no fancy tools or deep pockets required. ✨ I’ve repurposed dozens of these containers, and they’ve become my go-to solution for small-space gardening, especially in tight balconies or windowsills where every inch counts.
The best part? You’re not just saving herbs—you’re reducing waste. Grab a pair of scissors, some potting mix, and a handful of seeds, and you’ll have a vertical garden that’s both functional and stylish.
Just drill a few drainage holes, fill with lightweight soil, and plant your favorite herbs like basil or parsley.
By summer’s end, you’ll be harvesting fresh leaves for cooking while watching your milk jugs transform into a lush, green display. The only challenge? Deciding which herbs to grow first—because once you start, you’ll want to try them all.
Works for urban apartments, small patios, or even hanging setups. Let’s get those jugs growing!
📚 In This Guide
- What you need
- Instructions
- Tips and common mistakes
- Wrapping up and next steps
What you need
- ● Plastic milk jugs: 2–4 (1-gallon size, cleaned and dried)
- ● Drill or sharp knife: For cutting drainage holes (¼-inch diameter)
- ● Potting soil: Lightweight, well-draining mix (1 bag, ~1 cubic foot)
- ● Herb seedlings or cuttings: 4–6 (basil, mint, parsley, or chives work great!)
- ● Watering can or spray bottle: For gentle hydration
- ● Scissors or pruning shears: To trim herbs and jugs
- ○ Hanging planter or sturdy hook: To mount jugs vertically (optional but helpful)
- ● Coffee grounds or compost: Boost soil nutrients (½ cup per jug)
- ● Moss or landscape fabric: Line jugs to prevent soil leaks
- ● Decorative paint or markers: Label herbs or jazz up jugs
- ● Trellis or twine: Support vining herbs like basil
Step-by-Step instructions for creating milk jug vertical gardens
Turn empty milk jugs into a thriving herb garden in under an hour—no green thumb required.
🪴 Step 1: Clean and Prepare Your Milk Jugs
Start by thoroughly cleaning 4 plastic milk jugs with warm, soapy water to remove any residue. Rinse well and let them dry completely—this prevents mold later. Once dry, use a sharp knife or box cutter to cut off the bottom 3 inches of each jug. This creates your planting area while keeping the top section intact for watering.
Leave the caps on for now. You'll use them to cover the drainage holes you're about to make. With a drill or heated nail, poke 4 small holes near the base of each cut-off section. These holes prevent root rot by letting excess water drain. Place the jugs upside-down in a bucket or tray to catch any runoff.
🌱 Step 2: Fill Jugs with Moistened Growing Medium
Fill each jug ¾ full with the 4 gallons of potting mix you've pre-mixed with 1 cup perlite. The perlite keeps the soil airy and prevents compaction. Moisten the mix with 1 cup of water per jug until it feels like a damp sponge—not soggy, just evenly damp. Press it down gently so the soil stays in place when you plant.
Here's the thing—don't pack it too tightly. You want roots to spread easily. If you press too hard, you'll create air pockets that stunt growth. A light tap on the jug's sides after filling helps settle the soil without compacting it.
✂️ Step 3: Plant Your Herbs Strategically
Remove 4 herb plants from their nursery pots and gently tease apart their roots if they're crowded. Plant them 1 inch deep in each jug, spacing them 2-3 inches apart from the jug's edges. Herbs like basil, parsley, and chives thrive in this setup. For taller herbs like dill, place them in the center of the jug to avoid shading smaller plants.
Water each plant lightly after planting to help settle the soil around the roots. Don't drown them—just enough to moisten the soil without creating puddles. You'll see new growth within 7-10 days if everything's right. Watch for leaves to perk up and stems to firm up as a sign you've got it right.
☀️ Step 4: Position and Water Your Vertical Garden
Hang your milk jugs in a location with 6+ hours of sunlight daily. A south-facing window, balcony railing, or deck works perfectly. If you're using the jugs outdoors, secure them with zip ties or hooks to prevent tipping. The bucket or tray underneath will catch any excess water, keeping your space clean.
Water your herbs every 2-3 days, checking the soil first. Stick your finger 1 inch deep—if it feels dry, it's time to water. Pour ½ cup of water into each jug's top section, then unscrew the cap to let it drain through the holes. This self-watering system keeps roots moist without overwatering. You'll know you're doing it right when the soil stays consistently damp but not waterlogged.
🌿 Step 5: Maintain and Harvest Your Herbs
Fertilize your herbs every 4 weeks with ½ cup of diluted liquid fertilizer (mixed per package instructions). This keeps them growing strong without burning tender roots. Pinch back leggy stems to encourage bushier growth. You'll notice new leaves forming within 2-3 weeks of regular care.
Harvest leaves as needed by snipping just above a set of leaves. This encourages more growth. Basil leaves are ready in 4-6 weeks, while parsley takes 6-8 weeks to reach full flavor. Watch for signs of pests like aphids—if you see them, spray with water or neem oil to keep your herbs healthy.
Tips & tricks for perfect milk jug vertical gardens
Here's what I learned after turning my kitchen into a mini herb farm using milk jugs—these tricks make all the difference.
Drainage is Everything: In Step 1, when making those 4 drainage holes, space them evenly around the base of each jug. I learned this the hard way—clustering holes on one side can cause uneven water flow, leading to soggy roots. Use a nail or drill bit slightly smaller than your pinky finger for consistent-sized holes.
Soil Texture Matters: When filling your jugs ¾ full with the potting mix in Step 2, don't skip the perlite! I've tried without it, and the soil becomes too dense, stunting root growth. For even better aeration, mix in 1 part perlite to 3 parts potting soil. After filling, give the jugs a gentle tap on the sides to settle the soil without compacting it—this creates perfect root space.
Light Placement Strategy: In Step 4, that 6+ hours of sunlight requirement is non-negotiable for herbs like basil and parsley. If your space only gets morning sun, rotate your jugs every few days to ensure even exposure. I placed mine on a rotating Lazy Susan for maximum flexibility—this prevents leggy growth and keeps all plants thriving equally.
Watering Wisdom: The 2-3 day watering schedule in Step 4 works best when you stick your finger 1 inch deep to check moisture. I've found that in hotter months, I need to water every 2 days, while cooler months might stretch to 3 days. The key is consistency—never let the soil dry out completely, but avoid soggy conditions that invite mold. The self-watering system really is genius once you get the hang of it!
Pro Tips for Milk Jug Garden
- Here's what I learned after turning my kitchen into a mini herb farm using milk jugs—these tricks make all the difference.
- Drainage is Everything: In Step 1, when making those 4 drainage holes, space them evenly around the base of each jug.
- Soil Texture Matters: When filling your jugs ¾ full with the potting mix in Step 2, don't skip the perlite!
Frequently asked questions
Got questions about turning old milk jugs into a thriving herb garden?
Here are answers to the most common ones to help you grow confidently—no green thumb required!
What herbs grow best in milk jug gardens?
Start with fast-growing, shallow-rooted herbs like basil, parsley, chives, thyme, and mint. Avoid deep-rooted plants like rosemary or dill—they’ll outgrow the space quickly. Pro tip: Use the jug’s bottom half for herbs and the top for leafy greens like lettuce!
How long does it take for herbs to grow in a milk jug?
Most herbs sprout within 7–14 days and are ready for harvest in 4–8 weeks, depending on the type. Basil and cilantro grow fastest, while parsley may take a little longer. Keep them in bright, indirect light (or a sunny windowsill) to speed things up!
How often should I water milk jug herbs?
Check soil moisture daily—jugs dry out faster than traditional pots. Water when the top inch feels dry, but avoid soggy soil (drain holes are key!). A spray bottle works well for delicate herbs like basil. Troubleshooting: Yellow leaves? You’re overwatering. Wilting? Time to hydrate!
Can I reuse milk jugs that held dairy or juice?
Yes! Rinse thoroughly with hot, soapy water, then sanitize with a 1:9 vinegar-water solution or bleach (1 tsp per gallon). Let them dry completely to prevent mold. Avoid plastic jugs labeled #3, #6, or #7—they may contain harmful chemicals. Recycling tip: Save jugs from milk, water, or soda for best results.
What if my herbs get leggy or stop growing?
Leggy herbs (long, weak stems) need more light. Move them to a sunnier spot or use a grow light. Trim the top leaves to encourage bushier growth. Yellowing leaves? Check for overwatering or nutrient deficiency—add a balanced liquid fertilizer every 4–6 weeks. Pests? Spray with neem oil or rinse with water.
What do I do with the jugs after the herbs are done?
Don’t toss them! Clean and reuse for seed starters, succulents, or even compost bins. Cut the jugs into fun shapes (like a mini greenhouse) or repurpose them as watering cans. Eco hack: Drill holes in the lid to create a self-watering system for next season!
Wrapping up and next steps
A milk jug garden is your ticket to lush, space-saving greens without breaking the bank or cluttering your space! With just a few household items and a dash of creativity, you’ve unlocked a mini herb haven that’s perfect for apartments, balconies, or even kitchen counters.
Whether you’re a seasoned gardener or a curious beginner, this project proves that growing your own food doesn’t require a green thumb—or a green space.
Now that you’re armed with tips and tricks, it’s time to roll up your sleeves and get planting! 🌱 Start small—pick one or two herbs to master, then expand your collection as your confidence grows.
Before you know it, you’ll be harvesting fresh basil for pesto or mint for mojitos, all while flexing your eco-friendly, budget-savvy gardening skills. Happy growing!