
Tools
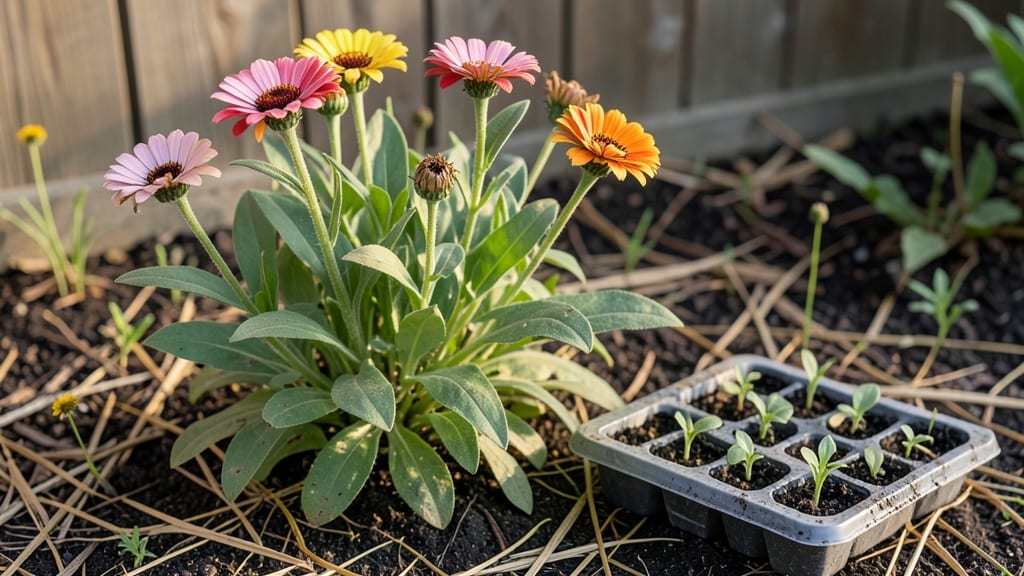
Learning to garden starts with a single seed and a willingness to get your hands dirty—no green thumb required. 🌱 I remember my first attempt: overwatered seedlings, weeds I didn’t recognize, and a tomato plant that looked more like a tree.
Yet somehow, those mistakes led to my first successful harvest, and now I’m here to help you skip the frustration and land on the right path from day one.
The basics boil down to five simple pillars: sun, soil, water, the right plants for your space, and a handful of tools that won’t break the bank. You don’t need a sprawling backyard—even a sunny windowsill or balcony can grow herbs, lettuce, or cherry tomatoes.
Start with easy winners like basil, radishes, or marigolds, and let your confidence grow as you go.
By the end of your first season, you’ll be pinching off spent blooms, troubleshooting wilting leaves, and maybe even sharing extras with neighbors. The real magic happens when you realize gardening isn’t about perfection—it’s about watching something grow because you made it happen.
And trust me, that first harvest tastes like victory.
We’ll cover the tools you’ll actually use, how to read a seed packet, and what to do when things go wrong (spoiler: it’s normal). Plus, I’ll point you to free resources—videos, forums, and even my own tried-and-true cheat sheets—to keep you growing without guesswork. Ready to dig in?
📚 In This Guide
- What you need
- Instructions
- Tips and common mistakes
- Wrapping up and next steps
What you need
- ● Garden plot or containers: 1–2 raised beds (4’x8’ or similar) OR 5+ large pots (10"+ diameter) with drainage holes.
- ● Soil: 1–2 cubic yards of high-quality potting mix (look for "organic" or "all-purpose" blends) or garden soil amended with compost.
- ● Basic tools: 1 hand trowel (5–6" stainless steel).
- ● 1 garden fork (for turning soil).
- ● 1 pair of pruning shears (bypass type for clean cuts).
- ● 1 watering can (2–5 gallon) OR a hose with adjustable nozzle.
- ● 1 pair of gardening gloves (nitrile-coated for durability).
- ● Seeds or seedlings: 3–5 easy-to-grow plants (e.g., lettuce, basil, marigolds, or cherry tomatoes). Start with seed packets (cheaper) or nursery seedlings (faster).
- ● Sunlight & water: A spot with 6+ hours of sunlight daily (check your zone’s needs!).
- ● Access to a water source (hose or rain barrel).
- ● Mulch (straw or shredded leaves) to retain moisture.
- ● Knee pad or small stool for comfort.
- ● Plant labels (or sticks + markers) to track your greens.
- ● Compost bin (for recycling kitchen scraps into soil booster!).
- ● Soil pH tester (or vinegar + baking soda DIY test).
- ● Bird netting (to protect seedlings from pests).
Step-by-step instructions for starting your first garden
Here's the simple, foolproof method I use with beginners to build confidence and avoid common mistakes.
🌱 Step 1: Choose the Right Location and Sunlight
Pick a spot that gets at least 6 hours of sunlight daily. Most vegetable gardens thrive in full sun, while herbs and flowers can tolerate partial shade. I always check the sun pattern for a week first—watch how shadows move across your yard at different times of day. You'll notice morning sun is gentler than afternoon heat, which can stress young plants.
Clear the area of weeds and debris, then mark your garden bed with stakes or spray paint. A 4-foot by 8-foot plot gives you plenty of room for 4 different plants. Avoid low-lying areas where water pools—roots need oxygen, not soggy soil. If your yard has poor drainage, consider raised beds instead.
💧 Step 2: Prepare the Soil for Plant Growth
Loosen the top 6-8 inches of soil with a garden fork or tiller. Break up any compacted areas so roots can spread easily. I find that working in a 2-inch layer of compost (like the kind you'd use for mulch) improves soil texture and fertility. Mix it in thoroughly—you should see dark, crumbly soil when you're done.
Test your soil's moisture by squeezing a handful. It should hold together when pressed but not be sticky. If it feels dry, water it until the top 4 inches are damp. If it's too wet, spread a 2-inch layer of coarse sand to improve drainage. A simple soil test kit (available at garden centers) helps identify pH and nutrient levels—most vegetables prefer a slightly acidic to neutral range around 6.0-7.0.
☀️ Step 3: Select and Plant Your First Plants
Start with easy-to-grow plants like lettuce, radishes, or marigolds. These tolerate beginner mistakes and grow quickly, giving you confidence. Plant seeds or transplants according to package instructions—usually 1/4 inch deep for seeds and twice as deep as the root ball for nursery plants. Space them according to the recommended distance (check the seed packet or plant tag).
Water gently after planting to settle the soil around roots. Use a watering can with a fine rose attachment to avoid disturbing seedlings. I like to water in the morning so plants have time to dry out during the day, reducing the risk of fungal diseases. Keep the soil consistently moist but not soggy—you'll know it's right when the top inch feels slightly damp to the touch.
🌿 Step 4: Maintain Your Garden Through the Growing Season
Water deeply 1-2 times per week, depending on rainfall and temperature. Aim for 1 inch of water per week, delivered slowly at the base of plants. You'll see healthy growth when leaves stay vibrant green and stems are firm. Yellowing leaves often mean overwatering, while crispy edges signal underwatering.
Remove weeds regularly—they compete with your plants for water and nutrients. I pull weeds when the soil is moist, as they come out more easily. Add a 1-inch layer of mulch** (like straw or wood chips) around plants to retain moisture and suppress weeds. Mulch also keeps soil temperatures stable, which is especially helpful in hot climates.
✂️ Step 5: Harvest and Learn for Next Time
Harvest vegetables when they reach their peak—like when tomatoes are firm and deep red or lettuce leaves are crisp. Use clean scissors or pruners to avoid damaging plants. You'll notice that regular harvesting encourages more production, so don't wait until everything is ready at once.
At the end of the season, remove spent plants and add them to your compost pile. Take notes on what worked and what didn't—like which plants thrived in your spot or which struggled with pests. This simple record-keeping helps you improve next year. Celebrate your first harvest—you've just grown your own food! That's the magic of gardening.
Tips & tricks for perfect planting success
Here's what I wish I knew when I first started gardening—simple tricks that'll help your plants thrive from the very beginning.
The Sunlight Secret: That 6 hours of sunlight is non-negotiable for most vegetables, but here's the thing: morning sun is gentler than afternoon heat. If you're in a hot climate, consider partial afternoon shade for delicate plants like lettuce. I always check sun patterns for a week first—watch how shadows move across your yard at different times of day. You'll notice the hottest part of your yard changes throughout the day.
Soil Prep Game-Changer: When loosening that top 6-8 inches of soil, don't just scratch the surface—really dig down to break up compacted layers. I like to use a garden fork because it's gentler on my back than a tiller. After adding your 2-inch layer of compost, mix it in until you see dark, crumbly soil. This isn't just about nutrients—it's about creating air pockets that roots need to breathe.
Planting Depth Trick: That 1/4-inch depth for seeds might seem shallow, but it's perfect for most vegetables. Here's my trick: use a toothpick to make small holes—it's faster and more precise than trying to measure with your finger. For transplants, dig a hole twice as deep as the root ball, then place the plant so the top of the root ball sits just below soil level. This prevents stem rot while encouraging strong root growth.
Watering Wisdom: The top inch damp test is your best friend. I always water in the morning because plants have all day to dry out, which prevents fungal diseases. For that 1 inch of water per week, I use a simple rain gauge or even a straight-sided container. Fill it with water, then place it in your garden—when the water level drops by 1 inch, you've watered enough. This prevents both underwatering and overwatering.
Pro Tips for Learn To Garden
- Here's what I wish I knew when I first started gardening—simple tricks that'll help your plants thrive from the very beginning.
- The Sunlight Secret: That 6 hours of sunlight is non-negotiable for most vegetables, but here's the thing: morning sun is gentler than afternoon heat.
- Soil Prep Game-Changer: When loosening that top 6-8 inches of soil, don't just scratch the surface—really dig down to break up compacted layers.
Frequently asked questions
Got questions about diving into gardening?
You’re not alone! Here are some of the most common queries—plus straightforward answers—to help you grow with confidence.
What’s the best time of year to start gardening for beginners?
Timing depends on your climate, but spring is ideal for most regions! Start seeds indoors 6–8 weeks before the last frost, then transplant seedlings outdoors. In warmer zones, fall is another great time. Check your local frost dates for a head start.
How much does it cost to start a beginner garden?
Costs vary, but you can start small for under $50. Prioritize soil, seeds, and basic tools (trowel, gloves, watering can). Skip expensive setups—repurpose containers, use free compost, or swap seeds with neighbors. Pro tip: Buy seeds from local nurseries to save on shipping!
What do I do if pests attack my plants?
Don’t panic! Start with prevention: healthy soil, proper watering, and companion planting (e.g., marigolds deter pests). For mild infestations, try neem oil or insecticidal soap. Severe cases? Handpick pests or consult a local extension service for organic solutions.
Can I garden in small spaces like apartments or balconies?
Container gardening
is perfect for small spaces. Use pots, vertical planters, or even window boxes for herbs, lettuce, or strawberries. Choose compact varieties (like cherry tomatoes or dwarf peppers) and ensure containers have drainage holes. Sunlight is key—place plants near south-facing windows or use grow lights.
What if my plants die over winter?
Many plants do die back in cold climates—but that’s normal! Perennials (like lavender or hostas) regrow in spring. For tender plants, move pots indoors or mulch heavily to protect roots. Start fresh in spring with cold-hardy seeds (e.g., kale, peas) or overwinter delicate plants in a greenhouse.
Still stumped? Join beginner gardening forums or ask your local nursery—every expert was once a newbie!
Wrapping up and next steps
You’ve got everything you need to start your gardening journey—knowledge, tools, and confidence! 🌱 Remember, every expert gardener began exactly where you are now: with a few seeds, patience, and a willingness to learn.
The key is to start small, stay consistent, and enjoy the process. Whether it’s a single herb pot or a full raised bed, your green thumb is closer than you think!
Ready to take the next step? Pick one plant to grow this week—maybe a resilient tomato, fragrant basil, or vibrant marigolds—and watch your garden (and skills!) flourish. Happy planting! 🌿