
Tools
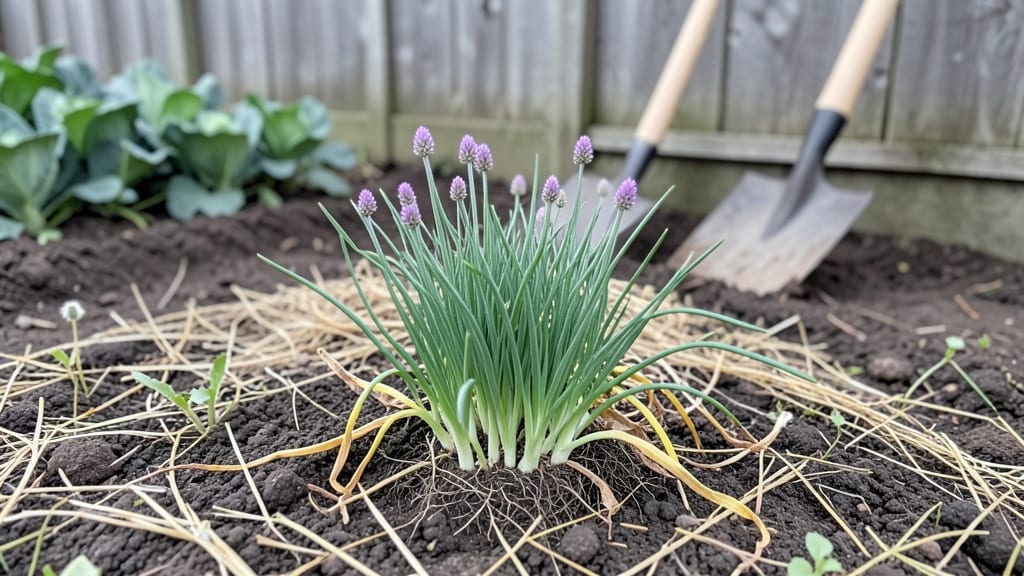
A level garden bed transforms uneven ground into a weed-free, high-yield growing space that actually works for you. 🌱 I spent years wrestling with sloped patches where water pooled in some spots and dried out others—until I built my first perfectly level bed.
The difference in plant health and harvest size was shocking.
You don’t need fancy tools or heavy machinery—just a few basics: a sturdy shovel, a 4-foot level, landscape fabric, and your choice of border materials (cedar planks, bricks, or even repurposed railroad ties).
The key is taking it slow: dig in small sections, check the level after each layer, and build up from the lowest point. Even a slight slope makes all the difference in water retention and root growth.
Once finished, you’ll have a bed where every plant thrives without fighting gravity. No more struggling with runaway weeds or uneven watering—just consistent moisture, even soil temperature, and a surface that’s easy to kneel on.
My zucchini vines now sprawl evenly, and my carrots grow straight instead of lopsided. The bed even stays cleaner because rainwater doesn’t create muddy ruts.
Works for vegetables, flowers, or even a pollinator-friendly border. Here’s how to make it happen without breaking your back or the bank—step by step, with the mistakes I made so you don’t have to repeat them.
📚 In This Guide
- What you need
- Instructions
- Tips and common mistakes
- Wrapping up and next steps
What you need
- ○ Garden bed frame (optional but recommended): Untreated wood (cedar or redwood for longevity): 4–8 pieces, 2x6 or 2x8 lumber, 8 ft long
- ● OR pre-cut raised bed kit (check dimensions for your space)
- ● Leveling supplies: 4–6 concrete blocks or gravel-filled pavers (for stability)
- ● 1–2 4-ft level (to ensure perfect flatness)
- ● String line or laser level (for marking height)
- ● Base layer (for drainage & weed barrier): Landscape fabric (3–4 ft wide, cut to fit bed dimensions)
- ○ Cardboard (10–20 sheets, for smothering weeds—optional but helpful)
- ● Filling materials: Garden soil (2–3 cubic feet per sq ft of bed depth)
- ● Compost (1–2 bags, for nutrient-rich topsoil)
- ○ Gravel or sand (1–2 bags, for drainage—optional)
- ● Fasteners & hardware: Exterior-grade screws or decking screws (2.5–3 inches long, 16–20 per bed)
- ○ Corner braces (4–8, for extra stability—optional)
- ● Safety & extras: Work gloves (to protect your hands)
- ● Wheelbarrow (for hauling materials)
- ● Measuring tape (for precise cuts)
- ○ Staple gun (to secure landscape fabric—optional)
Step-by-Step instructions for building a level raised garden bed
Here’s how to create a weed-free, high-yield garden bed that stays perfectly level for years.
🪴 Step 1: Mark and Excavate the Foundation
Use a garden hose or string line to outline your 4-foot square or rectangular bed (adjust size as needed). I recommend 12 inches deep for root growth and drainage. Once marked, remove sod and topsoil within the lines—this prevents weeds from creeping up later.
Dig down 4-6 inches deeper than your planned bed height (usually 6-12 inches tall). This creates space for landscape fabric or cardboard to block weeds. Smooth the bottom with a rake to ensure an even base—uneven spots now will show later when filling with soil.
🌱 Step 2: Add Weed Barrier and Support Layer
Lay landscape fabric or cardboard (remove tape/staples) over the excavated area to smother weeds. Overlap edges by 6 inches to seal gaps completely. For extra stability, add a 2-inch layer of gravel on top of the barrier—this improves drainage and prevents soil from washing out the bottom.
If building a wooden frame, assemble 2x6 or 2x8 boards (untreated cedar or redwood lasts longest) into a 6-12 inch tall rectangle. Secure corners with galvanized screws (not nails—they rust). For a 4-foot bed, use 4 boards per side to distribute weight evenly. Place the frame directly on the gravel layer.
☀️ Step 3: Fill with Soil in Layers
Start with a 2-inch layer of coarse sand or perlite at the bottom to improve drainage. Then, mix equal parts garden soil, compost, and peat moss (or coconut coir) to create loose, fertile fill. Fill the bed halfway and tamp down lightly with a board—this prevents settling later.
Add another 2-inch layer of compost on top, then fill the remaining space with your soil mix. Level the surface with a rake, checking diagonally with a 2-foot board for accuracy. If low spots remain, add soil; if high spots exist, scrape them down. Press firmly but don’t compact—roots need air.
✂️ Step 4: Finish and Prepare for Planting
Top the bed with a 1-inch layer of mulch (straw or shredded leaves work best) to retain moisture and suppress weeds. Water deeply until moisture reaches 6 inches down—this helps soil settle naturally. Let it sit 24 hours before planting to avoid disturbing the level surface.
Now’s the time to test your work: Place a level tool across the bed. If it’s perfectly flat, you’re ready to plant. If not, adjust with a shovel before proceeding. I like to add slow-release fertilizer now (like 10-10-10) to give plants a nutrient boost right away.
💧 Step 5: Maintain for Long-Term Success
Water deeply 2-3 times per week (until top 6 inches of soil feel moist) rather than daily shallow watering. This encourages deep root growth and prevents soil erosion. Check the bed’s level after each heavy rain—topsoil can shift if the frame isn’t sturdy.
Replenish mulch annually in early spring to keep weeds at bay. Every 2-3 years, add 1-2 inches of compost to the surface and mix lightly into the top layer. This keeps soil fertile without disturbing the bed’s structure.
Tips & tricks for building a perfect level raised garden bed
Building a level raised garden bed isn't just about digging holes—it's about creating a foundation that will last seasons and produce bountiful harvests. Here are the secrets I've learned after years of trial and error.
Foundation Precision: When you're marking your bed in Step 1, don't just eyeball it—use a level tool right from the start. I've seen beds that looked perfect at first glance but had subtle slopes that caused water pooling and uneven plant growth. Drive stakes at each corner and use string lines to create perfectly straight sides before you begin digging. This ensures your 4-foot square or rectangle stays true from day one.
Weed Barrier Secrets: The 6-inch overlap on your landscape fabric or cardboard in Step 2 is non-negotiable. I've seen weeds creep through gaps that seemed tiny at first. For extra insurance, especially in weed-prone areas, add a second layer of fabric under the gravel. This double barrier will save you countless hours of weeding later. And if you're using cardboard, make sure it's plain, untreated cardboard—no glossy or colored varieties that might contain chemicals.
Soil Layer Strategy: In Step 3, when you're filling halfway and then adding the compost layer, here's what I do: I mix my equal parts garden soil, compost, and peat moss right in a wheelbarrow before adding it to the bed. This ensures even distribution of nutrients throughout the entire bed. After adding the final soil layer, I go back with a rake and create subtle ridges every 12 inches—this helps with water distribution and prevents erosion during heavy rains.
Level Testing: The 24-hour waiting period in Step 4 isn't just about letting the soil settle—it's your final chance to get everything perfect. After that time has passed, I test the level again with my tool. If you find any imperfections, now's the time to fix them before planting. I've found that most leveling issues appear after the initial settling, so don't skip this crucial step. And if you're adding that slow-release fertilizer, sprinkle it evenly over the surface before your first planting—it'll work its magic as roots grow.
Pro Tips for Level Garden Bed
- Building a level raised garden bed isn't just about digging holes—it's about creating a foundation that will last seasons and produce bountiful harvests.
- Foundation Precision: When you're marking your bed in Step 1, don't just eyeball it—use a level tool right from the start.
- Weed Barrier Secrets: The 6-inch overlap on your landscape fabric or cardboard in Step 2 is non-negotiable.
Frequently asked questions
Got questions about creating or maintaining a level garden bed? You’re not alone! Here are answers to the most common concerns—so you can get growing with confidence.
What’s the best time of year to build a level garden bed?
Spring or early fall are ideal! Avoid extreme heat or freezing temps, which can make soil work harder. If you’re in a mild climate, year-round is fine—but spring ensures soil has time to settle before planting. Pro tip: Build beds 4–6 weeks before planting to let soil decompose and warm up naturally.
How do I fix an uneven level garden bed after building it?
Use a 4-foot level to check for dips or peaks. For minor fixes, add or remove soil in small increments. For bigger issues, top with a thin layer of compost or sand to smooth it out. Pro tip: Walk the bed after filling—if your foot sinks, add more soil or tamp it down lightly.
Can I use a level garden bed for vegetables, or is it just for flowers?
Level garden beds are perfect for vegetables, herbs, and even small fruits like strawberries. The key is proper spacing—root crops (carrots, potatoes) need loose soil, while leafy greens (lettuce, spinach) thrive in nutrient-rich beds. Pro tip: Mix in compost or aged manure for a high-yield harvest.
Why are weeds still growing in my level garden bed?
Weeds often sneak in through soil, mulch, or windborne seeds. To prevent them:
- Use landscape fabric under beds (with cutouts for plants).
- Apply mulch (straw or wood chips) to block sunlight.
- Hand-pull weeds early before they seed.
Are level garden beds more expensive than in-ground planting?
Not necessarily! While materials (wood, soil, compost) add upfront costs, they save money long-term by reducing water, fertilizer, and weed-control expenses. DIY beds with recycled materials (cinder blocks, pallets) can cut costs further. Pro tip: Buy soil in bulk or source free compost from local farms.
Wrapping up and next steps
A level garden bed isn’t just a smart upgrade—it’s a game-changer for effortless gardening and bountiful harvests. 🌱 By eliminating slopes and weeds while improving drainage and accessibility, you’re setting yourself up for less work and more rewards.
Whether you’re a seasoned green thumb or a beginner, this project is totally doable with the right tools and a little patience.
Ready to transform your garden? Start small—pick a sunny spot, gather your materials, and dive in! Your future self (and your veggies) will thank you.