Picking
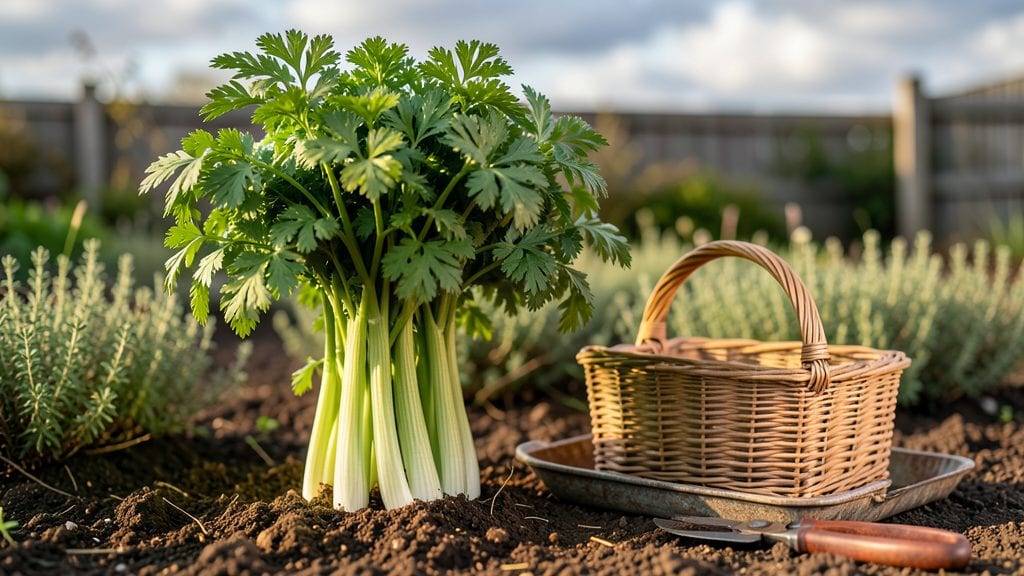
Harvesting garden celery at the right time turns your summer kitchen into a flavor powerhouse 🥬 — but one wrong cut means tough, bitter stalks that ruin even the best recipes.
Nothing beats the satisfaction of snapping crisp, homegrown celery straight from your garden—but timing is everything. Pick too early, and you’ll sacrifice flavor and texture; wait too long, and you risk tough, woody stems that even the best recipes can’t save.
Celery thrives in USDA Zone 6a when planted in February-March or July-August, with harvests peaking in May-June or October-November. The secret? Watch for stalks 12-18 inches tall with tightly packed, deep green leaves—those are your cues for peak crunch and sweetness.
In this guide, I’ll walk you through the exact visual signs to look for, how to cut without damaging future growth, and even how to revive wilted celery later. Let’s make sure every bite delivers that perfect garden-fresh snap.
When to harvest garden celery for maximum crunch and flavor
Harvesting garden celery at the right time transforms your kitchen into a flavor powerhouse—crisp, juicy stalks packed with earthy sweetness. But timing is everything: harvest too early, and you’ll get thin, bitter stalks; wait too long, and the fibrous texture turns woody.
The key lies in watching for visual maturity cues and understanding your climate’s seasonal rhythm.
Most garden celery varieties reach harvest readiness after 120–150 days from seed, but this varies by cultivar and growing conditions. For example, ‘Utah Improved’ or ‘Tall Utah’ typically mature faster (around 100–120 days) than heirloom types like ‘Golden Self-Blanching’, which may take up to 150 days.
Your local last frost date also plays a role—spring plantings should be ready by late May to June, while fall crops may extend into October or November.
| Harvest Stage | Days to Maturity | Stalk Diameter | Leaf Color | Best Months | Climate Notes |
|---|---|---|---|---|---|
| Baby Celery | 60–90 days | 1–2 inches | Light green | April–May (spring) or Sept (fall) | Mild climates; avoid frost |
| Prime Harvest | 120–150 days | 6–8 inches | Deep green | May–June (spring) or Oct–Nov (fall) | Cool nights, warm days |
| Overripe | 150+ days | 8+ inches | Yellowing leaves | July (spring) or Dec (fall) | Woody, bitter; harvest too late |
To nail the perfect harvest, focus on three visual cues: stalk diameter, leaf color, and overall firmness. Ideal celery stalks should measure 6–8 inches in diameter at the base, with tightly packed leaves that are a vibrant dark green.
If you gently squeeze a stalk and it feels firm but flexible (not brittle), it’s ready. A telltale sign of maturity is when the outer leaves start yellowing—this means the core is fully developed and flavorful.
Climate plays a surprising role in harvest timing. In hot, dry regions, celery may mature faster due to stress-induced bolting, while cool, wet climates can delay ripening.
If your area experiences high summer temperatures (above 85°F), consider planting shade cloth or opting for self-blanching varieties like ‘Golden Self-Blanching,’ which tolerate heat better.
Conversely, in northern climates, extend the season by starting seeds indoors 10–12 weeks before last frost and using row covers to protect young plants.
One common mistake is harvesting celery based solely on days after planting. While this is a good starting point, it’s better to check stalks weekly after 90 days. Look for tightly clustered stalks that feel heavy for their size—this indicates high moisture content and peak crunch.
If you’re unsure, cut one stalk at the base and taste it. Sweet, crisp flavor means it
Step-by-step guide to harvesting celery without damaging future growth
Harvesting celery correctly ensures you get the crispest stalks while giving your plant a chance to regrow for a second harvest. The key is using the right cutting technique and timing—especially if you want to extend your harvest season.
I’ve learned that partial harvesting can work wonders, but only if done properly. Let’s dive into the exact steps to avoid common mistakes like bolting or yellowing leaves that signal stress.
Before you grab your shears, gather your harvesting tools. A sharp pruning knife or clean scissors is essential to make clean cuts that heal quickly. You’ll also want a bucket of water to submerge freshly cut stalks—this keeps them crisp for up to a week.
Avoid pulling stalks by hand, as this can damage the root system and stunt future growth. Now, let’s walk through the process step by step.
How to Harvest Celery Without Damaging the Plant
- Step 1: Choose the Right Stalks
Select the thickest, firm stalks that are 12-18 inches tall with a 6-8 inch diameter. These are ready for harvest while leaving smaller stalks to mature.
- Step 2: Cut at the Base
Use your pruning knife to cut the stalk 1 inch above the soil line. Angle the cut slightly downward to prevent water from pooling on the stem, which can cause rot.
- Step 3: Submerge in Water
Immediately place cut stalks in a bucket of cool water to maintain crispness. Change the water every 2-3 days to prevent bacterial growth.
- Step 4: Fertilize for Regrowth
After harvesting, apply a balanced fertilizer (like 5-10-10) to encourage new growth. Water deeply to help the plant recover and produce a second harvest in 4-6 weeks.
- Step 5: Monitor for Stress
Watch for signs of bolting (tall flower stalks) or yellowing leaves, which indicate stress. If this happens, reduce water slightly and provide afternoon shade to protect the plant.
If you’re harvesting baby celery for salads or garnishes, you can snip the outer stalks first while leaving the center to grow. This method works best for loose-leaf varieties like ‘Utah’ or ‘Golden Self-Blanching.’
For tight-head varieties like ‘Tall Utah,’ harvest the entire head when mature to avoid woody texture. Remember, celery is a cool-season crop, so plan your harvests before hot summer temperatures trigger bolting.
Storing harvested celery properly is just as important as the harvest itself. After cutting, trim the leaves and roots and store the stalks in a sealed plastic bag in the crispest drawer of your fridge.
For long-term storage, freeze blanched celery in airtight containers. If you notice wilting after harvest, submerge the stalks in ice water for 30 minutes to revive them—this trick works like magic!
One common mistake I see is over-harvesting too early in the season. Celery needs time to establish a strong root system before you can expect regrowth. If your plant looks stressed after harvesting, give it a week of recovery with extra water and shade.
And if you’re growing celery in containers, be extra gentle—root systems are more delicate, and over-harvesting can lead to plant decline.
With these steps, you’ll enjoy crisp, homegrown celery all season long while keeping your plants happy and productive. Happy harvesting! 🥬✂️