Tools
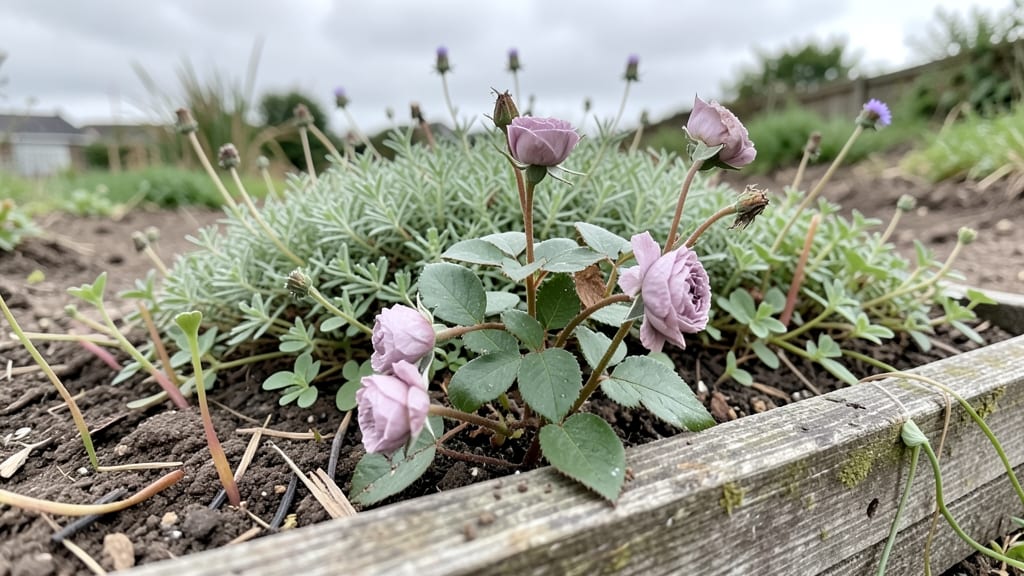
A fairy garden bed transforms a corner of your yard into a tiny, magical world where moss carpets the ground and delicate flowers bloom just for the fairies. 🌿 I built mine after seeing how a single 12-inch container could become a lush, storybook scene—complete with winding paths, miniature bridges, and plants that feel alive even at half-inch scale.
The secret isn’t just the tiny furniture or painted mushrooms; it’s the way the greenery makes the whole thing feel like a living fairy village, not a dollhouse.
You’ll need a shallow container (anything from a repurposed teacup to a 12-inch-wide trough), lightweight soil mix, small pebbles for pathways, and plants like sweet alyssum, miniature hostas, or creeping thyme. The materials list is surprisingly short—most things can be found at craft stores or even your own backyard.
My first garden used thrifted figurines and salvaged bark chips, and it still looks just as charming today as it did three years ago.
What you end up with is a garden that feels like a secret escape—vibrant green moss underfoot, jewel-toned flowers, and hidden nooks that invite exploration. The best part? It grows with you.
As plants mature, you’ll tweak the design, adding new elements or adjusting the layout to keep that whimsical feel. Even in full sun or partial shade, the right plant choices make it thrive without fuss.
Works for any space, from apartment balconies to backyard corners, and adapts to themes like woodland, cottagecore, or even desert oases. The only rule? Let your imagination run wild—fairies don’t follow instructions, after all.
📚 In This Guide
- What you need
- Instructions
- Tips and common mistakes
- Wrapping up and next steps
What you need
- ● Container: A shallow, wide planter (12"–24" diameter) or a repurposed tray (e.g., wooden box, ceramic dish, or even a vintage teacup!).
- ● Soil: Well-draining potting mix (2–3 gallons, depending on container size). Pro tip: Mix in perlite or sand (10–20%) for extra drainage!
- ● Miniature Plants: Succulents (e.g., hens & chicks, sedum) – 3–5 small plants for texture.
- ● Moss (sheet or peat) – 1–2 handfuls for soft, lush coverage.
- ● Tiny ferns or ivy – 1–2 plants for trailing greenery.
- ● Decorative Elements: Pebbles or gravel – ½ cup for pathways or base layer.
- ● Miniature logs or stones – 3–5 pieces for fairy seating or borders.
- ● Tools: Small hand trowel or spoon.
- ● Spray bottle (for misting plants).
- ● Scissors (for trimming moss or plants).
- ● Fairy-themed decor: Tiny mushrooms, acorns, or painted pebbles.
- ● Lighting: Solar-powered fairy lights or LED tea lights (battery-operated).
- ● Weatherproof sealant (for outdoor containers).
- ● Custom backdrop: A painted backdrop or sheer fabric for depth.
Step-by-Step instructions for building your fairy garden bed
Here's how to create a magical miniature world that thrives with real plants and hidden charm.
🪴 Step 1: Prepare Your Base Layer
Start with a sturdy 12-inch deep container or garden bed—fairy gardens need depth for roots and drainage. Line the bottom with 2 inches of small gravel or pebbles to prevent waterlogging. This layer mimics natural soil stratification and keeps moisture from pooling at the roots.
Next, add 4 inches of lightweight potting mix mixed with 1 part perlite. Fairy gardens use tiny plants, so the soil must be fluffy enough for delicate roots to spread. Tap the container gently to settle the mix without compacting it. You want it to feel like damp sand—not packed like clay.
🌱 Step 2: Design Your Landscape
Sketch a rough layout on paper first. Fairy gardens thrive with height variation—place larger elements like miniature rocks or a tiny bridge at the back, then layer smaller elements forward. I like to create a winding path with 1-inch diameter pebbles to guide fairy footsteps.
Add 1-2 inches of decorative sand or moss to cover the base layer and create natural-looking paths. Press it lightly to secure it, but leave room for plants. The goal is to mimic a forest floor where fairies might hide—uneven textures add realism. Avoid smooth surfaces; fairies need places to tuck away their treasures!
☀️ Step 3: Plant Your Miniature Flora
Choose dwarf varieties like miniature ferns, moss roses, or tiny succulents—they stay small and fit the scale. Plant them in clusters of 3-5 to mimic natural groupings. Use a toothpick or skewer to make tiny holes just ½ inch deep—fairy plants need gentle handling.
Space them 2-3 inches apart to allow airflow. Press soil lightly around each plant but don't pack it down. Water gently with a spray bottle until the soil is evenly moist—no puddles! Fairy gardens dry out faster than regular beds, so I water mine every 2-3 days in summer, checking when the top inch feels dry.
✂️ Step 4: Add Whimsical Touches
Now for the magic! Place miniature furniture, tiny mushrooms, or handmade fairy doors throughout. I like to hide a few "fairy surprises"—like a ½-inch acorn cap with a painted face—to spark imagination. Use superglue or hot glue> to secure larger decorations, but leave smaller items loose for a natural look.
Add 1-2 inches of decorative mulch around plants to keep moisture in and weeds out. Choose mulch that matches your theme—pine needles for a forest, smooth pebbles for a beach. Finish by adding tiny twigs or bark pieces> to create texture and hide the edges of your container. Fairy gardens should look like they've been there for centuries!
💧 Step 5: Maintain Your Enchanted Space
Water your fairy garden in the morning so moisture evaporates by evening. Use a spray bottle for delicate plants—fairies wouldn't use a hose! Feed with ½-strength liquid fertilizer> every 4-6 weeks> during growing season. I also prune leggy plants with tiny scissors to keep the fairy world tidy.
Rotate your garden a quarter turn weekly> so all sides get even light. Fairy gardens grow best in partial shade>—direct sun can scorch tiny leaves. If you notice yellowing, move it to a spot with morning sun and afternoon shade. With proper care, your fairy garden will stay vibrant and magical for years!
Tips & tricks for perfect fairy garden beds
Creating a magical miniature world takes attention to detail—here's what I've learned to make yours truly enchanting.
The Base Layer Secret: Don't skip the 2-inch gravel layer in Step 1—it's your fairy garden's secret plumbing system. This drainage layer prevents root rot and mimics how water would flow in nature. I've seen gardens fail when people skip this step and end up with soggy, unhappy plants. Use pea gravel or small river rocks for that natural look.
Soil Texture Matters: When mixing your 4 inches of potting soil with perlite in Step 1, aim for a texture like damp sand. Press it gently but firmly—you want it to hold its shape when you tap the container, but not be packed like clay. Think "fairy-sized fluffiness"! This prevents compaction that would strangle delicate roots. I like to test it by poking my finger in—it should leave a slight indent that springs back slowly.
Plant Placement Pro Tip: In Step 3, when creating those 3-5 plant clusters, think about how fairies would arrange their garden. Place taller plants like miniature ferns at the back and shorter ones like moss roses in front. This creates natural depth and makes your garden feel like a real miniature landscape. I also like to leave small gaps between clusters—fairies need hiding spots too!
Whimsy Without Overcrowding: In Step 4, resist the urge to cram in every decoration at once. Leave breathing room between elements—fairies need space to move around their magical kingdom. I like to place decorations along the edges first, then fill in the center last. This creates a more natural, layered look that feels intentional rather than cluttered.
Pro Tips for Fairy Garden Bed
- Creating a magical miniature world takes attention to detail—here's what I've learned to make yours truly enchanting.
- The Base Layer Secret: Don't skip the 2-inch gravel layer in Step 1—it's your fairy garden's secret plumbing system.
- Soil Texture Matters: When mixing your 4 inches of potting soil with perlite in Step 1, aim for a texture like damp sand.
Frequently asked questions
Got questions about creating your own fairy garden bed? You’re not alone! Here are some of the most common queries—and their straightforward answers—to help you bring your magical mini-world to life.
When is the best time of year to start a fairy garden?
The best time depends on your climate! In most regions, spring or early fall are ideal—soil is workable, temperatures are mild, and plants thrive. Avoid extreme heat (which dries out soil) or frost (which can damage delicate structures). If you’re in a warm climate, winter can work too!
How often should I water a fairy garden?
Fairy gardens need consistent moisture, but avoid soggy soil. Water lightly every 2–3 days (or daily in hot weather), focusing on the base. A self-watering tray or drip irrigation can help maintain humidity. Check soil moisture with your finger—if the top inch feels dry, it’s time to water!
Can I use regular garden soil for my fairy garden?
Not ideal! Fairy gardens thrive in well-draining, nutrient-rich soil. Mix 50% potting soil, 30% perlite or sand, and 20% compost for the perfect blend. Avoid heavy garden soil—it compacts easily and suffocates tiny roots. For extra flair, add a layer of orchid bark for texture!
What do I do if pests invade my fairy garden?
Even tiny gardens can attract bugs! For aphids or slugs, spray with neem oil or introduce beneficial insects like ladybugs. Ants? Sprinkle diatomaceous earth around the edges. Prevent future issues by keeping the area clean and dry, and avoid overwatering.
What are some easy alternatives to moss for ground cover?
Moss is classic, but not always practical! Try these low-maintenance options:
- Peat moss or coconut coir – Holds moisture and mimics moss.
- Fine gravel or sand – Adds texture and prevents erosion.
- Miniature succulents or sedum – Drought-tolerant and adorable.
- Crushed eggshells or broken pottery – Doubles as decoration!
Pro Tip:
Struggling with drainage? Drill tiny holes in the bottom of your container (if using one) or layer pebbles or broken terracotta at the base before adding soil. This keeps roots happy and prevents root rot—critical for fairy garden longevity!
Wrapping up and next steps
Creating your own fairy garden bed is more than just a charming hobby—it’s a magical way to blend creativity, nature, and relaxation! Whether you’re a seasoned gardener or a beginner, these miniature landscapes offer endless possibilities to express your imagination while nurturing greenery in a tiny, enchanting space. 🌿✨
Now that you’re armed with materials, tips, and answers to common questions, it’s time to roll up your sleeves and start building. Grab your tools, gather your supplies, and let your fairy garden flourish—one tiny detail at a time. Happy crafting!