
Vegetables
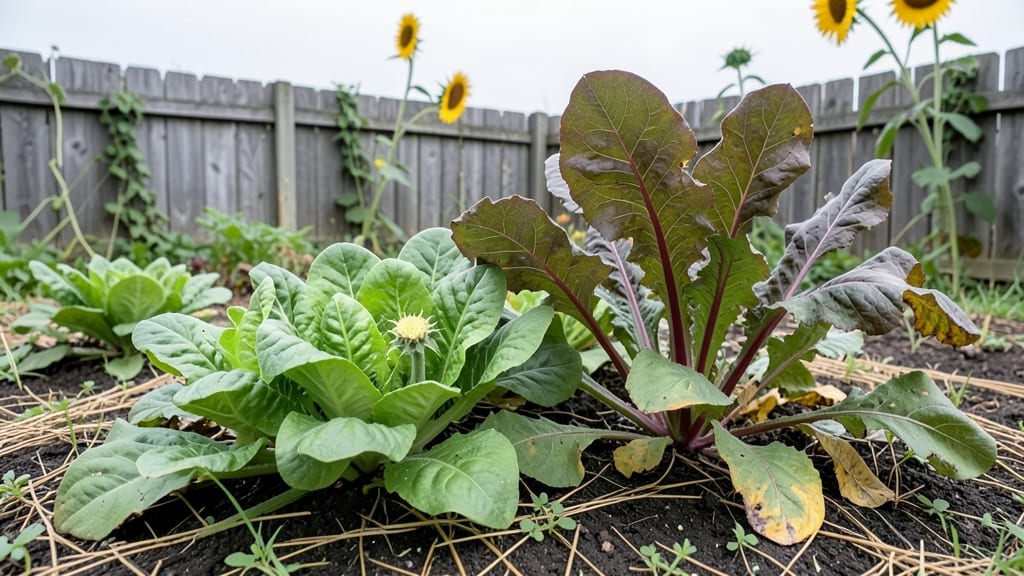
Community garden pics shine brightest when you shoot raised beds from above, spotlighting colorful harvests and the hands working together in the dirt. Natural light, soft focus, and warm filters make every shot feel alive with energy and purpose.
Great community garden pics aren't just about pretty plants—they tell stories of teamwork and seasonal change. 🌱 I always look for dynamic angles that show both the big picture (like a row of heirloom tomatoes) and the little details (a gardener's calloused hands holding a freshly picked carrot).
The key is balancing wide shots of the entire plot with close-ups of textures—whether it's the velvety leaves of Swiss chard or the rough bark of a fruit tree. This dual approach creates depth that makes viewers feel like they're standing right there in the garden.
Lighting plays a huge role too. Golden hour—just after sunrise or before sunset—gives everything that warm, inviting glow that makes gardens look even more vibrant. If you're shooting midday, try diffusing harsh shadows with a reflector or simply wait for a cloudy day when the light softens naturally.
And don't forget to include people! A volunteer kneeling to plant seeds or a kid holding a basket of radishes adds that human connection that makes these photos truly special.
💡 In This Article
- Photography Techniques for Stunning Garden Composition
- Best Camera Settings for Community Garden Photography
Photography techniques for stunning garden composition
Leading lines are your secret weapon for guiding the viewer's eye through the garden's story. Think of garden paths, wooden fence pickets, or even the natural curves of plant rows as visual highways.
A 20-foot row of sunflowers creates a dramatic diagonal line that draws attention toward the center of your shot, while a winding gravel path can add depth and movement.
The key is positioning these lines to lead toward your main subject—whether it's a volunteer's hands in the soil or a cluster of ripe tomatoes. This technique works because our brains naturally follow straight lines and curves, creating a sense of journey through the image.
Applying the rule of thirds transforms static garden scenes into dynamic compositions. Divide your frame mentally into a 3x3 grid, placing the horizon line along one of the horizontal thirds or positioning key elements at the intersections.
For example, placing a gardener's face at the upper third intersection creates immediate visual interest, while positioning a raised bed along the vertical third emphasizes its rectangular shape.
Studies show our eyes naturally gravitate to these intersection points, making them ideal for highlighting focal points like vibrant flowers or fresh harvests. 🌿 Try shooting a wide shot of the entire garden with the main path intersecting the lower third—this creates balance while maintaining a sense of movement.
Macro shots reveal the hidden beauty of garden textures that wide-angle lenses might miss. Focus on details like the velvety surface of a raspberry leaf, the intricate patterns of a dandelion seed head, or the delicate veins in a basil leaf.
A 100mm macro lens lets you fill the frame with these textures, creating images that feel like tiny worlds. The shallow depth of field (around f/2.8-f/4) blurs the background, making your subject pop against a soft bokeh effect.
This technique works particularly well for showcasing seasonal changes—compare the fuzzy texture of spring peas with the rougher surface of winter squash skins to create striking before-and-after visuals.
Balancing foreground and background requires careful layering to create depth. Start by identifying your main subject (like a gardener at work) and then add complementary elements in front and behind.
For instance, place a basket of fresh herbs in the foreground to frame your subject, while allowing a row of corn stalks to extend into the background.
The 1:3 ratio works well—place your foreground element about one-third of the frame from the bottom, leaving two-thirds for your main subject and background. This creates a natural sense of space while maintaining visual interest throughout the entire image.
Seasonal color contrasts elevate your garden photography from ordinary to extraordinary. In spring, pair the soft pinks of peonies with the deep greens of emerging foliage, while summer offers vibrant reds of tomatoes against the purple blooms of eggplants. Autumn's warm oranges and yellows create stunning backdrops for cool-toned kale.
Use color theory to your advantage: complementary colors (like red and green) create visual tension, while analogous colors (like blue and purple) create harmony. 🌈 Try shooting during the blue hour (just after sunset) when warm garden colors contrast beautifully against the cool evening sky.
Don't overlook the power of negative space in your compositions. A single tomato vine sprawling across an empty wooden table creates a minimalist yet powerful image that emphasizes the plant's organic form. Or frame a gardener's silhouette against a bright blue sky to create a striking contrast.
The 50-50 rule works well here—leave half the frame as empty space to draw attention to your main subject. This technique creates visual breathing room that makes your garden subjects stand out more dramatically.