
Tools
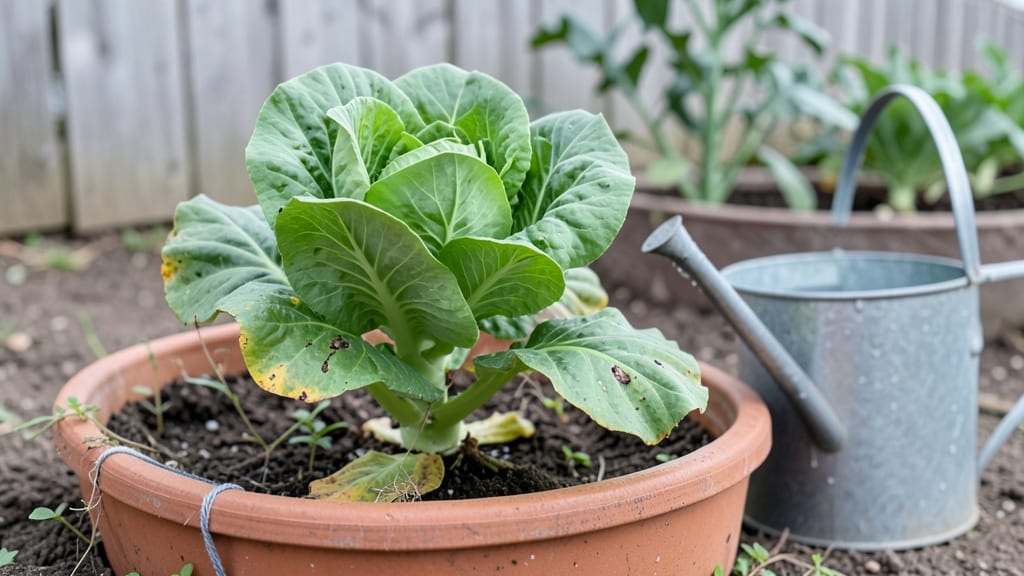
A wicking bed garden keeps plants thriving with less water and fewer weeds than traditional beds. 🌱 I built mine last spring after struggling with drought-prone summers, and it’s transformed how I garden—no more wilting herbs or overwatered soil.
The self-watering system works like a sponge, drawing moisture up from the bottom, which means deeper roots and stronger plants.
The beauty of wicking beds is their versatility—whether you’ve got a tiny balcony or a sprawling backyard, they adapt. My setup uses cedar wood for the box, landscape fabric as a barrier, and pebbles at the bottom to promote drainage.
You can grow everything from lettuce to lavender, and because weeds struggle to take root in the moist environment, maintenance becomes a breeze.
By summer’s end, you’ll have a lush, low-maintenance garden that stays vibrant even during heatwaves. The soil stays consistently moist, roots grow deeper, and you’ll spend less time watering and more time enjoying the results. Plus, the setup is surprisingly simple—no fancy tools or expertise required.
Perfect for small spaces, vegetable patches, or ornamental gardens, wicking beds make sustainable gardening accessible. Here’s how to get started without the overwhelm—no green thumb needed!
📚 In This Guide
- What you need
- Instructions
- Tips and common mistakes
- Wrapping up and next steps
What you need
- ● Wicking bed frame: 4x untreated cedar, redwood, or composite lumber boards (4"x4" or 6"x6", at least 12" tall; adjust length/width to your garden size).
- ● Landscape fabric: 1 roll (3'–4' wide, heavy-duty, UV-stabilized; covers the bed’s base).
- ● Gravel: 2–3 bags (½"–1" pea gravel or river rock; ~2" deep layer for drainage).
- ● Coir or burlap: 1 roll (biodegradable, 3'–4' wide; for moisture retention).
- ● Soil: 1–2 cubic yards (high-quality potting mix or "wicking soil blend"; ~12" deep).
- ● PVC pipes or perforated tubing: ½"–1" diameter, 10' length (for water distribution).
- ● Water reservoir: 5–10 gallon container (food-grade plastic or fabric; placed at one end).
- ● Tools: Circular saw or handsaw
- ● Drill with screws (2" deck screws or galvanized nails)
- ● Staple gun (for fabric)
- ● Level
- ● Shovel and rake
- ● Drip irrigation kit: For automated watering.
- ● Hardscape edging: Stone or metal borders to define the bed.
- ● Mulch: Straw or wood chips (top layer to reduce evaporation).
- ● Thermometer/hygrometer: Monitor soil moisture/temp.
- ● Pre-planted seedlings: Herbs, veggies, or flowers (wicking beds thrive with drought-tolerant plants!).
Step-by-step instructions for building a wicking bed garden
Here’s how I assemble a wicking bed that stays moist, weed-free, and productive all year—no extra watering required.
🪴 Step 1: Select and Prepare the Container
Choose a sturdy, weather-resistant container that’s at least 12 inches deep to accommodate the layered system. I prefer cedar or plastic because they resist rot and won’t leach chemicals into the soil. For a 4-foot by 4-foot bed, a 2-inch thick plywood frame works perfectly, lined with landscape fabric to prevent soil loss through the seams.
Drill ¼-inch drainage holes along the bottom edge—this ensures excess water can escape while the wicking action retains moisture. Line the interior with landscape fabric, stapling it securely to the sides and bottom. This keeps soil layers distinct and prevents fine particles from clogging the wicking material.
💧 Step 2: Layer the Wicking System
Start with a 2-inch layer of gravel at the bottom—this creates a reservoir for water. I use ½-inch to ¾-inch washed river rock because it drains efficiently while allowing capillary action to pull moisture upward. Next, place a landscape fabric layer over the gravel to separate it from the soil above and prevent clogging.
Add a 2-inch layer of coconut coir or perlite as your wicking medium. This material holds moisture like a sponge while allowing air to circulate. For a 4-foot bed, you’ll need roughly 10 square feet of coir spread evenly. Press it down lightly to create a firm, even surface for planting.
🌱 Step 3: Add Soil and Plant Your Garden
Fill the remaining space with a high-quality potting mix—I blend 50% compost, 30% coconut coir, and 20% perlite for optimal drainage and nutrient retention. For a 4-foot bed, you’ll need about 1 cubic yard of this mix. Spread it evenly, leaving 1 inch of space at the top to prevent overflow when watering.
Plant your chosen greenery, spacing them according to their mature size. I like to use drought-tolerant herbs like rosemary, thyme, and oregano in the center, surrounded by leafy greens like kale or Swiss chard along the edges. Water the bed thoroughly after planting to saturate the wicking layers.
⏰ Step 4: Set Up the Watering Reservoir
Place a 5-gallon bucket filled with water in one corner of the bed. The bucket should sit on a platform slightly lower than the soil level—I use a 2-inch thick piece of plywood cut to fit the corner. Drill a ¼-inch hole in the bucket’s side, near the bottom, and insert a wick made from landscape fabric or a length of rope. The wick should extend into the soil, allowing water to slowly seep upward.
Refill the bucket every 7-10 days, depending on your climate and plants. In hotter months, you might need to top it off weekly. The key is to keep the reservoir full enough to maintain moisture in the coir layer without over-saturating the soil. You’ll know it’s working when the topsoil stays consistently damp but not soggy.
☀️ Step 5: Maintain and Monitor
Check the moisture level weekly by pressing your finger 1 inch into the soil. If it feels dry, it’s time to refill the reservoir. Mulch the surface with 2 inches of straw or wood chips to slow evaporation and suppress weeds. I also add a layer of black plastic sheeting in winter to insulate the bed and protect plants from frost.
Fertilize lightly every 4-6 weeks with a balanced, water-soluble fertilizer diluted to half strength. The wicking system already retains nutrients well, so you won’t need heavy feeding. Watch for signs of overwatering—yellowing leaves or moldy soil—adjust the wick length or reservoir size if needed.
Tips & tricks for perfect wicking bed gardens
Building a wicking bed garden transforms your gardening game—here's how to avoid common pitfalls and maximize success.
Container Depth Matters: That 12-inch minimum depth is non-negotiable for proper wicking action. I've seen gardeners use shallow containers and struggle with moisture retention. For a 4-foot bed, I reinforce the corners with extra plywood to prevent warping over time, especially if using untreated wood. This ensures the 2-inch gravel layer stays properly supported.
Wicking Medium Selection: While coconut coir is my go-to for its moisture-holding capacity, perlite works beautifully too—just monitor moisture more closely. The key is creating that 2-inch layer without compacting it. I use a garden rake to fluff the coir after spreading, ensuring even distribution for consistent wicking. Don't skip this step—compacted wicking material won't work efficiently.
Soil Mix Strategy: Your 50-30-20 compost-to-coir-to-perlite ratio is perfect, but here's the secret: pre-moisten all components before mixing. This prevents clumping when you add water later. For a 4-foot bed, I actually make a small batch of this mix first to test moisture levels before committing to the full cubic yard. This saves time and frustration when you realize the soil isn't draining properly.
Reservoir Management: That 5-gallon bucket is your secret weapon, but placement is everything. Position it so the wick extends diagonally into the soil—this creates better moisture distribution. In hot climates, I add a second bucket for larger beds to maintain consistent moisture. The 7-10 day refill schedule assumes moderate temperatures; adjust based on your local climate and plant types.
Pro Tips for Wicking Bed Garden
- Building a wicking bed garden transforms your gardening game—here's how to avoid common pitfalls and maximize success.
- Container Depth Matters: That 12-inch minimum depth is non-negotiable for proper wicking action.
- Wicking Medium Selection: While coconut coir is my go-to for its moisture-holding capacity, perlite works beautifully too—just monitor moisture more closely.
Frequently asked questions
Got questions about wicking bed gardens? You're not alone! Here are some of the most common queries—plus straightforward answers to help you grow with confidence.
What’s the best time of year to start a wicking bed garden?
A wicking bed can be built year-round, but planting timing depends on your climate. In mild zones, start in early spring or late fall. In colder areas, wait until after the last frost (typically late spring). For winter greens like kale or spinach, plant in early fall for a harvest before freezing temps hit.
How often do I need to water a wicking bed?
One of the biggest perks of wicking beds! After the initial setup, you’ll only need to top off the water reservoir every 1–2 weeks (or less in dry climates). Mulch helps retain moisture, so check the soil—if it’s dry 1–2 inches down, it’s time to add water. Overwatering can lead to mold, so less is more once established.
Will wicking beds eliminate weeds completely?
Wicking beds drastically reduce weeds by smothering soil with landscape fabric and mulch, blocking sunlight (which weeds need to grow). However, a few stubborn weeds might pop up—especially along edges. Stay vigilant by pulling them early and keeping mulch thick. Pro tip: Use cardboard or newspaper under mulch for extra weed suppression!
Can I use a wicking bed for vegetables, or is it just for flowers?
Wicking beds are fantastic for veggies—think leafy greens, herbs, tomatoes, peppers, and even root crops (like carrots or beets) if you use deep beds. The consistent moisture and nutrient-rich soil boost growth. Just avoid heavy feeders like corn or squash unless your bed is extra large, as they’ll deplete resources faster.
What do I do if my wicking bed starts smelling bad?
A foul odor usually means rot or anaerobic conditions (lack of oxygen in the soil). To fix it:
- Fluff the soil gently with a fork to improve airflow.
- Check for overwatering—drain excess water from the reservoir.
- Add compost or perlite to aerate the mix.
- Avoid compacted mulch—keep it loose for airflow.
Bonus Tip: Troubleshooting Table
| Issue | Likely Cause | Quick Fix |
|---|---|---|
| Plants wilting | Dry reservoir or clogged wicks | Refill water + check wicks for blockages |
| Mold on mulch | Too much moisture or poor airflow | Remove moldy mulch, add perlite, reduce water |
| Slow growth | Nutrient depletion or shallow bed | Add compost tea or top up soil depth |
Wrapping up and next steps
A wicking bed garden transforms your outdoor space into a low-maintenance, high-reward oasis—perfect for year-round greenery without the hassle of weeds or constant watering! 🌱 By leveraging capillary action and smart design, you’ve unlocked a sustainable way to grow thriving plants with minimal effort.
Whether you're a seasoned gardener or just starting out, this system proves that beautiful gardens aren’t just a dream.
Ready to take the next step? Start small—build your first wicking bed this weekend and watch your confidence (and plants!) flourish. Your green thumb is closer than you think!