Tools
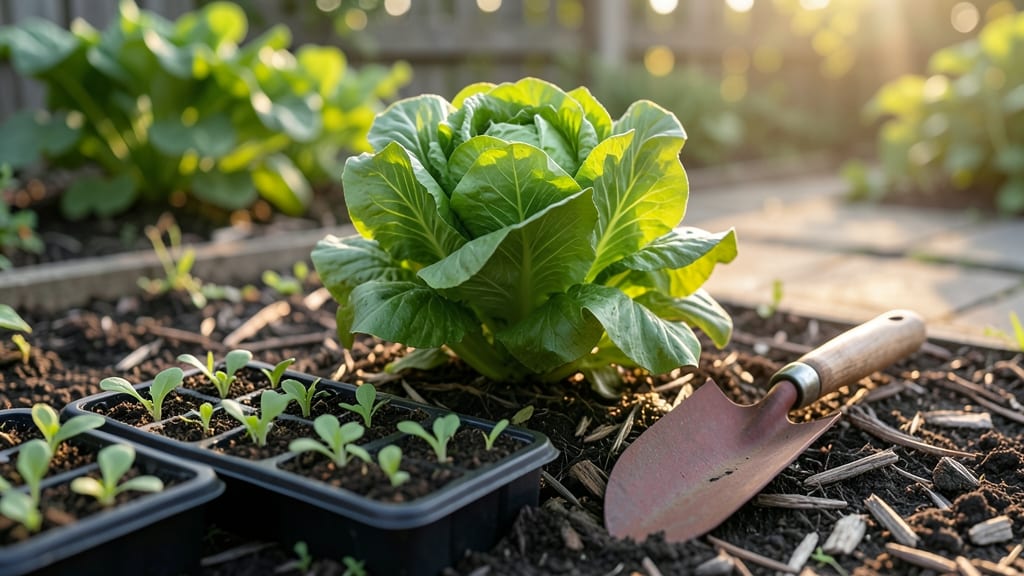
Taking the right steps for gardening turns a blank patch of dirt into a lush, productive space—even if you’ve never held a trowel before.
Transforming a patch of soil into a thriving garden isn’t just about planting seeds—it’s about timing, preparation, and knowing which steps to take when. Whether you’re a complete novice or a hesitant beginner, following the right seasonal gardening steps can turn uncertainty into confidence and dirt into delicious harvests.
From testing your soil in spring to choosing the right plants for your USDA Zone 6a, every decision matters. You’ll learn how to prep your garden beds, water correctly, and keep pests at bay without spending hours in the dirt.
By the end, you’ll have a simple, repeatable process that works for both indoor pots and outdoor plots—so you can grow with confidence, no green thumb required.
Seasonal gardening steps: a month-by-month beginner’s guide
Gardening success hinges on understanding seasonal rhythms and climate-specific timing. In USDA Zone 6a, where last frost typically arrives by April 15, spring planting begins in earnest, while winter prep starts as early as September.
Each season demands unique attention—whether it’s soil warming in spring or mulching protection in winter—to ensure your plants thrive year-round.
For beginners, breaking gardening into monthly milestones removes overwhelm. Think of it like a four-season roadmap: spring for planting, summer for nurturing, fall for prepping, and winter for resting. This structure keeps your garden healthy, productive, and low-stress.
Below, we’ll outline the essential steps for each season, tailored to Zone 6a but adaptable to other regions with slight adjustments.
Why timing matters: Planting tomatoes too early risks frost damage, while perennials need fall fertilization to store nutrients for spring. Miss these windows, and you’ll spend more time fixing problems than enjoying your garden. Let’s dive into the seasonal checklist that will transform your gardening confidence.
| Season | Month | Key Steps | USDA Zone 6a Timeline |
|---|---|---|---|
| Spring | March-May |
|
|
| Summer | June-August |
|
|
| Fall | September-November |
|
|
| Winter | December-February |
|
|
Let’s start with spring, the season where your garden truly comes alive. After the last frost—typically mid-April in Zone 6a—focus on planting warm-season crops like tomatoes, peppers, and cucumbers.
Begin by amending your soil with compost or aged manure to boost nutrients. For container gardens, use a well-draining potting mix to prevent root rot.
In summer, your garden will demand consistent watering and pest vigilance. Early morning is the best time to water, as it reduces evaporation and fungal diseases. If you notice yellowing leaves or chewed
Critical pre-planting steps every gardener must follow
Skipping the foundational steps before planting is like building a house without a blueprint—you’ll end up with a mess. I’ve seen too many new gardens fail because of overlooked details like soil quality or sunlight mapping.
These steps aren’t just technicalities; they’re the difference between a thriving garden and a disappointing one. Let’s fix that by covering what truly matters before you dig your first hole.
First, test your soil—it’s the unsung hero of gardening. A simple pH test (available at garden centers for under $10) tells you if your soil is too acidic, alkaline, or just right.
For example, blueberries need acidic soil (pH 4.5-5.5), while tomatoes thrive in slightly acidic to neutral (pH 6.0-7.0). Amending your soil with compost or lime based on these results can save you from wasted effort.
Next, map your sun exposure like a pro. Use a sunlight tracker (or a simple app) to log how many hours each spot gets sunlight daily. Plants like peppers and marigolds demand 6+ hours of full sun, while hostas and ferns prefer partial shade (3-6 hours).
Misjudging this leads to leggy, weak plants—or worse, dead ones.
Don’t overlook climate-appropriate plants. Your local nursery might sell palm trees, but if you’re in USDA Zone 5, they’ll freeze in winter. Instead, check your hardiness zone and pick native plants or cold-hardy varieties.
For instance, Russian sage survives -30°F, while bougainvillea won’t make it past 20°F.
Now, let’s talk tools. You don’t need a $200 garden shed to start—just the essentials: a trowel, pruners, gloves, and a watering can.
Optional (but helpful) upgrades include a soil knife for dividing plants and a wheelbarrow for hauling compost. Avoid buying gadgets until you’ve mastered the basics.
Finally, plan your layout before buying plants. Sketch a rough map of your garden, grouping plants with similar water needs and sunlight requirements. For example, place drought-tolerant lavender near the driveway where watering is tricky, and keep water-loving mint near a hose.
This saves time and ensures no plant gets neglected.
By tackling these steps, you’ll avoid 90% of beginner mistakes and set your garden up for success. The key is preparation over perfection—even experienced gardeners double-check these basics before planting.
Your Pre-Planting Action Plan
- Step 1: Test soil pH and amend with compost or lime.
- Step 2: Map sunlight exposure for 3-5 days using a tracker.
- Step 3: Choose plants matched to your climate zone and sunlight.
- Step 4: Gather essential tools (trowel, pruners, gloves, watering can).
- Step 5: Sketch a garden layout grouping plants by needs.
✅ Pro Tip: Start small—master these steps with a 4x4 ft bed before expanding.
Remember, gardening is a marathon, not a sprint. These steps might seem like extra work now, but they’ll pay off when your plants flourish instead of falter. Trust the process, and soon you’ll be the gardener everyone asks for advice!