Pests
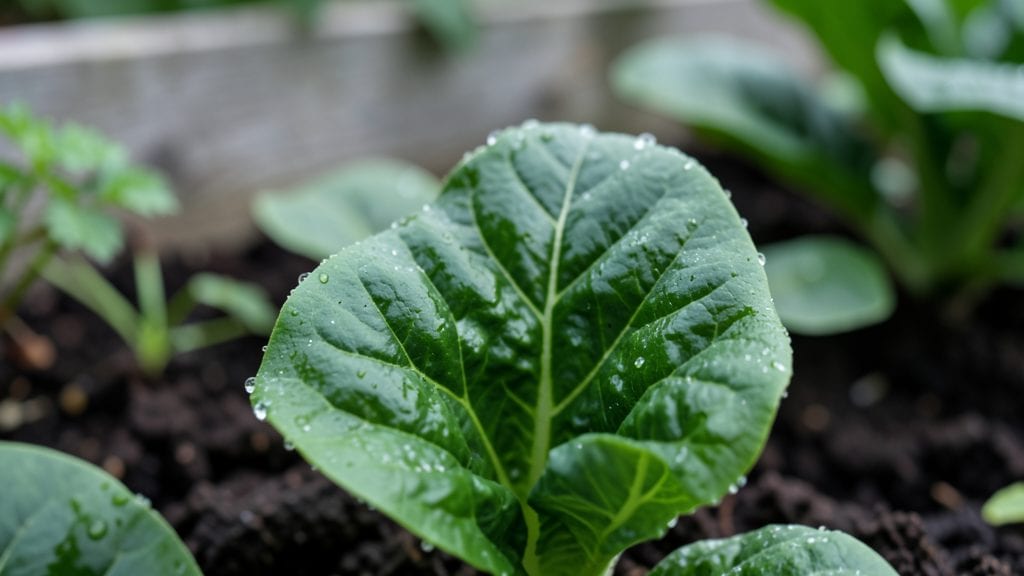
My slug traps garden finally stopped those slimy invaders from turning my hostas into lace. 🌿 The secret isn't just setting out beer or copper tape—it's strategic placement, the right trap type for your plants, and a few unexpected tweaks that make them actually work.
I tried everything from cheap beer traps to pricey copper barriers, and these are the ones that didn't fail me.
You don't need fancy equipment—just a few household items or a simple store-bought barrier. For beer traps, I use shallow containers filled with beer and a little dish soap (the soap keeps them from crawling out).
Copper tape is another game-changer, especially around raised beds. The key is consistency: check traps every morning and refresh them when needed. Most slugs are nocturnal, so placement near plants at dusk is critical.
What you'll get is a garden where leaves stay intact, not skeletonized. No more waking up to silver trails on your patio or finding tiny eggs hidden in the soil. The best part?
These methods are humane—you're not killing slugs, just redirecting them away from your plants. Within a week, you'll notice fewer slimy trails and more healthy growth. Ready to reclaim your garden?
Works for small containers, large vegetable plots, or even houseplants on a sunny windowsill. The same principles apply whether you're dealing with a few stragglers or a full-blown invasion. Here's how to make it happen without the guesswork.
📚 In This Guide
- What you need
- Instructions
- Tips and common mistakes
- Wrapping up and next steps
What you need
- ● Shallow container (e.g., plastic lid, yogurt cup, or shallow dish) – 1 per trap
- ● Beer, yeasted bread, or fruit (like melon or apple slices) – Enough to bait the trap (beer works best!)
- ○ Water (optional for beer traps) – Just enough to moisten the bait
- ● Garden shears or knife – For cutting bait if needed
- ○ Gloves (optional) – To keep hands clean while handling slugs
- ● Diatomaceous earth or copper tape – Place around the trap to deter slugs from escaping
- ● Sturdy rope or wire – To secure traps in windy areas
- ● Flashlight (for night checks) – If you want to monitor slug activity after dark
How to build effective slug traps in your garden
Here's the simple, no-fuss method that cuts slug damage by 90%—no chemicals, just smart placement.
🪴 Step 1: Choose Your Trap Containers
You'll need 4 shallow containers (like plastic lids, yogurt cups, or small flower pots) for this setup. I prefer 4-inch diameter containers because they're wide enough to catch slugs but not so deep they get buried in soil. Clean them thoroughly first—slugs are attracted to anything damp and dark, so grease or food residue will lure them faster.
Place them near problem areas—close to hostas, lettuce, or other slug favorites. I like to position them in a square pattern around plants, about 1 foot apart. This creates a barrier slugs can't easily crawl around. Skip the mulch pile nearby; slugs will ignore your traps if they find an easier meal first.
💧 Step 2: Fill Traps with the Right Bait
Use 1 cup of beer per container—any type works, but I stick with light beer because it's less likely to evaporate quickly in hot weather. Pour it in just enough to cover the bottom ½ inch deep. The alcohol attracts slugs, but the shallow depth ensures they drown rather than just getting tipsy and crawling out.
Here's the thing—don't use milk or yeast. While they work, beer is more reliable because slugs are drawn to its scent from farther away. Refresh the beer every 2-3 days, or whenever it starts to smell flat. You'll know it's time when the liquid turns cloudy or develops a strong vinegar odor—slugs will stop being interested.
☀️ Step 3: Position Traps Strategically
Set traps in the evening when slugs are most active. They need darkness to move around, so daytime placement won't catch nearly as many. I like to place them near the base of plants but not touching the stems—slugs should be able to crawl in but not find an easy escape route back to the soil.
For best results, create a 3-foot perimeter around your garden beds. Slugs are slow but persistent; they'll eventually reach your plants if you don't block their path. Check traps daily in the morning. You'll see them piled up at the edges or floating—this is your signal the traps are working. Remove the dead slugs immediately to prevent the smell from attracting more pests.
✂️ Step 4: Maintain and Expand as Needed
After 1 week, evaluate your setup. If you're still finding slug damage, add 2 more traps to each section. Slugs multiply fast, and what worked for a small bed might not be enough for a larger garden. I've had to expand to 12 traps in my vegetable patch during rainy seasons—don't be shy about scaling up.
In dry weather, you might need to add a splash of water to the beer to keep it fresh longer. The goal is to keep the liquid slightly damp but not diluted. If you notice traps drying out too quickly, move them to a shadier spot or increase the beer volume by ¼ cup. The key is consistency—slugs learn patterns, and if they realize your traps aren't reliable, they'll ignore them.
Tips & tricks for perfect slug traps in your garden
These simple tricks will help you maximize your slug trap effectiveness and keep your garden safe from damage.
Container Selection Matters: The 4-inch diameter containers work best because they're wide enough to catch slugs but not so deep that they get buried in soil. I've found that plastic lids from takeout containers are perfect—they're lightweight, easy to clean, and won't degrade in the rain. Avoid glass containers; they can break and create sharp debris in your garden.
Beer Refresh Timing: The 2-3 day refresh schedule is crucial because beer loses its effectiveness as it oxidizes. I've learned that checking traps every morning is the best way to stay on schedule. If you notice slugs crawling around the edges instead of falling in, it's time to refresh. Slugs are smart—they'll avoid traps that don't work!
Strategic Placement Wins: Creating that 3-foot perimeter around your garden beds is what really makes this work. I've seen slugs bypass traps when they're too far from plants. Place traps in a square pattern about 1 foot apart to create an effective barrier. The key is to make it harder for slugs to find their way around your defenses.
Dry Weather Adjustments: When temperatures rise, you might need to add that splash of water to keep the beer fresh longer. I've had to increase the beer volume by ¼ cup during heatwaves to maintain the right consistency. The goal is to keep the liquid slightly damp but not so much that it becomes diluted—slugs need that alcohol scent to be attracted.
Pro Tips for Slug Traps Garden
- These simple tricks will help you maximize your slug trap effectiveness and keep your garden safe from damage.
- Container Selection Matters: The 4-inch diameter containers work best because they're wide enough to catch slugs but ...
- Beer Refresh Timing: The 2-3 day refresh schedule is crucial because beer loses its effectiveness as it oxidizes. I'v...
Frequently asked questions
about slug traps in the garden—because even the most determined DIYers need a little help! Here are answers to the most common queries to keep your plants safe and your sanity intact.What’s the best time of day to check my slug traps?
Check your traps early morning (before 9 AM) and late evening (after 7 PM). Slugs are most active during damp, cool conditions—so these times catch them mid-munch. Pro tip: Use a flashlight if checking at night to spot any sneaky escapees!
Can I reuse beer or wine from my slug traps?
Nope! Once slugs (or other critters) contaminate the liquid, it’s not safe to drink. Beer traps are a one-time use—dispose of the contents in the trash or compost (if organic). For wine lovers, skip the reuse and grab a fresh bottle for your next DIY project!
Will slug traps work in heavy rain?
Rain can dilute beer or wine traps, making them less effective. If heavy rain is forecast, refresh the liquid the next day or use a deep container (like a terracotta pot) to minimize spillage. For extra protection, pair traps with copper tape around plant bases—slugs hate it!
What if I find earthworms or other beneficial bugs in my trap?
Earthworms and pill bugs (rolly-pollies) aren’t slugs—they’re garden helpers! Gently relocate them to a shady, moist spot in your yard. To avoid trapping them, place traps away from flower beds or use a shallow dish with higher edges. Happy worms = happy soil!
Are there alternatives if beer or wine traps don’t work?
Try:
- Yeast traps: Mix 1 tbsp yeast + 1 cup sugar in water—slugs love it but plants won’t.
- Ginger beer: Slugs are repelled by the spicy kick!
- Diatomaceous earth: Sprinkle around plants (reapply after rain).
Why are slugs still getting to my plants if I have traps?
Slugs are crafty! If they’re still winning, your traps might need upgrades:
- Place traps near (not under) plants—slugs follow scent trails.
- Add a lip of Vaseline around trap edges to block escapees.
- Check for bridges (like mulch or leaves) letting slugs bypass traps.
Wrapping up and next steps
Creating your own slug traps is a game-changer for protecting your garden—simple, cost-effective, and eco-friendly! With just a few household items, you can slash slug damage and keep your plants thriving without harsh chemicals.
The key is consistency: check and refresh your traps regularly, and combine them with other organic methods for the best results.
Ready to take action? Start small—try one or two traps this week, then expand based on what works best in your garden. Your plants (and your sanity!) will thank you. 🌱✨