
Tools
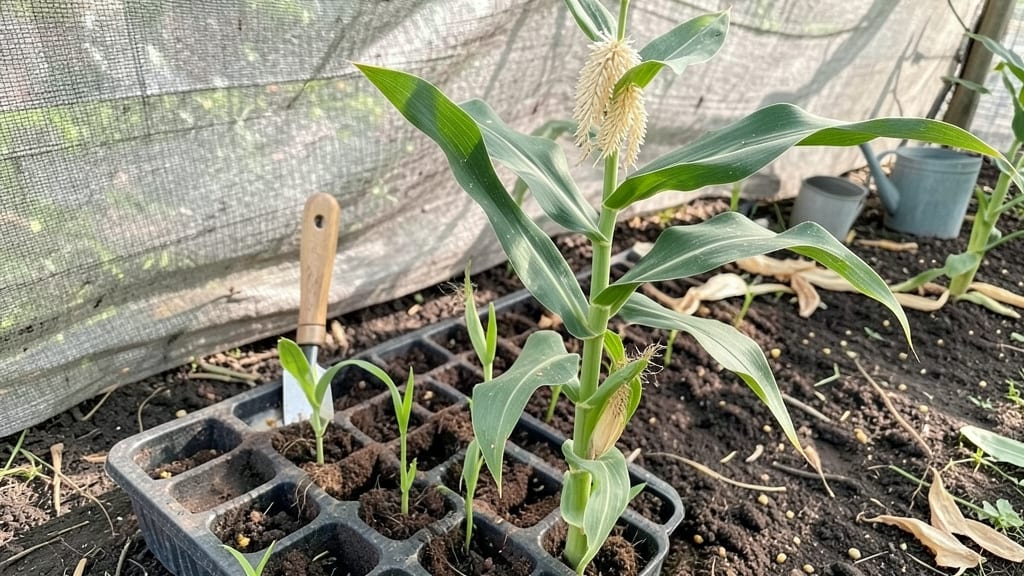
My raised garden corners used to look like a DIY disaster—until I discovered how simple, sturdy edging can transform a messy plot into a polished bedscape. The right materials make all the difference: cedar resists rot, stone adds weight, and metal corners keep everything square.
I’ve tried them all, and each has its own tricks for durability and looks.
Start with your bed dimensions—most corners need reinforcement, whether that’s mitered wood joints, corner braces, or interlocking stone caps. For drainage, leave a small gap between the edging and bed frame, or use landscape fabric underneath.
The key is balancing aesthetics with function; no one wants a wobbly corner that looks cheap or leaks soil.
You’ll end up with clean lines that make your garden look intentional, not thrown together. The right edging hides uneven edges, prevents soil spillage, and even adds height for seating or planters. Plus, it’s the first thing visitors notice—so make it count. Let’s pick the perfect style for your space.
From rustic cedar to sleek metal, the options work for any yard style. Whether you’re building new beds or fixing old ones, these tips keep corners looking sharp season after season. Ready to upgrade your garden’s foundation?
📚 In This Guide
- What you need
- Instructions
- Tips and common mistakes
- Wrapping up and next steps
What you need
- ● Corner posts (4–8 pieces): Pre-cut cedar, redwood, or composite lumber (2x2 or 2x4, 6–12" tall). Pro tip: 🌡️ Treated wood lasts longer but avoid pressure-treated wood if growing edibles!
- ○ Garden edging boards (4–8 pieces): 1x6 or 1x8 boards (cedar or composite), cut to fit your bed dimensions. Optional: Add decorative caps for a finished look!
- ● Screws or hidden fasteners: 2.5" deck screws (galvanized for rust resistance) or corner brackets for a cleaner look.
- ● Landscape fabric: 1 roll (3' wide) to suppress weeds and retain moisture.
- ● Garden soil or compost: 2–4 cubic feet, depending on bed size.
- ● Measuring tape & pencil
- ● Circular saw or miter saw (for precise cuts)
- ● Drill/driver (with screw attachment)
- ● Level (to ensure corners are square)
- ● Staple gun (for securing landscape fabric)
- ○ Optional: Stakes & string (to mark bed layout) or a rubber mallet (for gentle adjustments).
- ● Clear the area of weeds, rocks, or debris.
- ● Check local building codes if your bed exceeds 30" in height (some areas require permits).
- ● Choose a flat, stable spot—uneven ground = wobbly corners! 🎯
Step-by-Step guide to installing raised garden corner edging
Here's how to create clean, professional-looking borders that make any garden look intentional and well-maintained.
Measure and Mark Your Garden Corners
Start by measuring the exact dimensions of your raised garden bed. Use a tape measure to find the length of each side, then mark the corners with small wooden stakes or spray paint. I like to use a 4-foot level to ensure all angles are perfectly square—this prevents crooked edges that look unprofessional. Double-check your measurements before cutting any materials to avoid costly mistakes.
For a clean look, I recommend marking a line about 1-2 inches wider than your garden bed's actual width. This gives you room to work without crowding the planting area. Use a garden hose or string stretched between stakes to visualize the final border line before making any cuts.
Choose and Cut Your Edging Material
Select your preferred edging material—common options include cedar planks, metal flashing, or landscape timbers. For this guide, we'll use 2x4 cedar boards (a durable, rot-resistant choice). Cut the boards to match your marked measurements, using a circular saw or miter saw for precise 45-degree angles at each corner. Always wear safety goggles and a dust mask when cutting.
If you're using metal flashing, bend it at 90-degree angles with heavy-duty pliers. For plastic or composite materials, follow the manufacturer's cutting guidelines to avoid splintering. Test-fit each piece before finalizing cuts—this saves time and frustration later. I keep a scrap piece handy to practice cuts if I'm unsure about the angle.
Install the First Corner Piece
Begin at one corner of your garden bed and position the first 45-degree cut piece flush against the stakes. Use a 4-inch galvanized nail or outdoor-rated screws to secure it into the ground at a 45-degree angle, driving the fastener through the bottom edge and into the soil. For extra stability, I like to add a second nail or screw about 6 inches down the board to prevent shifting.
Tap the board lightly with a rubber mallet to ensure it sits evenly. The top edge should align perfectly with your marked line. If the board feels wobbly, add a small amount of gravel beneath it for better support. This first piece sets the tone for the entire border, so take your time to get it right.
Attach Straight Edges and Secure Corners
Measure and cut straight-edge pieces to fit between the corners. For cedar, I use 2-inch deck screws spaced about 12 inches apart along the length of each board. Drive the screws just enough to hold the board firmly—over-tightening can split the wood. If using metal flashing, overlap edges by 1 inch and secure with landscape staples.
At each corner, fit the second 45-degree piece snugly against the straight edges. Use a speed square to ensure the angles meet perfectly. Secure the corner with two screws or nails driven through both boards to create a strong joint. For extra reinforcement, I add a small L-bracket hidden beneath the soil line at each corner—this prevents the edging from pulling apart over time.
Finish and Maintain Your Edging
Once all pieces are installed, fill the space between the edging and the garden bed with landscape fabric to prevent weeds from growing through. Then, backfill with 2-3 inches of gravel or mulch to stabilize the edging and create a clean transition. For cedar, apply an outdoor wood sealant to protect against moisture and UV damage—this step extends the life of your edging by years.
After installation, check the edging periodically for loose screws or shifting boards. If you notice gaps, simply tighten the fasteners or add a few extra nails. With proper maintenance, your raised garden corners will stay sharp and professional-looking for 5-10 years, depending on the material. This small detail makes a huge difference in the overall appearance of your garden.
Tips & tricks for perfect raised garden corner edging
These practical tips will help you create professional-looking garden borders that stand the test of time and weather.
Precision in Step 1: When measuring your garden bed in Step 1, take an extra 5 minutes to verify your angles using the 4-foot level. I've learned this the hard way—crooked corners ruin the entire look. If your angles aren't perfect, use a carpenter's square to adjust your stakes before marking. This small investment prevents hours of frustration later when you realize the pieces don't fit together properly.
Material Selection Tip: For Step 2, cedar boards are my top recommendation because they resist rot and insects naturally, but if you're on a budget, pressure-treated lumber works too—just seal it first. Avoid untreated pine, which will warp and degrade within a year. When cutting those 45-degree angles, clamp your boards securely to prevent kickback, especially with a circular saw. I always make a test cut on scrap wood first to dial in my angle.
Installation Stability: In Step 3, don't skimp on the 4-inch galvanized nails or screws. I've seen many DIY projects fail because people used shorter fasteners that couldn't penetrate deeply enough. For extra hold in sandy soil, drive the nails at a slight downward angle. And that second nail at 6 inches down? It's not optional—it prevents the board from rocking when you walk too close to the garden. Think of it as insurance against future shifting.
Maintenance Secret: The 2-3 inches of gravel in Step 5 serves two purposes: it stabilizes the edging and prevents weeds. But here's what nobody tells you—sprinkle a thin layer of diatomaceous earth between the gravel and soil line. This natural powder keeps weeds at bay without chemicals and lasts for months. Reapply it every spring, and you'll spend far less time pulling weeds around your garden borders.
Pro Tips for Raised Garden Corners
- These practical tips will help you create professional-looking garden borders that stand the test of time and weather.
- Precision in Step 1: When measuring your garden bed in Step 1, take an extra 5 minutes to verify your angles using the 4-foot level.
- Material Selection Tip: For Step 2, cedar boards are my top recommendation because they resist rot and insects naturally, but if you're on a budget, pressure-treated lumber works too—just seal it first.
Frequently asked questions
What’s the best material for raised garden corners?
Durability and aesthetics matter! Cedar resists rot and looks natural, while plastic is low-maintenance and budget-friendly. For a modern touch, metal corners add structure, but may require painting. Always choose materials that match your garden’s style and climate needs.
When is the best time to install raised garden corner edging?
Install corners before filling your raised bed with soil to ensure a snug fit. Spring or early fall are ideal—soil is workable, and you avoid extreme temperatures. If retrofitting, dig a shallow trench to secure corners without disturbing existing plants.
Can I DIY raised garden corners without special tools?
Yes! Basic tools like a shovel, level, and measuring tape work for most projects. Pre-cut corner brackets (available at hardware stores) simplify assembly. For stubborn soil, a pry bar helps loosen roots. No power tools? A sturdy hammer and nails can hold wooden corners in place.
Why are my raised garden corners sinking or shifting?
Uneven soil or improper installation often cause this. Re-level the base before securing corners, and use landscape screws (not nails) for metal/wood combinations. For heavy beds, bury corners 6–8 inches deep and backfill with gravel for stability. Check for erosion after rain—topsoil can shift over time.
Are there alternatives to traditional corner edging?
Try stone capstones for a rustic look, galvanized metal brackets for a sleek finish, or even stacked bricks with mortar. For a no-edging option, uphill planting (sloping soil inward) can create natural borders. Choose based on your garden’s theme and maintenance preferences!
Wrapping up and next steps
Transforming your garden with raised garden corners is simpler than you think—and the results are stunning! These neat borders not only add structure and charm but also protect your beds from erosion and pests while elevating the overall aesthetic.
Whether you’re a seasoned gardener or just starting, the key is confidence and creativity. Now that you’re armed with materials, tips, and answers to common questions, it’s time to roll up your sleeves and get building!
🌱 Next step: Sketch your design, gather your tools, and start with one corner. Before you know it, your garden will be the envy of the neighborhood! Happy gardening! 🌿