
Pruning
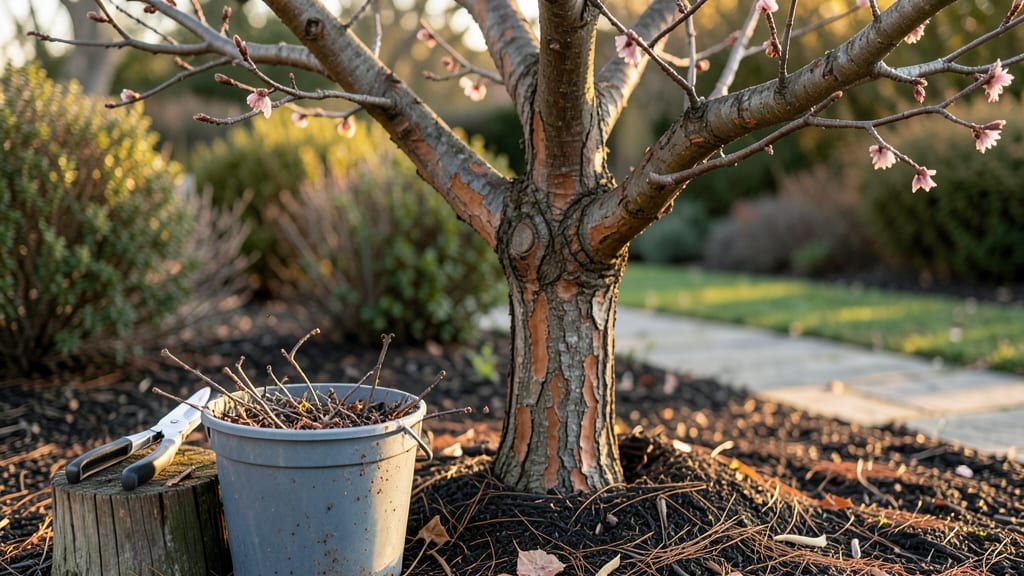
Clean garden pruners properly, and they’ll stay sharp and rust-free for years—no more sticky blades or dull cuts. I’ve learned the hard way that skipping this step turns a simple task into a frustrating mess, especially after trimming sap-heavy plants like maples or pines.
The right cleaning routine keeps your tools hygienic, extends their life, and ensures clean cuts that heal faster on your plants.
You only need three basic supplies: a stiff brush, rubbing alcohol (or vinegar), and a clean rag. For stubborn sap or resin buildup, a bit of mineral spirits works wonders without damaging the metal.
Avoid harsh chemicals—they corrode blades over time and leave residue that attracts more grime. A 5-minute cleanup after each use prevents rust and keeps your pruners ready for the next job.
The process is simple: scrub away debris, wipe down blades with alcohol, and dry thoroughly before storing. If your pruners have wood handles, check for cracks or moisture—this is where mold and rot start.
With regular care, your tools will stay sharper longer, and you’ll avoid the dreaded mid-season breakdown when you need them most.
Pro tip: Store pruners in a dry place with the blades open to air out completely. I keep mine in a tool roll with silica gel packets to absorb any lingering moisture. A little maintenance now saves hours of frustration later—and your plants will thank you for the cleaner cuts.
📚 In This Guide
- What you need
- Instructions
- Tips and common mistakes
- Wrapping up and next steps
What you need
- ● Rubbing alcohol (70% isopropyl or higher) – 1 small bottle (4–8 oz) for disinfecting blades.
- ● Soft-bristle brush – 1 small brush (toothbrush or nail brush works great) for scrubbing debris.
- ● Microfiber cloth or old towel – 1 clean cloth for drying and buffing.
- ○ Rust converter or oil (optional but recommended) – 1 small bottle (e.g., WD-40 Specialist Rust Converter) to prevent future rust.
- ● Sharpener (if blades are dull) – 1 file or honing stone (fine-grit, 1000+ grit) for touch-ups.
- ● Baking soda paste – Mix with water for stubborn rust stains (use sparingly).
- ● Vinegar (white distilled) – 1 cup for soaking heavily rusted pruners (rinse well after!).
- ● Pruner-specific cleaner – 1 bottle (e.g., Fiskars Pruner Cleaner) for deep cleaning.
- ● Gloves (nitrile or latex) – 1 pair to protect hands from sap or sharp edges.
Step-by-Step instructions for cleaning garden pruners
Here's the quick method I use after every pruning session to keep blades sharp and rust-free.
Remove Sap and Debris
Start by wiping down the blades and handles with a clean, dry cloth to remove loose sap and dirt. Sap hardens quickly and can gum up the mechanism if left behind. I like to use an old rag or paper towel for this first pass—it catches the bulk of the mess without scratching the metal.
For stubborn sap buildup, especially on the cutting edges, use a plastic scraper or the edge of a credit card. Scrape gently along the blade's edge, working from the base outward. Never use metal tools—they can nick the blade and dull it faster. If the sap is dried and crusty, a few seconds with a hairdryer on low heat can soften it enough to wipe away easily.
Soak in Soapy Water
Fill a bucket or basin with warm water and add a few drops of mild dish soap. The soap helps break down residual sap and oils that cling to the metal. Submerge the pruners completely for 5-10 minutes, letting the solution work into crevices and the pivot point. Stir occasionally if the water cools—warmth helps dissolve grime faster.
While soaking, check the pivot screw (the bolt that holds the two blade halves together). If it feels loose or stiff, this is the perfect time to address it. A little oil or lubricant applied now will prevent rust and keep the pruners cutting smoothly for years. Just don’t overdo it—excess oil attracts dirt and can cause long-term issues.
Scrub and Rinse Thoroughly
Use a soft-bristled brush, like an old toothbrush, to scrub the blades, pivot point, and handle. Focus on the cutting edges and any grooves where sap might hide. A toothbrush fits perfectly into the pivot area, helping remove debris that could cause rust. Rinse the pruners under running water to flush out all soap and loosened grime.
Pay special attention to the inside of the blades and the hinge mechanism. These areas trap moisture and sap, which is where rust starts. Hold the pruners under the faucet and wiggle them gently to ensure water reaches every part. If you see any dark spots or discoloration, don’t worry—this step removes the majority of buildup before deeper cleaning.
Dry and Lubricate
After rinsing, use a clean towel to dry the pruners completely. Moisture left behind will cause rust, even if you store them properly. I like to open the blades slightly and let them air-dry for a few minutes before wiping again. This ensures no hidden dampness remains in the pivot area.
Once dry, apply a light coat of mineral oil or a specialized pruner oil to the pivot screw and blade edges. A drop or two is enough—too much oil can attract dust and sap. Work the oil into the pivot by opening and closing the blades a few times. This keeps the mechanism smooth and prevents rust. Store the pruners in a dry place, like a tool shed or garage, with the blades open to allow air circulation.
Sharpen and Store
While your pruners are clean and dry, take a moment to check the blade sharpness. Run your finger lightly along the edge—it should feel smooth, not bumpy. If the blade feels dull, use a sharpening stone or file to restore its edge. Angle the blade at 20-30 degrees and make smooth, even strokes. Test the sharpness by cutting a piece of paper; if it tears instead of cleanly cutting, keep sharpening.
Store your pruners in a way that protects them from moisture and dust. A wall-mounted hook or a dedicated spot in a toolbox works well. Avoid hanging them by the blades, as this can warp the metal over time. If you’re not using them for a while, wrap the blades in a soft cloth to prevent any accidental scratches or exposure to the elements.
Tips & tricks for perfect garden pruner maintenance
A few quick tricks will help you keep your pruners in top condition for years of clean cuts.
Timing Tip: In Step 2, those 5-10 minutes of soaking are crucial for breaking down sap and oils. If your pruners are particularly dirty, don't rush—let them soak for the full 10 minutes. Warm water works faster than cold, so if you're in a hurry, use slightly warmer water (but not hot enough to warp the metal). The longer they soak, the easier the scrubbing will be afterward.
Tool Selection: For Step 1, avoid using anything abrasive like steel wool or harsh scrubbers on your blades. A plastic scraper or even the edge of a credit card works perfectly to remove sap without damaging the sharp edge. I've found that an old toothbrush (from Step 3) is the perfect tool for cleaning the pivot area—it fits snugly and gets into all the crevices without scratching.
Heat Control: When using a hairdryer on low heat in Step 1, keep it moving constantly to prevent overheating any one spot. The goal is just to soften the sap, not melt it. Hold the dryer about 6 inches away and move it back and forth for just a few seconds. Too much heat can warp the metal or even damage heat-sensitive handles.
Storage Wisdom: After completing all steps, especially Step 4's drying and lubrication, always store your pruners with the blades open. This allows air to circulate and prevents moisture buildup in the pivot area. I keep mine on a wall-mounted hook in my garage where they get good airflow but are protected from the elements. If you notice any rust developing despite these steps, a little vinegar soak (not part of the regular cleaning) can help remove it before re-oiling.
Pro Tips for Clean Garden Pruners
- A few quick tricks will help you keep your pruners in top condition for years of clean cuts.
- Timing Tip: In Step 2, those 5-10 minutes of soaking are crucial for breaking down sap and oils.
- Tool Selection: For Step 1, avoid using anything abrasive like steel wool or harsh scrubbers on your blades.
Frequently asked questions
Got questions about keeping your pruners in top shape? Here are some of the most common concerns—and quick solutions!
How often should I clean my garden pruners?
Clean your pruners after every use if you’ve cut diseased plants or sap-heavy branches (like fruit trees). For general pruning, a thorough cleaning every few weeks prevents rust and buildup. If you notice sticky residue or dull blades, it’s time to deep-clean!
Can I clean pruners with just water?
Water alone won’t remove sap, dirt, or bacteria—it’s just the first step! For a full clean, follow up with soap, a brush, and a disinfectant (like rubbing alcohol or bleach solution). Think of it like rinsing a knife before scrubbing it!
What if my pruners still smell bad after cleaning?
A lingering odor usually means trapped sap or mold. Soak the blades in a 1:10 bleach-to-water solution for 10–15 minutes, then scrub and rinse thoroughly. For stubborn smells, try wiping them down with white vinegar after cleaning.
Are there alternatives to metal pruners?
If you’re avoiding metal (e.g., for magnetic tools or allergies), opt for stainless steel or ceramic-coated pruners, which resist rust better. For a non-metal option, bamboo or high-quality plastic pruners exist but require frequent cleaning with vinegar to prevent mold.
How do I remove sap without damaging the blades?
Use a plastic scraper or old toothbrush to avoid scratching. For dried sap, soak the blades in hot, soapy water for 5–10 minutes to soften it. Never use a wire brush—it dulls the edge faster than a dull knife!
Wrapping up and next steps
Keeping your garden pruners clean and sharp is the secret to effortless pruning and a healthy garden! 🌿 With just a few minutes and simple tools, you can prevent rust, extend their lifespan, and make every cut smooth.
Now that you’re armed with the know-how, there’s no excuse to let your pruners gather dust—grab them, clean them, and get back to shaping your green sanctuary!
Ready for the next step? Store them properly in a dry place or use a protective spray to keep them in top condition year-round. Happy pruning! ✂️