
Tools
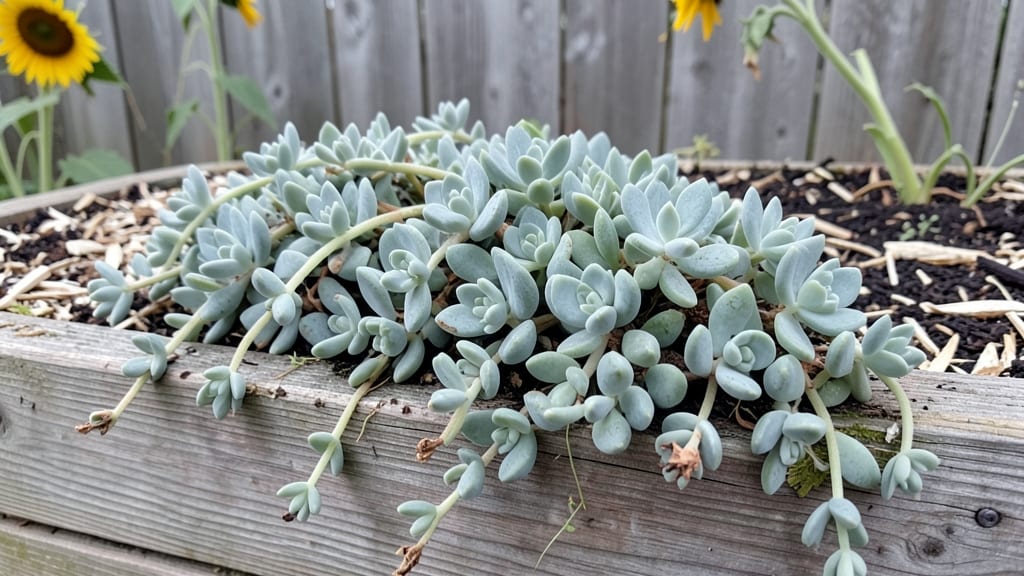
My first hanging garden bed turned a cramped balcony into a thriving green oasis—something I never thought possible in my small urban apartment. 🌿 The right setup lets you grow herbs, flowers, or even compact veggies without sacrificing floor space, and the vertical display adds instant curb appeal to any outdoor area.
You’ll need sturdy containers, quality drainage holes, and lightweight potting mix to keep roots happy without weighing down your setup. I started with simple plastic pockets for herbs and moved to woven macramé for trailing plants—both work beautifully as long as they’re secured properly.
The key is matching plant types to their hanging needs: heavy-leafed plants like pothos need deeper pockets, while delicate herbs thrive in shallower spaces.
Within weeks, you’ll see lush foliage spilling over edges, vibrant blooms attracting pollinators, and a space that feels like a mini forest even in a city. The best part? No more struggling with soil compaction or weeds—just easy maintenance and instant visual impact.
I’ll show you how to arrange plants for maximum airflow and beauty, plus how to keep them thriving through every season.
Perfect for balconies, patios, or even indoor walls with proper lighting. Whether you’re growing for food, flowers, or just greenery, this system transforms dead space into a productive, eye-catching garden. Let’s get your vertical space growing!
📚 In This Guide
- What you need
- Instructions
- Tips and common mistakes
- Wrapping up and next steps
What you need
- ● Hanging planter or fabric grow bag: Choose a durable, weather-resistant option (e.g., plastic, fabric, or metal) with drainage holes. Size: 12"–18" deep (ideal for herbs/veggies) or 6"–10" deep (for shallow-rooted plants).
- ● Potting mix: Lightweight, well-draining blend (e.g., 60% coco coir, 30% perlite, 10% compost). Quantity: 1–2 bags (depends on planter size).
- ● Slow-release fertilizer: Granular or organic pellets (e.g., 10-10-10 NPK ratio). Quantity: 1–2 cups per planter.
- ● Drainage layer: Small pebbles, hydroponic clay balls, or recycled plastic pellets. Quantity: 1–2 inches at the bottom.
- ● Mounting hardware: For walls: Heavy-duty brackets, L-brackets, or toggle bolts (rated for 20+ lbs per bracket).
- ● For fences/rails: S-hooks, carabiners, or chain links.
- ● For trees: Tree straps or bungee cords (avoid damaging bark!).
- ● Drill/driver: For securing hardware (cordless recommended for ease).
- ● Level: To ensure even placement (prevents water pooling).
- ● Scissors or utility knife: For trimming fabric planters or cutting hardware.
- ● Self-watering system: Wick or reservoir kit to reduce maintenance.
- ● Mulch: Organic (straw) or inorganic (landscape fabric) to retain moisture.
- ● Plant supports: Small stakes or cages for trailing plants (e.g., strawberries, nasturtiums).
- ● LED grow lights: For low-light areas (12–14 hours/day in winter).
- ● Weatherproof sealant: For wooden planters or brackets.
Step-by-step instructions for building a hanging garden bed
Here's how to create a stylish, functional vertical garden that brings greenery to any space.
🪴 Step 1: Select and Prepare the Hanging Container
Choose a sturdy, weather-resistant container with drainage holes—plastic or fabric grow bags work well for this project. I recommend a rectangular tray-style planter to maximize space for your 4 plants. If using a fabric grow bag, fold the top edge over twice to create a neat rim for planting.
Before adding soil, line the bottom with a layer of landscape fabric to prevent soil from escaping through the drainage holes. This keeps your space clean and ensures good drainage. For extra stability, attach wall-mounted brackets or ceiling suspension hardware to your chosen location, ensuring they can support at least 20 pounds per plant (or 80 pounds total for your setup).
🌱 Step 2: Fill With Quality Potting Mix
Fill the container 3/4 full with lightweight potting mix—this ensures proper drainage and aeration for roots. Avoid garden soil; it compacts in hanging beds and can suffocate plants. I like to mix in 1 part perlite for every 4 parts potting mix to improve airflow and prevent waterlogging.
Moisten the mix with lukewarm water until it’s evenly damp but not soggy—think of a wrung-out sponge. Press the soil down gently to eliminate air pockets, then smooth the surface. This step ensures your plants have a stable foundation and won’t dry out too quickly once hanging.
☀️ Step 3: Plant Your Greenery
Dig 1-inch deep holes for each of your 4 plants, spacing them 6-8 inches apart to allow room for growth. Gently remove plants from their nursery pots, loosen the roots if they’re tightly bound, and place them in the holes. Fill around the base with additional potting mix, pressing lightly to eliminate air gaps.
Water immediately after planting to help settle the soil and remove any air pockets. You’ll see the soil level drop slightly—this is normal. For best results, choose plants with similar water needs, like herbs, succulents, or trailing ferns, to simplify care. Avoid heavy feeders like tomatoes or peppers in hanging setups.
💧 Step 4: Position and Water Properly
Hang your garden bed in a location with at least 4-6 hours of sunlight daily, unless you’re growing shade-loving plants like pothos or ivy. For sun-loving varieties, a south-facing wall is ideal. If indoors, place near a bright window or under grow lights for 12-14 hours per day.
Water every 2-3 days, checking the top inch of soil—if it feels dry to the touch, it’s time to water. Hanging beds dry out faster than ground-level planters, so consistency is key. Water gently at the base to avoid displacing soil, and empty any excess from the saucer or tray underneath to prevent root rot.
✂️ Step 5: Maintain and Prune Regularly
Check your plants weekly for signs of stress—yellowing leaves, wilting, or pests. Trailing plants like string of pearls or sweet potato vine may need occasional trimming to control growth. Use clean, sharp scissors to snip back leggy stems, encouraging bushier growth.
Fertilize every 4-6 weeks with a balanced liquid fertilizer (like 10-10-10) diluted to half strength. Over-fertilizing can burn roots in confined spaces. If you notice leaves turning brown at the edges, it’s a sign of overwatering or salt buildup—rinse the soil lightly with plain water to flush out excess salts.
Tips & tricks for perfect hanging garden beds
A few simple strategies can transform your hanging garden from good to thriving. Here's what I've learned after setting up multiple vertical gardens.
Container Stability Matters: When attaching your hanging garden, use at least two sturdy mounting points for rectangular planters—this prevents wobbling that can stress plants. For fabric grow bags, consider adding a third support point in the middle if your plants are heavy. I've seen containers detach after just a few days when mounted with only one bracket! The 20 pounds per plant weight limit is a good rule of thumb, but if you're using particularly lush varieties, add an extra support point as a precaution.
Soil Mix Secrets: The 3/4 full fill level is crucial—leaving space at the top prevents soil from spilling when you water. For the perlite mix, I've found that adding an extra 1/2 part perlite (making it 4.5 parts potting mix to 1.5 parts perlite) works even better for very dense planters. This extra aeration helps prevent waterlogging, especially important in hanging beds where drainage can be compromised. Remember to press the soil down firmly after moistening—this creates a stable base that won't shift when you water.
Plant Selection Strategy: In Step 3, when choosing your 4 plants, consider their mature sizes. For example, basil and thyme stay compact but need frequent harvesting, while trailing plants like sweet potato vine will cascade beautifully but need more space. I've learned to arrange my plants with the fastest growers on the outer edges so they don't crowd the center plants. This arrangement also makes harvesting easier—reach in from the sides without disturbing the center plants.
Watering Hack: The every 2-3 days guideline works for most hanging gardens, but I've found a simple trick to make watering more efficient. Fill a spray bottle with water and mist the soil lightly between waterings—this helps maintain consistent moisture without creating puddles. For the initial watering after planting, I like to use a watering can with a long spout to reach all corners of the container without disturbing the soil. This gentle approach helps settle the soil around the roots while preventing erosion.
Pro Tips for Hanging Garden Bed
- A few simple strategies can transform your hanging garden from good to thriving.
- Container Stability Matters: When attaching your hanging garden, use at least two sturdy mounting points for rectangular planters—this prevents wobbling that can stress plants.
- Soil Mix Secrets: The 3/4 full fill level is crucial—leaving space at the top prevents soil from spilling when you water.
Frequently asked questions
Got questions about creating your own hanging garden bed? Here are some of the most common concerns—and their answers—to help you get started with confidence!
What’s the best material for a hanging garden bed?
A durable, lightweight fabric like geotextile or coconut coir is ideal for most plants. For heavier gardens, opt for sturdy plastic or wooden planters with drainage holes. Avoid untreated wood without proper sealing, as it can rot and harm your plants over time.
How often should I water a hanging garden bed?
Hanging gardens dry out faster than ground-level planters! Check soil moisture daily in hot weather and every 2–3 days in cooler climates. Water thoroughly until it drains from the bottom—morning watering reduces evaporation. Mulch helps retain moisture, cutting down on frequency.
Can I use a hanging garden bed for vegetables or just flowers?
Leafy greens (like lettuce or spinach), herbs (basil, thyme), and compact veggies (cherry tomatoes, peppers) thrive in hanging beds. Avoid root crops (carrots, potatoes) due to limited space. Just ensure your bed is deep enough (6+ inches) and has proper drainage.
What should I do if my hanging garden bed starts sagging?
Sagging usually means your bed is overloaded or the hanging system isn’t sturdy enough. Redistribute soil/plant weight evenly, or add support with additional hooks, chains, or a second rope. For fabric beds, reinforce with a sturdy frame or switch to a rigid container if needed.
Are DIY hanging garden beds cheaper than buying pre-made ones?
Yes! DIY options (using buckets, pallets, or fabric) cost $10–$30, while pre-made beds range from $40–$150+. Repurposing materials (like old gutters or baskets) can save even more. Just factor in time for assembly and potential extra costs for drainage solutions.
Wrapping up and next steps
Transforming your space with a hanging garden bed isn’t just about aesthetics—it’s a game-changer for year-round greenery, no matter how limited your ground space! Whether you’re a seasoned gardener or a beginner, these vertical oases bring fresh air, beauty, and even edible delights to your porch, balcony, or patio. 🌿✨
Ready to dive in? Start small—pick a spot, gather your supplies, and let your creativity (and plants!) flourish. Your future garden awaits—just a few steps away!