Lawn
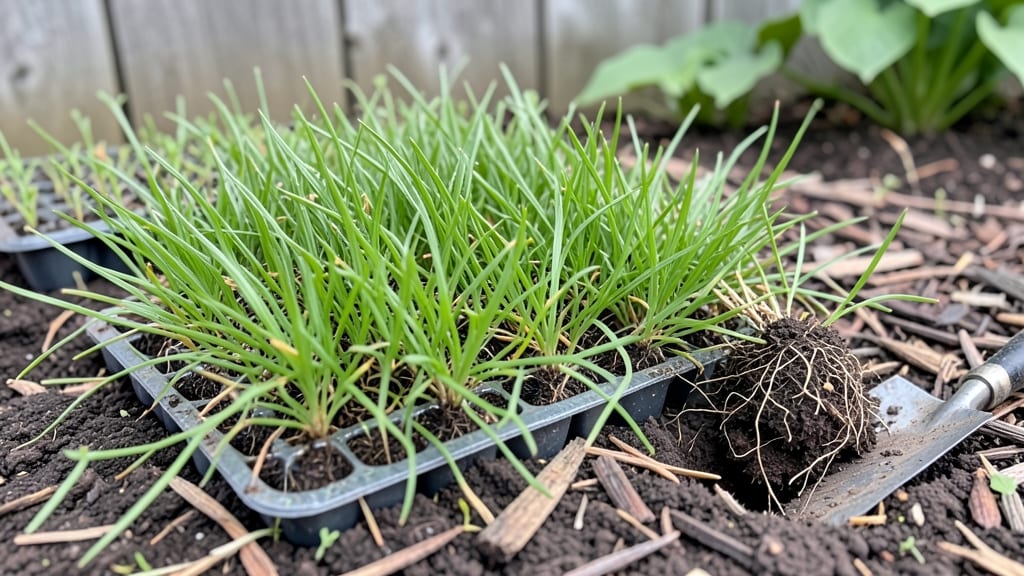
Grassroots gardening turns empty lots into thriving ecosystems right in your neighborhood. 🌱 I remember the first time I saw a community plot transform from cracked pavement to a sea of purple coneflowers and golden black-eyed Susans—it was proof that beauty doesn’t need permission, just people willing to dig in.
This isn’t your grandma’s flower bed; it’s about reclaiming spaces, growing food, and building connections through plants that actually belong where you live.
The magic happens when you skip the store-bought annuals and plant native perennials instead. These hardy plants need less water, no fancy fertilizers, and they come back year after year—no replanting required.
My local group started with just five 5-gallon buckets on a fire escape, and now we’ve got a mini-meadow that hums with bees and butterflies. The best part? You don’t need a yard to begin; even a balcony or sidewalk strip can become a pollinator paradise.
What you’ll end up with is a garden that works with nature, not against it.
Picture this: snow melting to reveal last year’s seed heads still standing tall, spring bulbs pushing through the soil before your neighbors’ lawns even green up, and summer blooms that attract birds you’d never see in a manicured yard.
These plants support local wildlife, cut your water bill, and create spaces where neighbors swap seeds instead of gossip. The payoff isn’t just pretty—it’s practical and powerful.
Whether you’re a city dweller with a windowsill or a suburbanite with a patch of concrete, this approach scales to your space. Start small—even a single native plant in a pot counts—and watch how quickly it spreads (both roots and ideas).
The real harvest? A greener neighborhood and a community that grows together, one plant at a time.
📚 In This Guide
- What you need
- Instructions
- Tips and common mistakes
- Wrapping up and next steps
What you need
- ● Native perennial plants: 10–20 plants (varies by garden size; choose drought-tolerant species like coneflowers, black-eyed Susans, or wild bergamot).
- ● Native soil: 1–2 cubic yards (amend with compost if your soil is heavy clay or sandy).
- ● Mulch: 2–3 inches of organic mulch (e.g., shredded bark or wood chips) to retain moisture and suppress weeds.
- ● Watering can or hose: With a gentle spray nozzle for delicate seedlings.
- ● Garden gloves: A pair to protect your hands from thorns or rough soil.
- ● Hand trowel or transplant spade: For digging small holes (6–12 inches deep).
- ● Pruners: Bypass pruners for clean cuts (sterilize with rubbing alcohol between uses).
- ● Measuring tape or ruler: To space plants 12–36 inches apart (check plant tags for specifics).
- ● Drip irrigation system: For efficient watering, especially in dry spells.
- ● Soil test kit: To check pH and nutrient levels (native plants often thrive in low-fertility soil).
- ● Compost bin: To recycle yard waste into nutrient-rich soil amendments.
- ● Garden journal: To track plant progress, blooms, and maintenance notes.
- ● Wildlife-friendly additions: Birdhouses, bee hotels, or a small pond to attract pollinators.
Step-by-Step guide to establishing a native perennial garden
Here's how to create a thriving, low-maintenance garden using native plants that flourish year after year.
🌱 Step 1: Prepare the Soil for Native Plants
Start by clearing the area of weeds and debris, then loosen the top 6-8 inches of soil with a garden fork. Native perennials thrive in well-draining soil, so avoid compacting it—break up any hardpan layers with the fork's tines. I like to add a 2-inch layer of compost to the topsoil for nutrients, but resist the urge to over-amend. Too much fertilizer encourages weak growth in native plants.
Test the soil's moisture by squeezing a handful—it should crumble slightly when dry but not feel powdery. If your soil is heavy clay, mix in 1 part sand to 3 parts soil to improve drainage. Native plants often prefer leaner conditions, so avoid heavy organic matter unless your soil is extremely poor.
🪴 Step 2: Plan and Plant in Clusters
Group plants by their water and sunlight needs—this mimics natural ecosystems and reduces maintenance. For a 4-plant serving, arrange 3-5 plants per cluster (depending on size) in odd-numbered groupings for a natural look. Dig holes twice as wide as the root ball but only as deep as the plant's container—burying too deep suffocates roots.
Gently remove plants from containers and tease apart roots if they're circling. Place each plant in its hole, then backfill with native soil, pressing lightly to eliminate air pockets. Water deeply to settle the soil around roots, but avoid puddling. I always step back to check spacing—plants should look full but not crowded.
☀️ Step 3: Water Deeply and Mulch Properly
Water each newly planted cluster with 1 gallon per plant to encourage deep root growth. Native perennials develop strong root systems when watered deeply but infrequently. Wait until the top 2 inches of soil feel dry before watering again—this prevents shallow roots that struggle in drought.
Apply 2-3 inches of mulch (like wood chips or straw) around each plant, keeping it 6 inches away from stems to prevent rot. Mulch conserves moisture, regulates soil temperature, and suppresses weeds. Replenish mulch annually in late winter to protect roots during cold snaps.
✂️ Step 4: Maintain Through Seasons
Cut back dead foliage in early spring to make room for new growth, but leave seed heads if you want to support pollinators. Fertilize only if leaves look pale—native plants rarely need extra nutrients. I prune 1/3 of the plant height in late winter to encourage bushier growth, but never remove more than that at once.
Monitor for pests, but resist chemical treatments. Most native plants handle occasional chewing from deer or rabbits better than non-natives. If needed, handpick pests or use a strong spray of water. By their second year, established natives become self-sufficient and require minimal intervention.
Tips & tricks for perfect native perennial gardens
These simple strategies will help your native perennial garden thrive with minimal effort and maximum beauty.
Soil Prep Secret: When loosening that 6-8 inch layer in Step 1, focus on breaking up compacted layers without turning the soil into powder. Think "fluffy" not "crumbled"—native plants hate being smothered. A garden fork works best for this, but if you're working with hard clay, rent a tiller for just the initial prep. The goal is to mimic natural soil conditions where roots can spread easily.
Planting Technique: In Step 2, that "twice as wide" hole rule is gold for root health. But here's what nobody tells you—after placing your plant, press the backfilled soil firmly around the edges to eliminate air pockets. I use my hands to gently pat it down, almost like giving the plant a little hug. This ensures immediate root contact with soil, which prevents transplant shock. And remember: odd-numbered clusters (3, 5, or 7 plants) create that natural, full look we all crave.
Watering Wisdom: The "1 gallon per plant" rule in Step 3 is perfect for establishing roots, but timing matters just as much. Water in the morning so plants have all day to absorb moisture before evening evaporation. I set a timer for every 3 days during the first month to maintain that deep watering routine. The key is consistency—native plants reward patience with resilience.
Mulch Magic: That 2-3 inch mulch layer in Step 3 does more than suppress weeds—it creates a microclimate that protects roots from temperature extremes. For best results, use locally sourced mulch (like wood chips from fallen native trees) which breaks down slowly and adds nutrients. Just keep it 6 inches away from stems to prevent rot, and refresh it annually in late winter when you're doing your pruning.
Pro Tips for Grass Roots Gardening
- These simple strategies will help your native perennial garden thrive with minimal effort and maximum beauty.
- Soil Prep Secret: When loosening that 6-8 inch layer in Step 1, focus on breaking up compacted layers without turning the soil into powder.
- Planting Technique: In Step 2, that "twice as wide" hole rule is gold for root health.
Frequently asked questions
Got questions about diving into grass roots gardening with native perennials? You’re not alone! Here are some of the most common queries—and straightforward answers—to help you get started with confidence.
What’s the best time of year to start planting native perennials?
Native perennials thrive when planted in early spring or fall—when soil is workable but not scorching. Spring (March–May) gives roots time to establish before summer heat, while fall (September–November) avoids drought stress. Avoid planting in extreme heat or frost, as tender roots struggle to adapt.
Are native perennials more expensive than non-native plants?
Not necessarily! While some rare natives may cost more, many are budget-friendly and low-maintenance once established. Local nurseries or seed swaps often carry affordable options. Plus, their resilience means fewer replacements over time—saving you money long-term.
How do I keep weeds from taking over my native perennial garden?
Weeds compete for resources, but natives outcompete them naturally once established. Use mulch (wood chips or straw) to suppress weeds, hand-pull early invaders, and avoid synthetic herbicides. Healthy soil = fewer weeds! For stubborn patches, try sheet mulching.
Do native perennials survive harsh winters?
Native perennials are hardy by design—they’ve evolved to thrive in local climates. Most handle frost, snow, and even drought once rooted. Pro tip: Add a light layer of mulch in late fall to protect roots from extreme cold. Avoid heavy mulch, which can smother plants.
Can I grow native perennials in containers or small spaces?
Yes! Many natives (like black-eyed Susans or coneflowers) adapt well to containers. Choose deeper pots for taproots and use well-draining soil. Dwarf varieties or ground covers (e.g., wild bergamot) work great for balconies or patios. Just ensure containers get enough sunlight and water.
Wrapping up and next steps
Grass roots gardening with native perennials isn’t just about transforming your lawn—it’s about creating a thriving, low-maintenance ecosystem that supports local wildlife and brings joy year-round. 🌿 From drought-resistant blooms to pollinator-friendly havens, these plants prove that beauty and sustainability go hand in hand.
Start small, stay curious, and watch your garden flourish with every season!
Ready to take the next step? Pick one native perennial to plant this weekend—your future garden (and the bees!) will thank you. 🐝