Pests
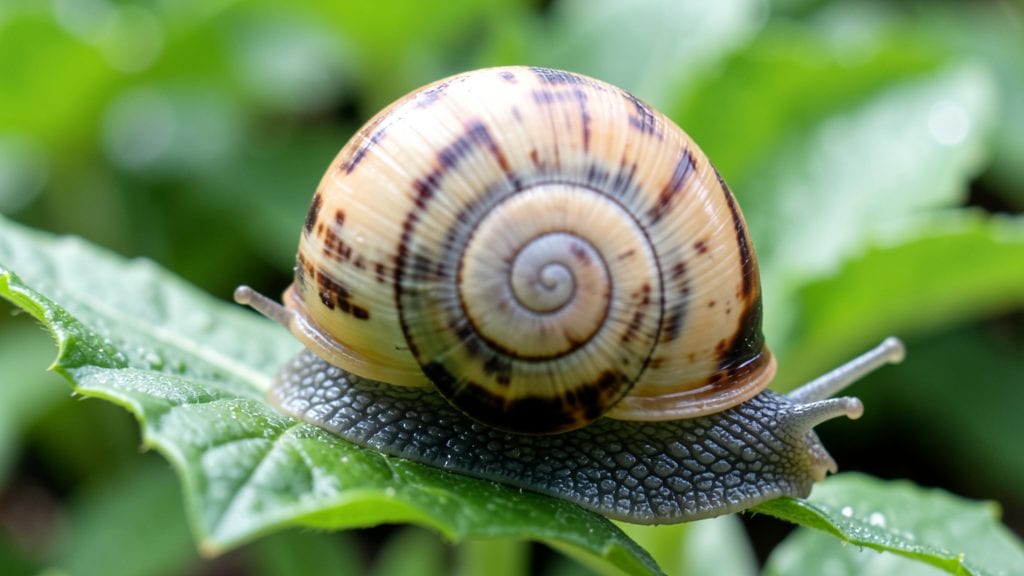
Finding those glistening garden snail shells scattered across your garden isn’t just an eyesore—it’s proof they’re feasting on your prized plants. I’ve battled these slimy pests for years, and the copper barrier method finally gave me the upper hand.
The secret lies in how copper disrupts their slime trails, creating an invisible but effective barrier they simply can’t cross.
You only need a few supplies: copper tape (or a DIY copper wire setup), a measuring tape, and a pair of gloves. The process takes less than an hour for a small garden, and it’s a one-time fix that keeps working season after season.
No chemicals, no traps—just a sleek, low-maintenance solution that actually stops snails in their tracks.
Once installed, you’ll notice fewer shells in your garden beds within days. Your lettuce stays crisp, your hostas stay intact, and you won’t wake up to another trail of slime leading to your favorite tomato plants.
The barrier works for both vegetable gardens and ornamental beds, making it a versatile fix for any yard.
Here’s the kicker: it’s not just about removing shells—it’s about preventing the damage before it starts. Copper barriers are especially effective in spring and fall, when snails are most active. Ready to reclaim your garden without the mess?
📚 In This Guide
- What you need
- Instructions
- Tips and common mistakes
- Wrapping up and next steps
What you need
- ● Copper tape or wire: Width: ½ inch to 1 inch (for small gardens) or 1.5 to 2 inches (for larger areas)
- ● Length: Enough to encircle your garden beds or plant pots (add 10% extra for overlaps)
- ● Measuring tape or ruler – For precise placement.
- ● Scissors or wire cutters – To trim copper to size.
- ○ Staple gun or strong adhesive (optional) – For securing copper to vertical surfaces like fences or pots.
- ○ Stakes or garden pins (optional) – To anchor copper tape along garden edges.
- ● Gloves (recommended) – Copper can be sharp or leave a metallic taste if touched.
- ● Identify the areas where snails are most active (e.g., near host plants, moist soil, or shaded spots).
- ● Clear debris or obstacles from the garden edges to ensure a clean, snail-proof barrier.
- ● Choose a dry day for installation—wet conditions can make copper harder to handle.
Step-by-Step instructions for installing a copper barrier against garden snails
Here's the proven method I use to keep snails from devouring my plants—no chemicals, no traps.
Measure and Cut the Copper Barrier
Start by measuring the perimeter of your garden beds or individual pots where snails are a problem. Copper tape or wire comes in rolls, so cut it to fit snugly around the edges. For raised beds, wrap the copper around the inside perimeter, leaving about 2 inches exposed above the soil line. If protecting individual pots, wrap a strip around each container, overlapping the edges by ½ inch for continuity.
Use scissors or wire cutters to make clean cuts—jagged edges can create gaps where snails might squeeze through. I always cut a little extra and trim after positioning, just to ensure a perfect fit. The copper needs to be in direct contact with the soil or plant surfaces to work effectively, so avoid gaps or overlaps that might lift it away.
Position the Copper Barrier Correctly
Place the copper barrier at the base of your garden beds or pots, ensuring it forms a continuous loop without breaks. For raised beds, press it firmly into the soil along the inner edge, burying it just slightly—about ½ inch deep. This prevents snails from crawling over or under it. If using pots, wrap the copper around the outside of the container, leaving the top edge exposed to deter climbing.
Pay special attention to corners and seams where the copper meets. Overlap sections by ½ inch and press them firmly together to eliminate any gaps. Snails are persistent little climbers, so even a tiny opening can become a highway for them. Test the barrier by running your finger along it—if you can feel a gap, adjust it until it’s seamless.
Secure the Barrier for Long-Term Protection
To keep the copper in place, especially in windy or rainy conditions, use small garden staples or copper-compatible adhesive clips to anchor it. Staple every 6-8 inches along the perimeter, or use clips to hold sections in place without damaging the copper. Avoid over-stapling, as this can weaken the barrier or create sharp edges that might harm plants.
For added durability, especially in high-traffic areas, bury the bottom ½ inch of the copper barrier into the soil. This creates a physical block that snails can’t cross. If you notice the copper shifting over time, check it monthly and re-secure any loose sections. A well-anchored barrier will last for years, providing consistent protection against snails.
Monitor and Adjust as Needed
After installation, keep an eye on the barrier for the first few weeks. Check for gaps, shifts, or signs of snail activity, such as slimy trails leading up to the copper. If you spot any snails attempting to cross, reinforce that area immediately. Adjust the barrier as needed, especially after heavy rain or wind, which can dislodge it.
If you notice plants touching the copper, trim them back slightly to prevent damage. While copper is safe for plants and pets, prolonged contact can cause minor discoloration or irritation. Regular maintenance ensures the barrier stays effective and your garden remains snail-free. With this setup, you’ll see a noticeable reduction in snail damage within a few days.
Tips & tricks for perfect copper barrier installation
Here's what I've learned after years of testing—these simple tricks will help you create a snail-proof garden that actually works.
Precision Cutting: When measuring and cutting your copper barrier in Step 1, I can't stress enough how important it is to leave that 2 inches exposed above the soil line. Snails are clever climbers, and if the copper isn't visible, they'll simply walk right over it. For pots, that ½-inch overlap at the edges is your secret weapon—it creates a continuous barrier they can't cross. I always cut a little extra and trim after positioning to ensure perfect coverage.
Continuous Contact: The key to an effective barrier in Step 2 is maintaining direct contact between the copper and whatever it's protecting. For raised beds, burying just ½ inch deep creates a physical block snails can't navigate. When wrapping pots, leave the top edge exposed—this deters climbing while still providing protection. I've seen snails try to navigate around gaps, so always test your barrier by running your finger along it before finalizing.
Long-Term Security: For the stapling in Step 3, I recommend using copper-compatible adhesive clips instead of staples for delicate plants. They're gentler on plant stems and provide just as much security. The 6-8 inch spacing gives you flexibility to adjust without creating weak points. Burying that bottom ½ inch creates an extra barrier against determined snails trying to tunnel underneath.
Maintenance Matters: After installation, I check my barriers monthly—especially after heavy rain or wind. Snails are opportunistic, and even small gaps can become entry points. If you notice plants touching the copper, trim them back immediately. That ½ inch overlap at seams is your first line of defense against snail invasions, so never let it become compromised.
Pro Tips for Garden Snail Shell
- Here's what I've learned after years of testing—these simple tricks will help you create a snail-proof garden that ac...
- Precision Cutting: When measuring and cutting your copper barrier in Step 1, I can't stress enough how important it i...
- Continuous Contact: The key to an effective barrier in Step 2 is maintaining direct contact between the copper and wh...
Frequently asked questions
Got questions about keeping garden snails at bay with copper barriers?
You’re not alone! Here are some of the most common queries—and straightforward answers—to help you get it right the first time.
How long does a copper barrier last before needing replacement?
A properly installed copper barrier can last 1-3 years depending on weather exposure and soil conditions. Over time, copper oxidizes, losing its effectiveness. Check for greenish discoloration or weak spots—if you see these, it’s time to refresh or replace the tape/strips.
Will copper harm my plants or pets?
Nope! Copper is non-toxic to plants, pets, and humans when used as a barrier. The mild electric shock it delivers is only strong enough to deter snails. Just keep it away from edible plants (like lettuce or herbs) to avoid accidental contact with soil residues.
Does rain wash away the copper’s effectiveness?
Rain won’t remove the copper’s deterrent power, but heavy downpours might bury it temporarily. After storms, gently re-expose the copper by brushing away soil or mulch. For extra security, bury the copper 1-2 inches deep in the soil.
What’s a good alternative if copper isn’t working?
If snails still sneak through, try these combo strategies:
- Diatomaceous earth (DE): Sprinkle food-grade DE around the perimeter—it dehydrates snails on contact.
- Coffee grounds: The caffeine and grit disrupt their slime trails. Refresh every few days.
- Beer traps: Bury shallow containers filled with beer near problem areas (snails are drawn to it but drown).
For severe infestations, consider iron phosphate baits (pet-safe when used correctly).
How do I fix a copper barrier that’s already been chewed through?
No worries—just patch it up! Clean the damaged area, then overlap a fresh strip of copper tape or wire by at least 2 inches on either side. Secure it with staples or garden pins. For a quick fix, crumple copper foil into a tight ball and place it near the gap—snails will avoid it.
Pro tip: Test your barrier’s effectiveness by placing a few snails near it. If they back away, you’re golden! If not, adjust the height or add a second layer.
Wrapping up and next steps
Keeping garden snails at bay doesn’t have to be a battle—with a simple copper barrier, you’ve got a natural, effective, and chemical-free solution! 🌱 Whether you’re protecting delicate seedlings or preserving your hard work, this method is proven to work without harming your plants or the environment.
The best part? It’s easy to set up and requires minimal maintenance.
Now that you’re armed with the know-how, take the next step: grab your copper tape or strips and create your snail-proof garden today! Start small—try a single bed or container—and watch the difference. Happy gardening! 🌿