
Landscaping
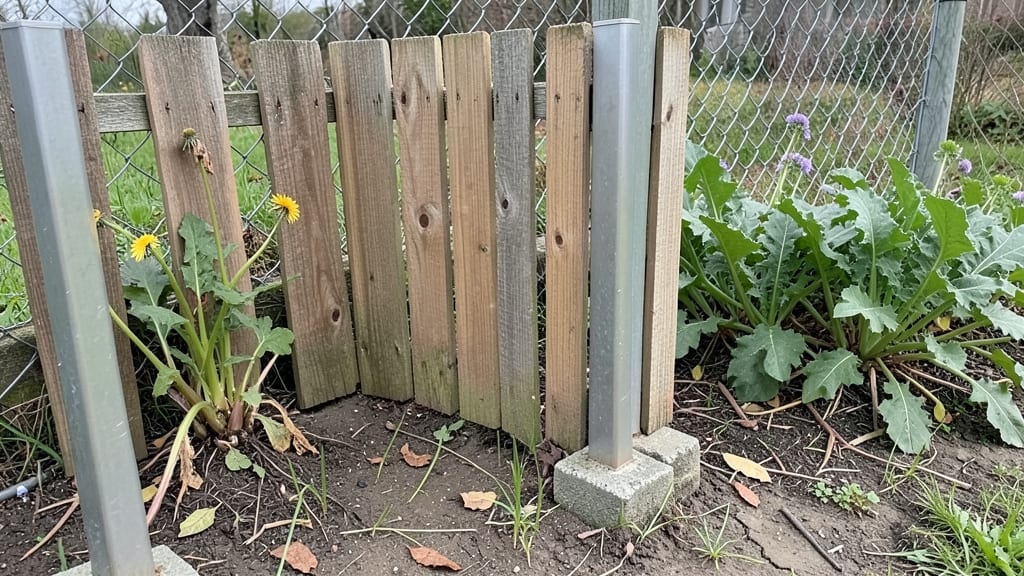
A garden fence kit transforms your yard from an open space to a cozy retreat in just one afternoon. I remember installing mine last spring—no power tools, no messy measurements, and no waiting for a crew.
The panels snapped together like puzzle pieces, and within 90 minutes, we had a 6-foot-tall barrier that blocked nosy neighbors and kept our dog from bolting.
These kits come in wood, metal, or vinyl, each with trade-offs: wood looks classic but needs sealing, metal stays sturdy forever but can get hot, and vinyl never rots but costs more upfront.
I chose cedar because it resists rot and smells amazing when fresh-cut. The real game-changer? Pre-drilled holes mean no wobbling posts—just dig, set, and secure with the hardware included.
By evening, you’ll have a privacy screen that doubles as a backdrop for climbing roses or a trellis for morning glories. The best part? No more worrying about stray balls, wandering pets, or curious squirrels raiding your bird feeders.
Plus, it adds instant curb appeal—neighbors will ask how you did it so fast.
Works for backyard borders, front-yard security, or even dividing a large garden into sections. Here’s how to pick the right kit for your space and avoid the three mistakes that turn a simple project into a headache.
📚 In This Guide
- What you need
- Instructions
- Tips and common mistakes
- Wrapping up and next steps
What you need
- ● Garden Fence Kit: Choose a kit that matches your desired height (typically 6–8 feet) and length. Most kits include pre-cut panels, posts, and hardware.
- ● Concrete Mix: 4–6 bags (80 lbs each), depending on soil type and post depth (usually 24–36 inches).
- ● Gravel: 1–2 bags (20 lbs each) for the base layer under posts.
- ● Galvanized or Stainless Steel Screws: 2–3 lbs (for securing panels to posts).
- ● Post Hole Digger or Auger: Manual or powered (rent if needed).
- ● Level: 24–36 inch (to ensure posts are perfectly vertical).
- ● Measuring Tape: 25-foot (for precise panel and post spacing).
- ● Shovel & Wheelbarrow: For digging and mixing concrete.
- ● Safety Gear: Gloves, goggles, and ear protection (if using power tools).
- ● String Line & Stakes: To mark the fence line before digging.
- ● Post Caps or Toppers: Decorative or functional caps to protect post ends.
- ● Landscape Fabric: Under panels to prevent weeds and pests.
- ● Stain or Paint: For a personalized touch (choose weather-resistant options).
- ● Battery-Powered Drill: If your kit requires extra screws or adjustments.
- ● Helper Hands: A friend to hold panels or mix concrete—you’re welcome! 😉
Step-by-step instructions for installing a garden fence kit
Here’s how to build a sturdy privacy barrier that holds up to wind and weather—no special tools required.
Mark and Dig Post Holes at Precise Intervals
Use the included measuring tape to mark post locations every 6 feet along your chosen line. This spacing matches the panel width and ensures even support. I like to use a garden hose or string line to keep everything straight—just tie it at the first post and pull tight to the last mark.
Dig each hole 12 inches deep and 8 inches wide with the post hole digger. The hole should be just deep enough to bury 2/3 of the post—this prevents rocking in wind or soil shifts. Tap the hole sides lightly with a shovel to remove loose soil and create clean edges. If your soil is rocky or clay-heavy, I’ve found adding a 2-inch layer of gravel at the bottom helps drainage and keeps posts stable.
Set Posts Plumb and Secure with Concrete
Place a post in the hole and check for vertical alignment with a 4-foot level—adjust until it’s perfectly plumb in both directions. Hold it steady while mixing the 5-gallon bag of quick-setting concrete according to the instructions. Pour the concrete into the hole around the post, filling it to 2 inches below ground level. Tap the post firmly a few times to remove air pockets and ensure full contact with the concrete.
Let the concrete set for at least 30 minutes before moving to the next post. I’ve learned the hard way that rushing this step leads to posts shifting later. If you’re working in hot weather, keep the concrete moist with a spray bottle until fully cured—this prevents cracking. Once all posts are set, wipe away any excess concrete with a damp cloth for a clean finish.
Attach Panels Between Posts with Included Hardware
Slide the first panel into the slots on the top and bottom of the first two posts. Use the galvanized screws and washer sets provided to secure the panel—start at the top corners first to ensure it sits flush against the posts. Drive the screws diagonally into the panel’s pre-drilled holes, but don’t overtighten. You’ll know it’s right when the panel hangs level and there’s a 1/8-inch gap at the bottom for drainage.
Repeat for each panel, working from one end to the other. If you notice gaps between panels, adjust by loosening the screws slightly and nudging the panel until it aligns evenly. I’ve found that pre-measuring each panel’s width before installation saves time—just compare it to the distance between posts with a tape measure. Once all panels are in place, double-check that none lean outward; a slight inward angle helps with wind resistance.
Add Caps and Finishing Touches for Longevity
Slide the plastic or metal caps onto the top of each post to protect the wood from moisture and UV damage. These caps also give your fence a polished look. If your kit includes corner braces, install them now at any 90-degree turns to reinforce the structure. For extra stability, I recommend adding 2-3 horizontal support beams between posts on the backside of the fence—this prevents panels from bowing over time.
Finally, inspect all screws and connections one last time. Tighten any that feel loose, and touch up any exposed wood with the included wood sealant if your kit provides it. This step isn’t just about looks—sealing the wood now extends its life by protecting it from rot and insects. Once everything’s secure, step back and admire your work. You’ve just built a fence that’ll last for years with minimal maintenance.
Tips & tricks for building a sturdy garden fence kit
Building a fence doesn't have to be intimidating—these practical tips will help you avoid common mistakes and create a fence that lasts for years. Here's what I've learned from installing multiple fences myself.
Precision in Step 1 is Everything: When marking your 6-foot intervals, use a helper to hold the string line taut while you make your marks. This prevents the common mistake of posts being slightly out of alignment, which can cause gaps between panels later. I also recommend using small stakes to mark the exact center of each hole—this makes digging straight holes much easier, especially in uneven ground.
The 30-Minute Concrete Rule: That 30-minute wait for the concrete to set is non-negotiable, but here's the trick: if you're working in hot weather, keep a spray bottle handy and mist the concrete every 5-10 minutes. This prevents surface drying while the concrete underneath continues to cure properly. I've seen concrete crack when it dries too quickly, so don't rush this step—it's the foundation of your fence's stability.
Panel Alignment Secret: Before attaching any panels, verify that all your posts are perfectly plumb by running a string line between the tops of the first and last posts. Any deviation here will show up as a lean in your panels. For the 1/8-inch drainage gap at the bottom, I use a small piece of cardboard as a spacer while I secure the panel—it's much easier to maintain that precise gap than trying to eyeball it.
Optional Reinforcement: While your kit may not include them, consider adding 2-3 horizontal support beams between posts on the backside of the fence. I've found this prevents panels from bowing outward over time, especially in windy areas. Use the same galvanized screws provided in your kit to attach these beams about halfway up the fence height.
Pro Tips for Garden Fence Kit
- Building a fence doesn't have to be intimidating—these practical tips will help you avoid common mistakes and create a fence that lasts for years.
- Precision in Step 1 is Everything: When marking your 6-foot intervals, use a helper to hold the string line taut while you make your marks.
- The 30-Minute Concrete Rule: That 30-minute wait for the concrete to set is non-negotiable, but here's the trick: if you're working in hot weather, keep a spray bottle handy and mist the concrete every 5-10 minutes.
Frequently asked questions
Got questions about installing a garden fence kit? You’re not alone! Here are some of the most common concerns—and quick answers to help you get started with confidence.
How long does it really take to install a garden fence kit?
A garden fence kit is designed for speed, but the exact time depends on your experience and yard size. Most DIYers finish a 6-foot section in 1–2 hours, while a full 100-foot fence might take a weekend. Break it into sections, and you’ll breeze through it! Pro tip: Pre-measure posts and panels to cut down on adjustments.
What tools do I need beyond what’s in the kit?
Your kit likely includes panels, posts, and hardware, but you’ll need a few extras: a post hole digger or auger, level, drill/driver, measuring tape, and concrete mix (if not pre-cast). Rent a circular saw if cutting panels on-site. Skip the guesswork—check your kit’s manual for a full tool list!
Can I install a garden fence kit in winter or rain?
Timing matters! Avoid freezing temps (concrete won’t set properly) and soaked ground (posts may sink unevenly). Aim for mild, dry weather—spring or early fall is ideal. If you must install in damp conditions, work quickly and let panels dry before securing them. Wait for a sunny day to avoid moisture-related hiccups.
What if my yard isn’t perfectly flat? Can I still use a fence kit?
Most garden fence kits include adjustable hardware to handle slight slopes. For steeper terrain, cut panels at an angle or use stepped posts. If your yard has major elevation changes, consider a vinyl or wood fence kit with built-in flexibility. Level each post before attaching panels to keep things neat.
What’s the best way to troubleshoot wobbly or uneven panels?
Uneven panels usually mean posts aren’t plumb or hardware isn’t tightened. Start by rechecking post alignment with a level—adjust and let concrete dry (if used). For panels, double-check screws/nails and use a rubber mallet to tap them flush. If gaps persist, shim the base with scrap wood before securing. Patience pays off—take time to tighten everything!
Still stumped? Most kits include customer support or online forums where DIYers share tips. Happy fencing!
Wrapping up and next steps
A garden fence kit is your fast, easy, and budget-friendly solution for instant privacy and security—no heavy lifting or complicated tools required! With just a few hours of hands-on work, you’ll transform your outdoor space into a cozy retreat, free from prying eyes and noise.
Whether you’re shielding your patio, securing a play area, or adding charm to your yard, the right kit makes it effortless.
Ready to get started? Measure your space, pick your favorite design, and dive in! Your dream backyard is just a few steps away—shop now and begin building confidence (and that gorgeous fence!) today. 🌿✨