
Tools
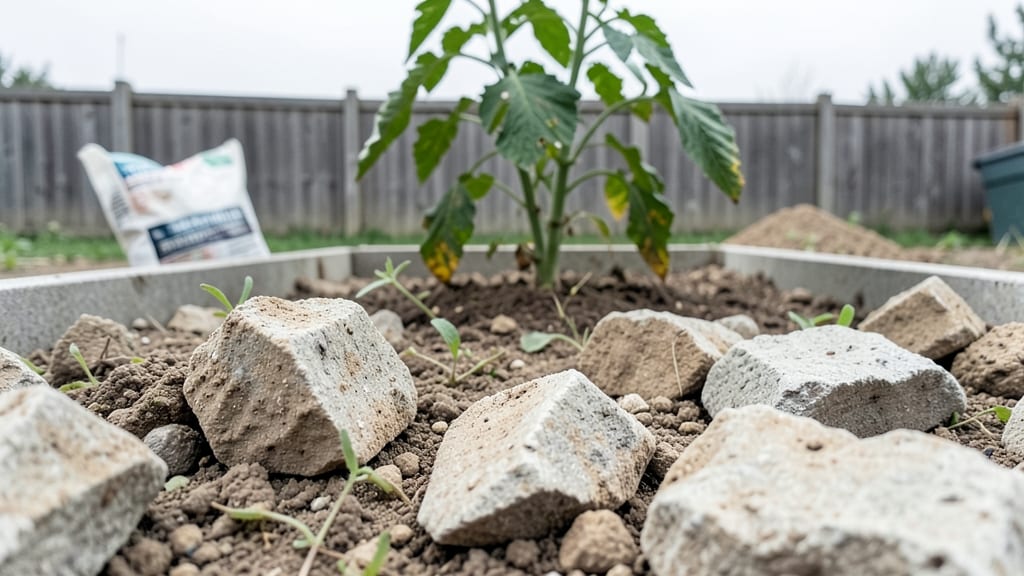
A cement garden bed transforms any outdoor space into a sleek, long-lasting planter that outlasts wood or plastic. I built mine in my high-traffic front yard after years of struggling with rotting containers—this one still looks fresh after five seasons.
The smooth finish resists cracks, the weight keeps it from tipping, and the clean lines suit modern landscapes better than anything I’ve tried.
You’ll need basic materials: ½-inch rebar, quick-setting concrete mix, a wooden form (or pre-made planter box), and your choice of plants. The setup takes 2-3 hours for a 4x8-foot bed, and you can customize the shape—curved, geometric, or even built into steps.
Just avoid planting directly in concrete; use a soil liner or raised bed insert to protect roots.
Once filled, your bed becomes a low-maintenance showpiece. Succulents thrive in the well-draining mix, herbs stay pest-free, and perennials return year after year without replanting. The weight also keeps critters from digging up your soil, and the smooth surface wipes clean in seconds.
My favorite part? No more replacing broken planters—this bed will last decades.
Perfect for urban patios, modern courtyards, or even vertical installations. The key is balancing aesthetics with function—think sun-loving lavender along the edges or drought-resistant sedum for a fuss-free look. Ready to build yours? Here’s how to get started without the guesswork.
📚 In This Guide
- What you need
- Instructions
- Tips and common mistakes
- Wrapping up and next steps
What you need
- ● Concrete mix: 50-lb bags (quantity depends on bed size; ~1 bag per 0.5 sq. ft. for 2" depth)
- ● Reinforcement: Wire mesh (1/2" x 1/2" grid) or rebar (1/4" diameter, spaced 12" apart)
- ● Forms: 2x4 lumber or sturdy plywood (cut to bed dimensions + 2" overhang)
- ● Screws/nails: Deck screws or galvanized nails (1.5"–2") for securing forms
- ● Gravel: Crushed stone (3/4"–1" size, 2" layer for drainage)
- ● Leveling tools: 4-ft level, string line, and stakes
- ● Shovel & wheelbarrow: For mixing and moving materials
- ● Trowel: Masonry trowel (for smoothing concrete)
- ● Safety gear: Gloves, safety glasses, and ear protection
- ● Edging: Metal or plastic landscape edging (to define bed shape)
- ● Release agent: Vegetable oil or concrete form oil (for easy removal of forms)
- ● Decorative elements: Stamped mats, colored concrete dyes, or embedded stones
- ● Waterproofing: Plastic sheeting (under bed to prevent moisture seepage)
- ● Drainage pipe: Perforated pipe (if bed has poor natural drainage)
- ● Clear and mark your garden bed layout (use spray paint or chalk)
- ● Check local building codes (some areas require permits for concrete structures)
- ● Ensure proper weather conditions (avoid rain or extreme heat during curing)
Step-by-Step instructions for building a cement garden bed
This method creates a sturdy, weather-resistant planter that lasts decades with minimal maintenance.
Mark and Prepare the Foundation
Use a tape measure and stakes to outline your bed dimensions—4 feet wide by 8 feet long works well for most plants. Dig down 6 inches along the outline to create a trench for the base. The wider the bed, the deeper you’ll need to dig to prevent cracking from soil pressure. I always add 2 inches of compacted gravel to the trench bottom for drainage; this prevents water pooling that weakens cement over time.
Check for level with a straight board or laser level—uneven bases lead to uneven beds. If your ground slopes, adjust the trench depth gradually rather than creating sudden drops. This ensures the finished bed sits flush with the landscape. Once satisfied, tamp the gravel firmly with a hand tamper or plate compactor.
Build and Secure the Wooden Formwork
Construct 2x6-inch lumber frames to match your marked dimensions, using 2x4-inch stakes as corner supports. The formwork should stand 12 inches high—taller beds dry slower and risk cracking. Line the inside with heavy-duty plastic sheeting to prevent cement from sticking; this makes cleanup easier and extends the life of your forms.
Brace the corners with 2x4-inch crossbeams and check for square using the 3-4-5 triangle method. Drive stakes into the ground every 2 feet to anchor the frame against soil pressure. I reinforce the back side with additional stakes if the bed faces prevailing winds, which can distort the shape during pouring.
Mix and Pour the Cement
Combine 1 part Portland cement with 3 parts coarse sand and 4 parts gravel in a wheelbarrow. Add water gradually—about 6 gallons per 94-pound bag of cement—until the mixture reaches the consistency of thick oatmeal. Overmixing creates air pockets that weaken the structure, while undermixing leads to dry spots that crumble.
Pour the mix into the formwork in 2-inch layers, spreading evenly with a shovel. Use a 2x4-inch board to screed the surface level. Vibrate the formwork gently to remove air bubbles—this prevents honeycombing. Work in 4-foot sections to maintain consistency, as cement starts setting within 30-45 minutes. Keep the mix moist with a spray bottle for the first 24 hours to prevent surface cracking.
Cure and Finish the Bed
Cover the poured bed with plastic sheeting for 7 days to slow the curing process. This prevents rapid drying, which causes surface cracks. Remove the formwork after 48 hours if the edges feel firm, but leave the plastic in place until the full week is up. After removal, inspect for low spots—fill them with a cement-sand slurry (equal parts cement and sand mixed with water) and smooth with a trowel.
For a polished look, apply a thin layer of acrylic sealer after 28 days of curing. This seals pores, repels moisture, and makes cleanup effortless. Avoid planting directly against the cement—install landscape fabric along the edges first to prevent root damage from expansion. Water the bed gently for the first week to test drainage; proper curing ensures your planter stays intact for years.
Tips & tricks for building a durable cement garden bed
A few key strategies will help you avoid common pitfalls and create a planter that lasts for years. These insights come from years of trial and error—trust me, the small details make all the difference.
Foundation Stability: In Step 1, when preparing your 6-inch trench, consider adding a layer of landscape fabric over the compacted gravel before pouring the cement. This extra barrier prevents soil particles from migrating upward during curing, which can weaken the base over time. I've seen beds crack prematurely when this step is skipped, especially in clay-heavy soils.
Formwork Reinforcement: For Step 2, if you're building a bed larger than 4 feet wide, add diagonal crossbeams between your corner stakes. The 3-4-5 triangle method is great for square checks, but wider beds need additional support to prevent outward pressure from distorting the shape during pouring. I've had to rebuild entire sections when formwork collapsed under the weight of wet cement.
Mixing Consistency: When combining your cement mixture in Step 3, use a stiff trowel to test consistency after adding water. The mix should hold its shape when lifted but still be workable—like thick oatmeal. Too much water creates weak spots that crumble, while too little makes proper placement impossible. I keep a small bucket of water nearby to make minor adjustments as I mix.
Curing Strategy: During the 7-day curing period in Step 4, I recommend misting the plastic-covered bed twice daily rather than just keeping it moist. This creates a more consistent humidity environment, which prevents surface cracking. The first 24 hours are critical—don't let the mix dry out completely during this window, as that's when most structural weaknesses develop.
Pro Tips for Cement Garden Bed
- A few key strategies will help you avoid common pitfalls and create a planter that lasts for years.
- Foundation Stability: In Step 1, when preparing your 6-inch trench, consider adding a layer of landscape fabric over the compacted gravel before pouring the cement.
- Formwork Reinforcement: For Step 2, if you're building a bed larger than 4 feet wide, add diagonal crossbeams between your corner stakes.
Frequently asked questions
Got questions about creating and maintaining a cement garden bed? You’re not alone! Here are some of the most common concerns—and straightforward answers—to help you get started with confidence.
Can a cement garden bed crack over time, and how do I prevent it?
A well-built cement bed can crack due to temperature shifts, soil expansion, or poor drainage—but it’s avoidable! Use reinforcing mesh in the concrete mix, leave expansion joints (every 4–6 feet), and add a gravel base for drainage. For extra durability, opt for fiber-reinforced concrete or a precast liner.
How long does a cement garden bed take to cure before planting?
Concrete typically needs 28–30 days to fully cure, but you can plant after 7–10 days if the surface is stable. Test by tapping the bed—if it sounds solid (not hollow), it’s safe! For faster results, use quick-setting concrete (cures in 1–3 days) and wait at least 3 days before adding soil or plants.
Are there eco-friendly alternatives to traditional cement for garden beds?
Consider these sustainable options:
- Recycled rubber mulch: Flexible, weed-resistant, and drains well.
- Stabilized soil blocks: Made from clay and natural fibers (e.g., cob or lime-stabilized soil).
- Galvanized steel or composite planters: Durable, rust-resistant, and often recyclable.
- Natural stone borders: Use flagstone or bricks with landscape fabric underneath to contain soil.
What do I do if my cement bed develops mold or algae?
Mold and algae thrive in shady, damp areas. Prevent it with:
- A waterproof sealant (applied every 2–3 years).
- Improving drainage by adding a gravel layer or sloping the bed slightly.
- Trimming overhanging plants to allow sunlight.
Is a cement garden bed more expensive than other materials?
Costs vary, but cement beds are mid-range in pricing. Here’s a quick comparison:
Material
Estimated Cost (per 4’x8’ bed)
Longevity
Cement (DIY)
$50–$150
10–20+ years
Wood (untreated)
$30–$80
3–7 years
Composite/Plastic
$100–$300
15–30 years
Natural Stone
$150–$500+
20–50+ years
Cement wins for durability and low maintenance, but precast or stone options may last longer with less upkeep.
Wrapping up and next steps
A cement garden bed is your ticket to a stunning, low-maintenance landscape that thrives year-round! With its durability, customizable design, and easy installation, it’s a game-changer for any outdoor space.
Whether you’re a seasoned gardener or a beginner, this project empowers you to create a functional and beautiful garden with confidence.
Ready to roll up your sleeves? Start by gathering your materials—then sketch your design and dive in! Your dream garden bed is just a few steps away. 🌱✨