Tools
These beautiful garden quotes can transform your space into a living poem—where every path whispers inspiration. ✨ I’ve collected them not just to decorate your space, but to spark ideas for color schemes, hidden nooks, and themes that feel uniquely yours. yours.
The right quote can transform a simple border into a storybook edge or a patio into a serene retreat.
Take Gertrude Stein’s "A rose is a rose is a rose"—it’s a playful reminder that even the simplest plants deserve a starring role. Or Henry David Thoreau’s "I went to the woods because I wished to live deliberately"—perfect for a meditation garden where every leaf feels intentional.
These words help you design with purpose, whether you’re layering fragrant herbs or carving a winding gravel path.
You’ll find quotes that celebrate wild beauty, quiet corners, and bold statements like "A garden is a grand teacher" (Longfellow). Pair them with your favorite plants—maybe a climbing rose for romance, or sunflowers for joy—and watch your space bloom with meaning.
The best gardens don’t just grow flowers; they grow memories tied to the words that inspired them.
From cottage charm to modern minimalism, these quotes adapt to any style. Let them guide your next planting decision, your hardscape choices, or even the way you arrange a single pot. After all, the most beautiful gardens are the ones that feel like home—and these words help you get there.
📚 In This Guide
- What you need
- Instructions
- Tips and common mistakes
- Wrapping up and next steps
What you need
- ● Garden markers or stakes: 5–10 wooden, metal, or stone stakes (3–6 inches tall) to display quotes.
- ● Weather-resistant paint: Acrylic or outdoor paint (1–2 colors) for quotes and accents.
- ● Stencils or vinyl letters: Pre-cut letters (or a stencil set) for clean, professional-looking text.
- ● Potting soil: 2–3 bags (for planting flowers/foliage around quotes).
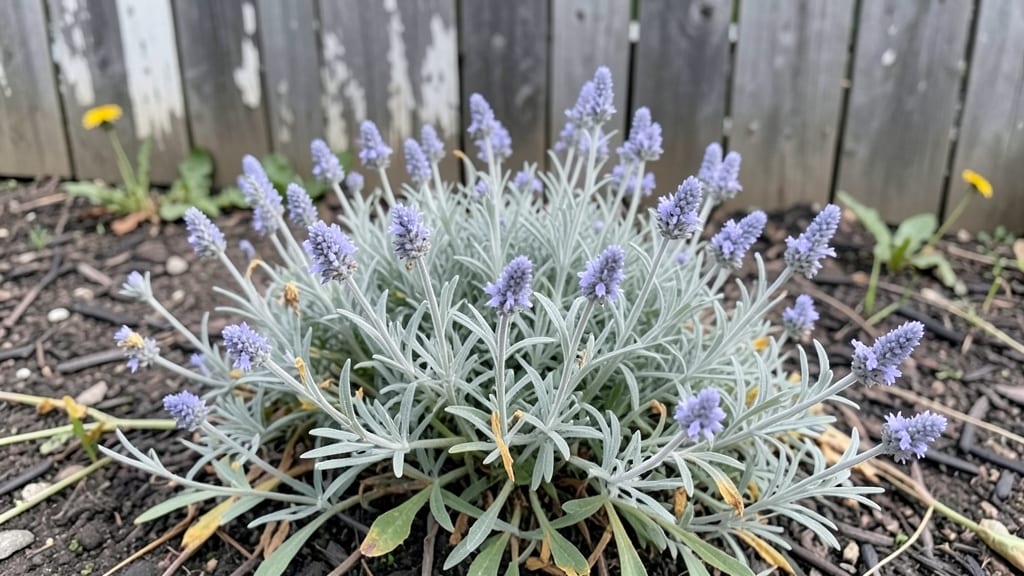
- ● Small plants or flowers: 3–5 low-maintenance varieties (e.g., succulents, marigolds, or lavender).
- ● Paintbrushes: Fine-tip brush (for details) + medium brush (for filling letters).
- ● Hammer or mallet: For securing stakes into the ground.
- ● Trowel or shovel: For planting and digging small holes.
- ● Measuring tape: To ensure quotes are evenly spaced.
- ○ Spray bottle (optional): For dampening stencils or cleaning brushes.
- ● Fairy lights or solar-powered LEDs to illuminate quotes at night.
- ● Chalk or temporary markers for testing quote placements.
- ● Decorative pebbles or mulch to enhance the garden’s aesthetic.
- ● A small watering can for post-planting care.
Step-by-step guide to crafting your own beautiful garden quotes
Turn inspiration into art with these simple steps—no green thumb required.
🌿 Step 1: Choose Your Favorite Quotes and Theme
Start by selecting quotes that resonate with your garden’s vibe. Whimsical, poetic, or wise—pick words that match your space’s energy. I like to jot down 4-6 favorites on a notepad (yes, the old-fashioned kind) so I can visualize how they’ll look in different spots. Think about your garden’s theme: Is it a cozy cottage garden, a modern minimalist retreat, or a wildflower paradise? The quote’s tone should harmonize with the setting.
Here’s the thing—don’t overthink it. If a quote sparks joy just reading it aloud, that’s your sign. For example, a quote like "The earth laughs in flowers" fits perfectly in a wildflower meadow, while "A garden requires patient labor and attention" suits a structured herb bed. Sketch rough placements on paper first to avoid last-minute regrets.
✂️ Step 2: Select Materials and Tools
Gather supplies that align with your garden’s aesthetic. For painted quotes, you’ll need acrylic paint, brushes, and stencils or stencil letters (or freehand if you’re feeling bold). If you’re using natural materials, think flat stones, wooden plaques, or even spray paint for metal signs. I prefer stones for a rustic look—they blend seamlessly and last for years.
Don’t forget a pencil and eraser for sketching designs, water-based primer if painting over rough surfaces, and sealer spray to protect your handiwork from rain. Pro tip: Test your paint colors on a scrap piece first—some hues look different once applied to stone or wood. This step is all about trial and error, so embrace it!
🎨 Step 3: Design and Prepare Your Garden Quotes
Sketch your quote onto the chosen surface using the pencil. For stones, I like to outline letters lightly first, then fill them in with paint. If using stencils, secure them firmly with painter’s tape to avoid smudging. For a more organic feel, try freehanding with a fine-tipped brush—it adds a personal touch. Remember, perfection isn’t the goal; charm is.
Let the paint dry completely before sealing. I usually wait 24 hours in dry weather to ensure no moisture gets trapped under the sealer. Once sealed, your quote will resist fading and weathering. If you’re placing them directly in the garden, consider adding a small waterproof backing to stones or plaques to prevent moisture damage over time.
🪴 Step 4: Install Your Quotes Thoughtfully
Place your finished quotes where they’ll be seen but not overpower the garden. Near a bench, along a pathway, or nestled among flowers—these spots add meaning without clutter. For stones, dig a shallow hole just deep enough to sit them level with the ground. For plaques or signs, use stakes or adhesive pads to secure them temporarily before finalizing placement.
Step back and admire your work from different angles. Adjust as needed—sometimes a quote looks better from a slightly elevated spot or tucked into a corner. Real talk: I’ve moved quotes twice before finding the perfect spot. Patience pays off, and your garden will thank you for it.
☀️ Step 5: Maintain and Refresh Over Time
Check your garden quotes every few months for signs of wear. Touch up paint with a small brush if needed, and reapply sealer if the surface feels dull or sticky. Stones may need occasional cleaning with a soft brush and mild soap to remove dirt or moss. For wooden or metal signs, inspect for rust or warping and treat as needed.
Here’s where it gets fun—rotate quotes seasonally! Swap out a winter-themed quote for a spring one to keep your garden feeling fresh. A little maintenance ensures your quotes stay beautiful for years, becoming cherished parts of your green haven.
Tips & tricks for perfect garden quotes
Creating garden quotes that stand the test of time takes a little finesse—here are my best tricks to help you craft pieces that feel like they’ve always been part of your garden.
Material Selection Matters: Flat stones are my go-to for a natural, timeless look, but don’t overlook wooden plaques or metal signs for different vibes. If using stones, choose ones with smooth, even surfaces—rough edges can make painting difficult. For painted surfaces, opt for unglazed ceramic or primed wood to ensure better paint adhesion. I’ve learned this the hard way after struggling with glossy surfaces that made paint slide off!
The 24-Hour Drying Secret: That full 24 hours of drying time in Step 3 is non-negotiable for outdoor projects. Humidity can trap moisture under the sealer, causing bubbles or peeling. I always do this in dry weather and place my painted quotes in a shaded spot to dry. Pro tip: Use a fan on low setting to speed up drying slightly without disturbing the paint—just keep it at least 12 inches away to avoid dust.
Design for Placement: Before sketching, consider how sunlight will affect your quote’s visibility. North-facing spots get less sunlight, so lighter colors will show up better. For south-facing areas, darker colors or contrasting lettering will stand out against bright backgrounds. I like to test placement by holding my quote up in different spots—sometimes a quote looks better when viewed from a pathway rather than head-on.
Sealing Strategies: Not all sealers are created equal! For painted stones, I use a matte polyurethane sealer—it’s durable and lets the colors shine. For wooden plaques, a water-based polycrylic works beautifully. Always apply two thin coats rather than one thick one to prevent drips. And here’s a trick I picked up: Lightly sand between coats with 220-grit sandpaper to help the second coat adhere better.
Pro Tips for Beautiful Garden Quotes
- Creating garden quotes that stand the test of time takes a little finesse—here are my best tricks to help you craft pieces that feel like they’ve always been part of your garden.
- Material Selection Matters: Flat stones are my go-to for a natural, timeless look, but don’t overlook wooden plaques or metal signs for different vibes.
- The 24-Hour Drying Secret: That full 24 hours of drying time in Step 3 is non-negotiable for outdoor projects.
Frequently asked questions
Got questions about weaving beautiful garden quotes into your outdoor space? Here are some common ones—and their answers—to help you get started!
How do I choose the right quotes for my garden style?
Match your garden’s vibe! For a serene retreat, opt for poetic lines like "The earth laughs in flowers." A whimsical fairy garden? Try playful phrases like "Where the wild things grow." Check your garden’s theme—romantic, modern, or rustic—and let the quote reflect that energy.
Should I paint quotes directly on garden structures or use signs?
Both work, but signs offer flexibility! Painted quotes (on trellises, fences, or pots) blend seamlessly but require weatherproof paint. Pro tip: Use acrylic paint with a sealant for longevity. Signs (wooden, metal, or chalkboard) are easier to swap out—perfect for seasonal changes.
When’s the best time to install garden quotes?
Anytime you’re prepping your garden! Spring or fall are ideal—soil is workable, and you can pair quote installation with planting. Avoid extreme heat (paint may bubble) or frost (materials can crack). Quick fix: Hang lightweight signs anytime, even mid-season, for instant inspiration!
What if my garden is small? Can I still use quotes effectively?
Tiny spaces shine with micro-quotes—short phrases on small signs, painted rocks, or even engraved stepping stones. Try "Little garden, big joy" near a potted herb bed. Vertical quotes (on walls or trellises) save space too. Think big impact, small footprint!
How do I protect my garden quotes from weather damage?
Use weather-resistant materials like galvanized metal, cedar wood, or plastic-coated signs. For painted quotes, apply a clear outdoor sealant (like Mod Podge Outdoor). Elevate signs on stakes or brackets to prevent ground moisture. Rotate signs seasonally to extend their life.
Wrapping up and next steps
From poetic musings to heartfelt reflections, these beautiful garden quotes remind us that nature’s magic lies in the smallest details—whether it’s the rustle of leaves or the vibrant burst of a sunrise. Let these words spark joy, creativity, and a deeper connection to your green sanctuary. 🌿✨
Ready to bring even more life to your garden? Start small: plant a favorite flower, sketch a dream layout, or simply spend a quiet moment among the greenery. Every step is a celebration of growth—both in your garden and within you!