
Tools
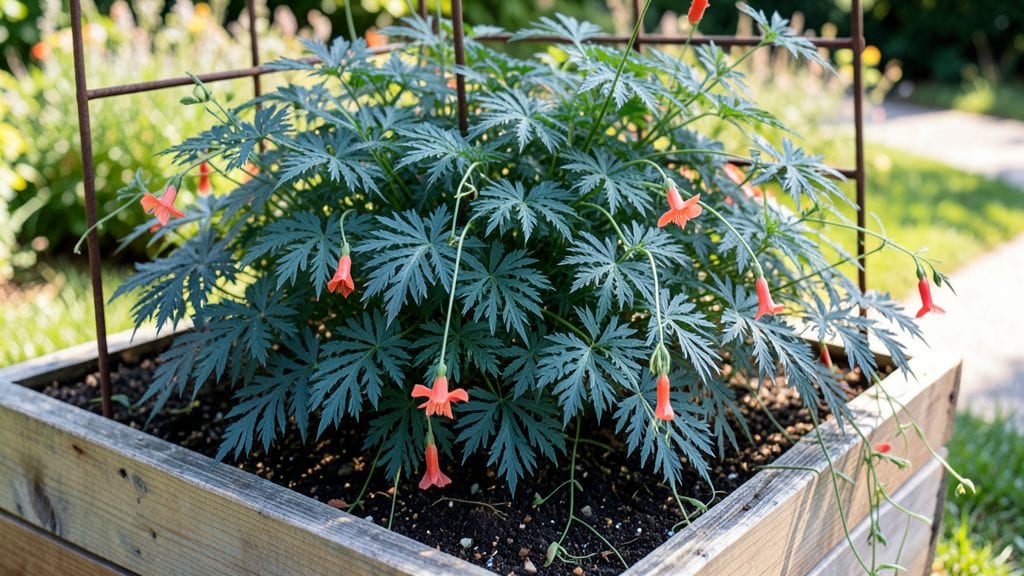
Transforming your garden into a sail-in privacy screen is the most unexpected way to add both beauty and function. I stumbled onto this idea after watching how driftwood and fabric could create a breezy, living barrier that moves with the wind—no rigid fence required.
The best part? It works as a seasonal windbreak, shade provider, and even a conversation starter for neighbors.
You’ll need weather-resistant fabric (like sunbrella or heavy canvas), sturdy stakes, and some basic sewing or rope-tying skills. Think of it as a cross between a trellis and a sail—light enough to flutter but heavy enough to stay put.
My first attempt used repurposed boat sails, but even store-bought fabric in nautical stripes or soft blues works beautifully. The setup takes under an hour, and the results are shockingly lush.
By summer, you’ll have a living screen that sways gently in the breeze while filtering sunlight just enough to keep your patio cool. In winter, it softens harsh winds and adds texture to an otherwise bare landscape.
The key is balancing fabric weight with airflow—too tight, and it won’t move; too loose, and it won’t block effectively. I’ll show you how to strike that perfect balance.
This design adapts to any garden style—whether you’re going for a relaxed cottage vibe with faded linens or a sleek modern look with geometric patterns. The best part?
You can mix in climbing plants like jasmine or morning glories to turn it into a fragrant, living wall over time. Let’s get those sails flapping!
📚 In This Guide
- What you need
- Instructions
- Tips and common mistakes
- Wrapping up and next steps
What you need
- ● Sails (Privacy Screens): 2–4 high-quality marine-grade polyester sails (size: 8’x10’ to 10’x12’ per panel, depending on space). Look for UV-resistant, fade-proof fabric.
- ○ Optional: Pre-dyed sails in neutral tones (beige, gray, or sage) for a cohesive look.
- ● Frame Materials: 4–6 pressure-treated 4x4 wooden posts (8’ tall, cut to 7’ for ground burial).
- ● 1–2 galvanized steel pipes (½” diameter, 10’ long) for horizontal supports.
- ○ Optional: Aluminum posts for a lighter, low-maintenance alternative.
- ● Fasteners & Hardware: Stainless steel carabiners or heavy-duty zip ties (50+ for sail attachment).
- ● Galvanized lag bolts, washers, and nuts (½” x 4” for post anchoring).
- ○ Optional: Deck screws for extra stability if attaching sails to a lattice.
- ● Tools: Post hole digger or auger (for burying posts 2’ deep).
- ● Drill/driver with impact setting for heavy-duty screws.
- ● Level, measuring tape, and string line for alignment.
- ● Circular saw or mitre saw (if cutting posts to size).
- ● Lattice or trellis panels (for added structure if sails need support).
- ● Outdoor-rated paint or stain (to match your garden’s aesthetic).
- ● LED string lights (solar-powered for ambiance).
- ● Weather-resistant sealant (to extend sail lifespan).
- ● Retractable awning hardware (if you want adjustable height).
Instructions for creating a sail-in garden privacy screen
Transform your outdoor space with this stunning, functional privacy solution that blends beauty with practicality.
Select and Prepare Your Sail Fabric
Choose marine-grade polyester sailcloth in your preferred color or pattern—it’s UV-resistant and built to last. Measure the area you want to cover, accounting for any curves or angles. A 6-foot height is ideal for most privacy screens, but adjust based on your needs. Cut the fabric to size, leaving an extra 12 inches on all sides for securing and trimming later.
Wash the fabric first to remove any manufacturing chemicals that could affect adhesion. Lay it flat on a clean, dry surface and press out any wrinkles with a warm iron (use a low setting to avoid melting the fabric). This ensures a smooth finish when you install it. Here’s the thing—skipping this step can lead to uneven edges and a less polished look once it’s up.
Install the Support Structure
Build a sturdy frame using 4x4 pressure-treated lumber for the posts and 2x4s for horizontal supports. Space the posts 6 feet apart along the length of your screen, burying the bottom 18 inches deep in the ground for stability. Use a post hole digger to create even holes and fill them with concrete to secure the posts firmly. Let the concrete set for 24 hours before proceeding.
Attach the horizontal supports at the top and bottom of the posts, creating a grid-like structure. For extra reinforcement, add diagonal braces between the posts if your screen will be exposed to strong winds. This ensures your sail stays taut and doesn’t flap or sag over time. Real talk: A flimsy frame will make your screen look shaky and unprofessional.
Attach the Sail Fabric to the Frame
Starting at one corner, use a heavy-duty staple gun to secure the sail fabric to the top and bottom horizontal supports. Stretch the fabric taut as you go to avoid wrinkles or loose sections. For a polished look, fold over the edges and staple them neatly. If you’re using a pattern or design on the fabric, align it carefully before securing it in place.
Use marine-grade grommets along the top edge of the sail if you prefer a removable option. This lets you take down the fabric during storms or for cleaning. For a permanent look, staple the fabric directly to the frame. Either way, make sure the fabric is fully taut—this prevents water pooling and keeps the screen looking crisp. You’ll see the difference immediately in how clean and professional it looks.
Secure and Finish the Edges
Trim any excess fabric along the bottom edge, leaving about 6 inches to tuck into a metal trim strip or decorative border. This keeps the fabric neat and protects it from wear. For added durability, apply a fabric sealant to the edges to prevent fraying. If your screen is near a walkway or patio, consider adding a wooden base at the bottom to hide the trim and give it a finished look.
Finally, check for any loose staples or uneven sections. Adjust as needed to ensure everything looks smooth and secure. This is the moment that matters: A well-finished sail screen not only provides privacy but also elevates the aesthetic of your garden. Don’t skip the details—it’s what separates a quick fix from a stunning feature.
Maintain Your Sail-In Garden Screen
Clean your sail screen twice a year with a mild soap and water solution, using a soft brush or sponge to avoid damaging the fabric. Rinse thoroughly and let it dry completely before putting it back up. If you notice any tears or wear, patch them with marine-grade repair tape or replace the affected section. With proper care, your sail screen can last 5-10 years or longer, depending on the fabric quality and exposure.
Inspect the frame and supports annually for signs of rot or rust, especially if you’re in a humid or coastal climate. Treat any issues immediately to keep your screen standing strong. Here’s the thing—regular maintenance keeps your sail looking fresh and your privacy screen functioning perfectly. It’s a small effort for a big payoff in both beauty and durability.
Tips & tricks for perfect sail-in garden privacy screens
These game-changing tips will help you create a sail-in garden privacy screen that looks stunning and stands the test of time—no matter what Mother Nature throws at it.
The Fabric Prep Game-Changer: When you wash and press your marine-grade polyester sailcloth in Step 1, use a low heat setting on your iron and avoid direct steam. The fabric can melt or weaken if exposed to too much heat, which will compromise its durability. I've seen this happen when people use high heat—trust me, you don't want to deal with a saggy, uneven screen after all your hard work!
Concrete Curing Strategy: That 24-hour concrete curing time in Step 2 is non-negotiable for stability. If you're working in hot weather, lightly mist the concrete every few hours to prevent cracking. For cold weather, consider using a concrete additive that accelerates curing. Pro tip: Use a small piece of scrap wood as a level to check your post holes—uneven posts will make your screen look crooked no matter how perfectly you attach the fabric.
Staple Placement Secret: In Step 3, when attaching the sail fabric, space your staples about 6-8 inches apart along the edges and 12 inches apart in the center sections. This creates a balanced tension that prevents the fabric from sagging in the middle while keeping the edges crisp. I learned this the hard way—too many staples can create visible lines, while too few leads to a wavy, unprofessional look.
Edge Finishing Upgrade: For Step 4, instead of just using a metal trim strip, consider adding a decorative wooden trim that matches your garden decor. This not only hides the raw edges but also adds a custom, high-end look. If you're using grommets for removability, pre-drill holes in the trim to make installation easier later. The extra 10 minutes spent on finishing touches makes all the difference in the final appearance.
Pro Tips for Sail In Garden
- These game-changing tips will help you create a sail-in garden privacy screen that looks stunning and stands the test of time—no matter what Mother Nature throws at it.
- The Fabric Prep Game-Changer: When you wash and press your marine-grade polyester sailcloth in Step 1, use a low heat setting on your iron and avoid direct steam.
- Concrete Curing Strategy: That 24-hour concrete curing time in Step 2 is non-negotiable for stability.
Frequently asked questions
Got questions about creating your own sail-in garden privacy screen? Here are some of the most common concerns—and their solutions—to help you get started with confidence!
What’s the best time of year to install a sail-in garden?
A sail-in garden can be installed year-round, but spring or fall are ideal for most climates. Avoid extreme heat or frost, which can stress the fabric or make installation harder. If you’re in a mild zone, winter installation is fine—just secure the sails extra tightly to handle wind!
Are sail-in gardens expensive compared to other privacy solutions?
Not at all! Sail-in gardens are a budget-friendly alternative to fences, lattice, or hedges. Costs vary by size and material, but they’re typically 30-50% cheaper than permanent structures. Plus, you save on maintenance—no trimming, staining, or repainting required!
How do sail-in gardens handle wind or heavy rain?
High-quality sail fabric is wind-resistant and waterproof when properly installed. Use heavy-duty stakes, tension cables, and weatherproof hardware to secure the sails. For strong winds, opt for a double-layer design or add a ground anchor. Most sails last 5-10 years with minimal wear!
Can I reuse or repurpose old sails for this project?
Upcycled sails
work perfectly—just ensure they’re made of marine-grade polyester or vinyl for durability. Clean them thoroughly, patch any holes, and measure for fit. Thrift stores, boating clubs, or online marketplaces are great places to find affordable options!
What’s the trickiest part of installing a sail-in garden?
The most common challenge is even tension—uneven sails can look saggy or floppy. Start by securing the top and bottom edges first, then adjust the middle for a smooth, taut finish. Use a level to keep posts straight, and don’t forget to pre-drill holes to avoid splitting wood!
Wrapping up and next steps
Transforming your garden into a serene, private retreat with a sail-in privacy screen is simpler—and more rewarding—than you think! 🌿 Whether you’re shielding your space from nosy neighbors or simply craving a touch of natural elegance, this project blends functionality with charm.
The key is starting small: gather your materials, follow the steps with patience, and let nature do the rest.
Ready to take the next step? Sketch your design today—measure your space, pick your plants, and watch your garden evolve into a tranquil haven. Your future self (and your neighbors) will thank you! 🌟