
Tools
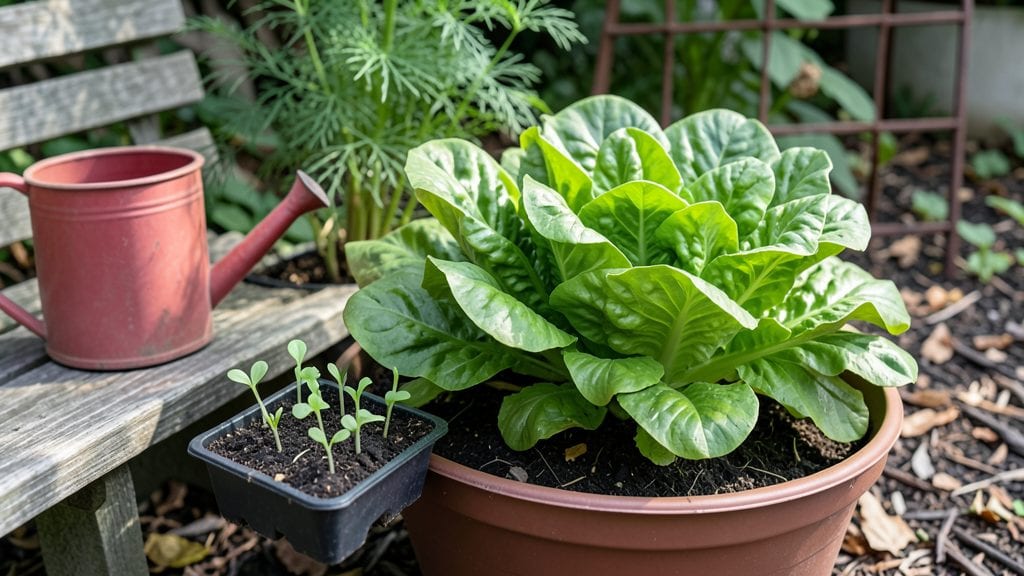
Turn your old rain gutters into a bursting vertical garden in under an hour—no green thumb required. 🌿 I stumbled onto this trick after struggling with limited balcony space, and now my gutters overflow with petunias, basil, and cherry tomatoes that my neighbors can't stop asking about.
You’ll need just five simple supplies: two gutters (or one long one), a drill, a saw, landscape fabric, and a few potting mix bags. The best part? Gutters create natural drainage, so you avoid soggy roots while saving space.
Herbs like thyme or oregano thrive here, as do trailing flowers like nasturtiums or small veggies like lettuce.
By mid-summer, your setup will be a lush, self-watering display that attracts pollinators and cuts down on weeding. The key is grouping plants with similar water needs—dry-loving herbs on one side, thirstier flowers on the other.
Hang it where it gets at least 6 hours of sun, and you’re golden.
Works on balconies, porches, or even fence posts—no yard needed. Once you see how little effort it takes to keep these gutters blooming, you’ll wonder why you didn’t try this years ago. Let’s get those gutters growing!
📚 In This Guide
- What you need
- Instructions
- Tips and common mistakes
- Wrapping up and next steps
What you need
- ● Rain gutters: 2–4 standard 10-foot vinyl, aluminum, or copper gutters (cleaned and free of debris).
- ● Gutter ends/caps: 4 pieces (2 for each end) to seal the gutters.
- ● Gutter screws: 8–12 stainless steel or galvanized screws (1.5–2 inches long) for secure mounting.
- ● Drill/driver: Cordless or manual, with a 1/8-inch drill bit for screws.
- ● Hanging hardware: 4–6 L-brackets or gutter hooks (adjustable for uneven walls).
- ● Potting mix: 1–2 bags of lightweight, well-draining container mix (avoid garden soil—it’s too heavy!).
- ● Drainage holes: A 1/4-inch drill bit or a nail to poke holes in the gutter bottom (spaced 6–8 inches apart).
- ● Plants: 1–2 trailing or compact varieties per gutter (e.g., petunias, ferns, strawberries, or herbs like thyme).
- ○ Watering can or spray bottle: For gentle hydration (drip irrigation is optional but handy!).
- ● Gutter liner: A landscape fabric strip to prevent soil from washing out.
- ● Fertilizer: Slow-release pellets or liquid feed for nutrient boosts.
- ● Decorative accents: Paint (for gutters), pebbles, or moss for a polished look.
- ● Self-watering kit: A wicking system or drip tape to automate watering.
- ● Reflective mulch: Black plastic or landscape fabric to retain moisture.
Step-by-Step instructions for rain gutter gardening
Turn your unused rain gutters into vibrant vertical gardens with this simple, space-saving technique.
🪴 Step 1: Gather and Prepare Your Gutters
Start with clean, dry gutters—rinse them thoroughly with water to remove debris and let them dry completely. I like to use gutters that are at least 4-6 feet long for a fuller look. If yours are damaged, repair any holes with waterproof sealant before proceeding.
Position your gutters horizontally using sturdy brackets or a gutter-hanging system attached to a wall or fence. Make sure they’re angled slightly downward (about 1-2 inches per 4 feet) so water drains properly. This prevents root rot and keeps your plants healthy. Use a level to ensure they’re straight—crooked gutters lead to uneven plant growth.
🌱 Step 2: Add Drainage and Planting Medium
Line the bottom of each gutter with a layer of landscape fabric to prevent soil from washing out. Cut it to fit snugly, leaving a little extra at the ends. This fabric also blocks weeds from creeping into your gutter garden.
Next, fill the gutters with a lightweight potting mix, leaving about 1 inch of space at the top. I press the soil down lightly so it’s firm but not compacted—this helps roots establish without sinking too deep. Avoid garden soil; it’s too heavy and can clog drainage.
💧 Step 3: Plant Your Flowers or Herbs
Choose compact, trailing plants like petunias, nasturtiums, or herbs such as thyme or oregano—they thrive in gutters and add beautiful cascading texture. Space plants about 6-12 inches apart, depending on their mature size. Dig small holes with your finger, place each plant gently, and cover the roots with soil.
Water thoroughly after planting, but avoid overwatering—gutters drain quickly, so let excess water run out completely. If you notice soil settling, add a little more potting mix to keep roots covered. This is the moment that matters: proper spacing and moisture ensure your plants take root without crowding.
☀️ Step 4: Position for Light and Water Regularly
Place your gutters in a location with at least 4-6 hours of sunlight daily. Most flowering plants and herbs need this much light to bloom or stay healthy. If your gutters are on a north-facing wall, supplement with a small grow light if needed—leggy, pale plants mean they’re not getting enough light.
Water every 2-3 days, checking the soil moisture by sticking your finger about 1 inch deep. If it feels dry, it’s time to water. I like to use a watering can with a narrow spout to target the soil directly without disturbing the plants. Avoid overhead watering—it can wash soil out of the gutters.
✂️ Step 5: Maintain and Enjoy Your Vertical Garden
Deadhead spent blooms regularly to encourage more flowers and keep your garden looking neat. Trim any leggy growth or overgrown foliage to maintain shape and prevent plants from spilling too far over the edges. This also improves airflow, reducing the risk of fungal diseases.
Fertilize lightly every 4-6 weeks with a balanced, water-soluble fertilizer diluted to half strength. Too much fertilizer can burn roots in the confined space of a gutter. Watch for pests like aphids or spider mites—spray plants with a mild soapy water solution if you spot any. With proper care, your gutter garden will flourish all season long!
Tips & tricks for perfect rain gutter gardening
Creating a thriving gutter garden is easier than you think—here are the game-changing tips that'll help your vertical blooms flourish.
Angle Matters: That slight downward slope of 1-2 inches per 4 feet in Step 1 is crucial for drainage. I've seen gutters overflow and create soggy conditions when this step is skipped. Use a level to ensure perfect alignment—uneven gutters lead to water pooling and root rot. Trust me on this, it's the foundation of healthy plants!
Soil Selection Tip: In Step 2, don't skimp on the quality of your potting mix. A lightweight blend with perlite or vermiculite prevents compaction and improves drainage. I've tried regular garden soil before, and it clogs drainage holes within days. The 1 inch of space at the top is also critical—it prevents overflow when you water.
Plant Spacing Secret: When planting in Step 3, think about mature size. Petunias might need 12 inches apart while thyme can handle 6 inches. I learned this the hard way when my crowded nasturtiums competed for space and produced fewer blooms. Press the soil gently around roots to eliminate air pockets—this helps roots establish faster.
Watering Wisdom: The 2-3 day watering schedule in Step 4 works best when you check soil moisture first. I've found that morning watering prevents evaporation and keeps plants hydrated longer. Use a narrow spout watering can to avoid disturbing the soil—overhead watering can wash away precious topsoil and expose roots.
Pro Tips for Rain Gutter Gardening
- Creating a thriving gutter garden is easier than you think—here are the game-changing tips that'll help your vertical blooms flourish.
- Angle Matters: That slight downward slope of 1-2 inches per 4 feet in Step 1 is crucial for drainage.
- Soil Selection Tip: In Step 2, don't skimp on the quality of your potting mix.
Frequently asked questions
Got questions about rain gutter gardening?
Here are answers to some of the most common ones to help you get started with confidence!
Can I use any type of gutter for rain gutter gardening?
Not all gutters work best! Opt for plastic or PVC gutters (they’re lightweight and easy to drill) or metal gutters with drainage holes. Avoid aluminum or vinyl gutters without modifications—they can warp or leak. If repurposing, ensure the gutter is clean, dry, and free of cracks.
When is the best time to start a rain gutter garden?
Spring or early summer is ideal—after the last frost—when temperatures are warm but not scorching. For tender plants, wait until nighttime temps stay above 50°F (10°C). In warmer climates, you can start as early as February! Just monitor moisture closely in hot months.
How do I keep my gutter garden from drying out too quickly?
Gutter gardens dry fast! Mist plants daily in hot weather and use self-watering systems like a drip line or wick system. Mulch with coco coir or peat moss to retain moisture. For extra insurance, place your gutter in a shaded or partially shaded spot—direct sun can evaporate water in hours.
What if my plants start wilting or turning yellow?
Wilting usually means underwatering or overwatering. Check soil moisture—it should stay evenly damp but not soggy. Yellow leaves often signal nutrient deficiency (try a balanced liquid fertilizer) or root rot (from poor drainage). Adjust watering, improve airflow, and repot if roots are crowded.
Are there alternatives if I don’t have gutters?
Try hanging planters, vertical pallet gardens, or repurposed containers (like old buckets or shoe organizers). Even a DIY fabric pocket planter (made from felt or burlap) works great. The key is ensuring proper drainage—poke holes in the bottom of any container to prevent waterlogging.
Wrapping up and next steps
Rain gutter gardening is your ticket to lush, space-saving blooms—no green thumb required! 🌱 With just a few simple materials and a dash of creativity, you can transform underused vertical space into a thriving garden.
Whether you're a busy urban dweller or a weekend warrior, this method proves that gardening doesn’t need to be complicated or expensive.
Ready to dive in? Start small—pick one gutter, a few plants, and experiment with layouts. Before you know it, you’ll be reaping the rewards of fresh herbs, vibrant flowers, or even homegrown veggies. Your next step? Grab your tools, follow the steps, and let your gutter garden flourish! 🌟