
Tools
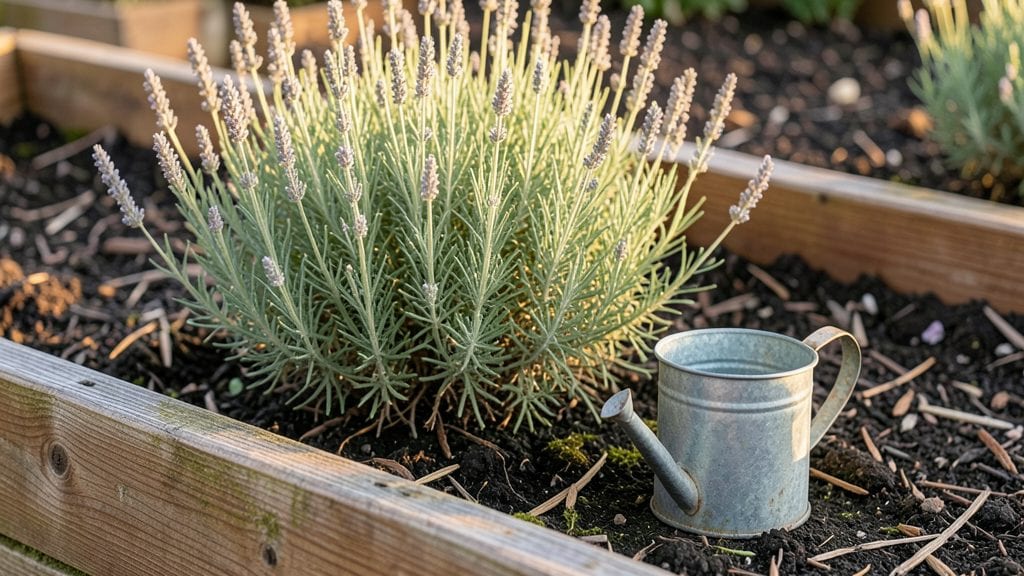
A dedicated outdoor gardening station turns your yard into a well-oiled machine for growing. 🌱 I built mine last spring after years of digging through tool sheds and losing pruners in the grass—now everything has a home, and my garden thrives because of it.
Think of it as your garden’s command center: a sturdy workbench with built-in storage for shears, gloves, and watering cans, plus a pegboard for hanging tools by their handles. Add a potting bench for seed starting or a mobile cart for moving supplies between beds.
Weatherproofing with a simple roof keeps tools dry, and a small shelf holds fertilizers or seed packets within arm’s reach.
You’ll spend less time hunting for tools and more time actually gardening. Pruning becomes a breeze with everything at elbow height, harvesting is faster, and even weeding feels efficient.
The station also doubles as a drying rack for herbs or a spot to stage plants before transplanting—versatility that saves space and money.
Works for any yard size, from a corner of your patio to a full workshop setup. Whether you’re using a repurposed table or building a custom cart, the key is keeping tools organized, protected, and ready when you are.
📚 In This Guide
- What you need
- Instructions
- Tips and common mistakes
- Wrapping up and next steps
What you need
- ● Workbench or Sturdy Table: 4’x6’ or larger (weather-resistant wood or metal, with a smooth surface).
- ● Tool Storage: Pegboard (2’x3’ or larger) with hooks and organizers.
- ● Wall-mounted racks or heavy-duty bins (for bulkier items).
- ● Pruning Tools: Bypass pruners (2-3 pairs, sharp and ergonomic).
- ● Loppers (long-handled, for thicker branches).
- ● Hand saw (folding or pruning saw, 8-10” blade).
- ● Harvesting Tools: Garden shears (for cutting herbs/veggies).
- ● Harvesting knife (serrated edge, for delicate produce).
- ● Gloves (2-3 pairs: gardening, pruning, and heavy-duty).
- ● Cleaning & Maintenance: Hose bib or water source (with spray nozzle).
- ● Rust-proof bucket (5-gallon, for soaking tools).
- ● Tool cleaner/wax (to prevent rust).
- ● Safety Gear: Sunglasses (UV protection).
- ● Wide-brimmed hat or cap.
- ● Comfort & Convenience: Folding chair or stool (for seating).
- ● Small shelf for potting soil or seed packets.
- ● LED work light (for early mornings or evenings).
- ● Advanced Tools: Electric hedge trimmer (for shaping).
- ● Wheelbarrow or dolly (for hauling debris).
- ● Portable power drill (for assembling or repairs).
- ● Organization: Label maker (to tag tools and supplies).
- ● Magnetic strips (for holding small metal tools).
Step-by-step guide to building your outdoor gardening station
Here's how to create a functional, all-season workspace that keeps tools organized and within reach.
🪴 Step 1: Choose and Prepare Your Base Location
Pick a spot near your garden beds but with some shade during peak afternoon sun. I like to place mine on a 4x4-foot concrete slab or a sturdy wooden deck to protect tools from soil moisture. Avoid low-lying areas where water pools after rain—rust and deterioration happen fast in damp conditions.
Clear the area of rocks and debris, then level the ground with a shovel. If you're using a pre-cast slab, position it on a layer of gravel at least 2 inches deep for drainage. For a DIY wooden platform, use pressure-treated lumber to resist rot and insects over time.
💧 Step 2: Assemble the Work Surface and Storage
Attach a 3-foot-wide workbench to your base using heavy-duty brackets or screws. I prefer a bench with a sloped front edge so I can set down pruners or shears without dropping them. Add a pegboard panel to one side for hanging tools—it keeps everything visible and within arm's reach.
Mount a tool rack with 6-8 hooks below the bench for long-handled tools like hoes and rakes. Store smaller items like gloves and trowels in a weatherproof plastic bin with a lid to keep pests out. Leave at least 2 feet of open space around the station for easy movement.
✂️ Step 3: Install a Water Source and Waste Bin
Connect a garden hose with a spray nozzle to a nearby spigot and route it to your station. I like to use a braided steel hose because it resists kinks and lasts through freezing temperatures. Mount a hose holder to the bench to keep it organized when not in use.
Place a 5-gallon waste bin nearby for collecting garden debris. Line it with a heavy-duty trash bag and keep a roll of biodegradable bags on hand for easy swaps. This keeps your workspace tidy and prevents pests from gathering around loose scraps.
☀️ Step 4: Add Lighting and Seasonal Accessories
Install a solar-powered LED light on one corner of the bench for evening tasks. I've found these work best when mounted at a 45-degree angle to avoid glare. For colder months, add a foldable chair with armrests so you can sit comfortably while pruning or potting.
Hang a small shelf above the bench for storing seed packets, fertilizer, or a notepad. Keep a hand sanitizer spray nearby—it's a game-changer for keeping hands clean after handling dirty tools or soil. This setup turns your station into a true multi-season hub.
Tips & tricks for perfect outdoor gardening station setup
Building a functional outdoor workspace is all about smart planning and small details that make gardening easier. Here's what I've learned to create a station that lasts through every season.
Location is Everything: That spot near your garden beds with afternoon shade isn't just about comfort—it's about protecting your tools. I've seen metal shears rust in just one rainy season when left on concrete without shade. Consider adding a simple shade sail or planting a fast-growing vine nearby if your area gets intense afternoon sun. The 2-inch gravel base under your concrete slab isn't just for looks; it prevents water pooling that causes long-term damage to tools stored underneath.
Workbench Design Matters: The sloped front edge of your 3-foot-wide bench might seem like a small detail, but it's a game-changer for preventing dropped tools. I've dropped pruners more times than I can count when they slipped off flat surfaces. For the pegboard panel, use hook sizes that match your most-used tools—nothing's more frustrating than hooks that won't hold your favorite trowel or shears. And don't skimp on the 2 feet of clearance; you'll thank yourself when you're not constantly bumping into the station while working.
Tool Organization Secrets: The 6-8 hooks for long-handled tools should be positioned at varying heights to accommodate different tool lengths. I like to hang my longest rake at the lowest hook and my pruning shears at the highest. For the weatherproof plastic bin, look for one with a locking lid—squirrels and raccoons are surprisingly good at opening bins when they smell food scraps. Place the bin on the shady side of your station to keep contents cooler during hot summer days.
Seasonal Accessories Setup: That 45-degree angle for your solar-powered LED light isn't arbitrary—it prevents glare when you're working in the evening. I've found that mounting the light at this angle also makes it easier to see your tools' details when you're cleaning them. For the foldable chair, consider adding a small footrest if you'll be doing a lot of kneeling work—your back will thank you. And the hand sanitizer spray should be placed where you'll actually use it, not tucked away in a corner. I keep mine on the bench's edge so I can reach it without breaking my workflow.
Pro Tips for Outdoor Gardening Station
- Building a functional outdoor workspace is all about smart planning and small details that make gardening easier.
- Location is Everything: That spot near your garden beds with afternoon shade isn't just about comfort—it's about protecting your tools.
- Workbench Design Matters: The sloped front edge of your 3-foot-wide bench might seem like a small detail, but it's a game-changer for preventing dropped tools.
Frequently asked questions
What’s the best location for an outdoor gardening station?
Place your station in a shaded, level spot near your garden for easy access. Avoid direct sunlight to protect tools from heat damage, and ensure it’s close to a water source for rinsing. A covered porch, garage, or dedicated shed works best—just keep it dry and ventilated!
When is the ideal time to set up my gardening station?
Set it up before planting season (early spring) to have tools ready for pruning, sowing, and weeding. If you’re retrofitting, late fall is perfect for organizing tools before winter storage. Pro tip: Assemble it gradually—start with essentials like pruners and gloves, then expand as your garden grows!
Can I use a gardening station for tasks beyond pruning and harvesting?
These stations are versatile hubs for potting soil, seed starting, tool storage, and even composting. Add shelves for pots, hooks for hoses, or a small workbench for crafting trellises. Think of it as your all-in-one garden command center!
What should I do if my tools keep getting dirty or rusty?
Prevent rust with regular cleaning and oiling. Wipe down metal tools after use, store them in a dry place, and apply a light coat of mineral oil to blades. For extra protection, use tool covers or moisture-absorbing packets in your station. A quick rinse with soapy water and a towel dry keeps them sharp and ready!
Are DIY gardening stations cheaper than buying pre-made ones?
Yes! DIY stations (using pallets, old cabinets, or cinder blocks) can cost 50–80% less than store-bought models. Repurpose materials like wooden crates or metal shelves and customize storage for your needs. Just ensure it’s sturdy and weather-resistant—your tools (and back!) will thank you.
Wrapping up and next steps
Creating your own outdoor gardening station is more than just a practical upgrade—it’s a game-changer for efficiency, organization, and joy in your gardening journey. 🌱 With the right tools, materials, and setup, you’ll transform chaotic chores into a streamlined, rewarding experience.
Whether you’re a seasoned green thumb or just starting, this multi-tool hub will keep your garden thriving all year round.
Ready to take the next step?
Start by gathering your essentials—like pruners, gloves, and storage bins—then sketch a simple layout for your station. Pro tip: Involve your family or gardening buddies to make it a fun, collaborative project! 💡 Now, roll up those sleeves and watch your garden (and your gardening skills) flourish.