
Tools
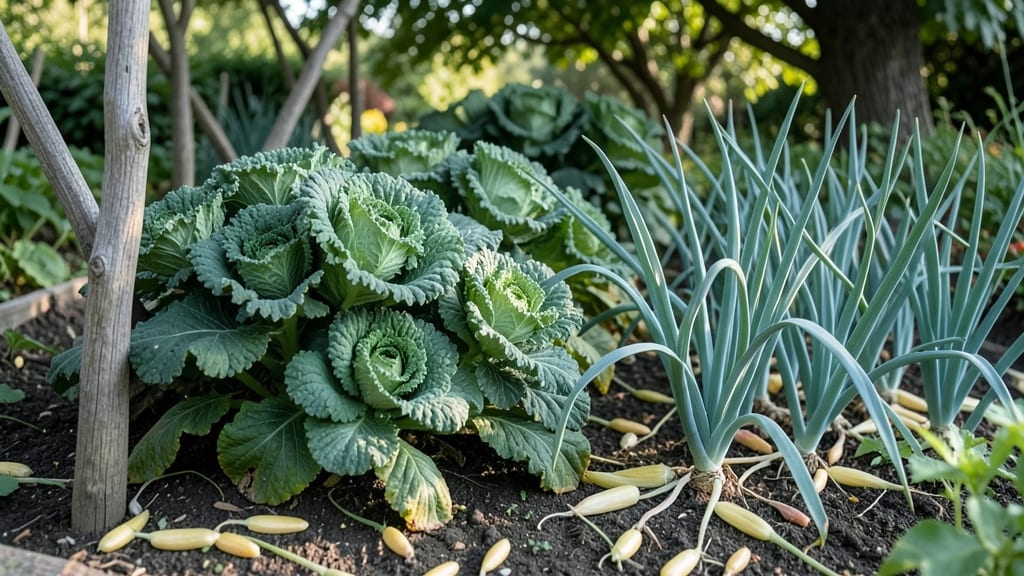
Building a garden that feeds you year-round without relying on stores starts with understanding how plants work together. 🌱 I learned the hard way that self-sufficiency isn't about growing more—it's about growing smarter, with systems that recycle nutrients, conserve water, and produce food continuously.
My first attempt failed because I treated it like a regular vegetable patch, not an ecosystem.
The key is designing for resilience: food forests mimic natural layers, three-sister planting combines corn, beans, and squash to support each other, and spiral gardens maximize space while catering to different plant needs.
You'll need compost systems to close nutrient loops, rainwater collection to reduce water bills, and a tool-sharing setup to cut costs—all while selecting crops that thrive in your climate's extremes.
By the end, you'll have a garden that doesn't just produce food but actually improves your land over time. The soil stays rich, the water stays in your yard, and the harvest keeps coming even when grocery stores raise prices.
This isn't just gardening—it's building a self-sustaining lifestyle that works with nature instead of against it.
Perfect for homesteaders, urban gardeners with limited space, or anyone tired of seasonal gaps in their harvest. The principles scale from a balcony to an acre—what matters is starting with the right systems in place. Let's design something that lasts for decades, not just one growing season.
📚 In This Guide
- What you need
- Instructions
- Tips and common mistakes
- Wrapping up and next steps
What you need
- ● Seeds: Non-GMO, heirloom varieties (e.g., tomatoes, beans, squash, greens, herbs). Start with 5–10 lbs of mixed seeds for beginners.
- ● Soil: High-quality compost (2–3 cubic yards for a 10’x10’ plot) + topsoil (1–2 cubic yards). Test soil pH (aim for 6.0–7.0).
- ● Watering System: Drip irrigation kit (e.g., 100–200 ft tubing + emitters) or soaker hoses.
- ● 5–10 gallon watering can (for seedlings).
- ● Tools: Sturdy trowel, pruners, and bypass shears.
- ● Garden fork (for aerating soil) and wheelbarrow (1–2 cubic ft capacity).
- ● Adjustable wrench and tool belt for maintenance.
- ● Greenhouse/High Tunnel: 4’x6’ or larger (extends growing season by 2–3 months).
- ● Cold Frames: 2–4 units (protects greens in winter).
- ● Compost Bin: 3’x3’x3’ (for zero-waste nutrient recycling).
- ● Pest Control: Neem oil, row covers, or companion planting kits.
- ● Storage: Root cellar or insulated bins (for potatoes, carrots, etc.).
- ● Sunlight access: 6+ hours/day (south-facing ideal).
- ● Space: Minimum 100 sq ft (expand as you grow!).
- ● Time: 10–15 hours/week (varies by season).
- ● Local knowledge: Check frost dates and plant hardiness zone (USDA Zone 5–9 recommended for starters).
Instructions: designing your zero-waste, year-round garden
Here's how to build a self-sufficient garden that keeps producing through every season.
🌱 Step 1: Plan Your Year-Round Planting Zones
Start by dividing your garden into three distinct zones: spring crops, summer staples, and fall/winter hardies. I like to use raised beds because they warm up faster in spring and drain better in winter. Place cold-hardy greens like kale and spinach in the northernmost beds where they won't compete with sun-loving summer plants.
Sketch a simple map showing where each plant family will go. For example, brassicas (kale, cabbage) in one corner, nightshades (tomatoes, peppers) in another, and alliums (onions, garlic) along the edges. This keeps pests from spreading and makes crop rotation easier. Remember, succession planting is key—when one crop finishes, another begins in its place.
🪴 Step 2: Build Multi-Layered Beds for Continuous Production
Use the 4-foot-wide bed system for maximum efficiency. Fill each bed with 12 inches of compost-rich soil mixed with 1 inch of worm castings (I buy mine in bulk from local farms). This creates a loose, fertile medium that retains moisture while allowing roots to spread freely.
Plant your tallest crops—like corn or sunflowers—along the north side of each bed. Medium-height plants (peppers, bush beans) go in the middle, and low growers (lettuce, radishes) fill the south edge. This vertical layering maximizes space and sunlight exposure. I always add 2 inches of straw mulch after planting to suppress weeds and retain moisture.
☀️ Step 3: Implement Seasonal Crop Rotation
Rotate your planting families every 2-3 years to prevent soil depletion and disease buildup. I keep a simple chart showing which crops went where each year. For example, after planting tomatoes in a bed (heavy feeders), I follow with beans (nitrogen fixers) the next season. This natural cycle keeps your soil balanced without synthetic amendments.
For winter production, focus on cold-hardy crops like garlic, carrots, and hardy greens. I plant garlic in fall for a spring harvest, then follow with spinach or peas. Use row covers or low tunnels to extend the growing season by 4-6 weeks in both spring and fall. The key is to always have something growing—even if it's just overwintering onions or cover crops like clover.
💧 Step 4: Create Closed-Loop Water Systems
Install rain barrels connected to downspouts to collect water for irrigation. I use drip irrigation with emitters spaced 12 inches apart to deliver water directly to plant roots. This system wastes 30% less water than overhead sprinklers and keeps foliage dry, reducing disease risk.
Compost all kitchen scraps and garden waste in a 3-foot by 3-foot compost bin. Turn the pile every 2-3 weeks to speed decomposition. When finished, the compost becomes your free fertilizer—rich in nutrients and microbial life. I aim to return all organic matter to the soil, creating a true zero-waste cycle.
✂️ Step 5: Maintain Through All Seasons
Prune regularly to encourage bushier growth and better yields. For example, pinch back tomato suckers and harvest zucchini every 2-3 days to prevent overproduction. I also practice companion planting—pairing basil with tomatoes to repel pests naturally and planting marigolds around the perimeter to deter nematodes.
Monitor soil health monthly by checking moisture levels and pH. Use a simple soil test kit to ensure your garden stays in the 6.0-7.0 pH range. Adjust with wood ash (to raise pH) or cottonseed meal (to lower pH) as needed. By the end of the year, you'll have a garden that feeds itself—and you—without waste.
Tips & tricks for perfect year-round garden production
Creating a self-sufficient garden takes planning—but these practical tips will help you avoid common pitfalls and maximize your harvest year after year.
Planting Zone Strategy: In Step 1, when mapping your zones, consider adding a microclimate map of your garden. Even small variations in sun exposure can make a difference. For example, south-facing beds get more intense sunlight, perfect for tomatoes and peppers, while north-facing beds work better for shade-tolerant greens like spinach. I always place my most heat-sensitive crops in the northernmost beds to protect them from afternoon sun.
Soil Layering Secrets: For Step 2's multi-layered beds, don't just stop at 12 inches of soil. Add a 4-inch layer of coarse wood chips at the bottom for drainage, then your compost mix, and finally a 2-inch layer of sand on top before adding mulch. This creates perfect drainage while keeping moisture at root level. I've found this prevents waterlogging during heavy rains while keeping soil moist during dry spells.
Crop Rotation Hack: When implementing your 2-3 year rotation in Step 3, create a simple color-coded chart using different colored markers for each plant family. This visual system makes it instantly clear where each crop should go next year. I also recommend including a legume row every other year to naturally replenish nitrogen in the soil without synthetic fertilizers.
Water System Efficiency: For Step 4's closed-loop system, consider adding a second rain barrel connected to a separate downspout. This gives you backup water supply during dry spells. I also install a manual valve on each emitter so I can adjust water flow based on plant needs—lettuce needs less than tomatoes. This precision saves water and prevents overwatering.
Pro Tips for Gardening Self Sufficiency
- Creating a self-sufficient garden takes planning—but these practical tips will help you avoid common pitfalls and maximize your harvest year after year.
- Planting Zone Strategy: In Step 1, when mapping your zones, consider adding a microclimate map of your garden.
- Soil Layering Secrets: For Step 2's multi-layered beds, don't just stop at 12 inches of soil.
Frequently asked questions
Got questions about gardening self-sufficiency?
You’re not alone! Here are answers to the most common concerns to help you grow with confidence.
How much space do I need for a self-sufficient garden?
A self-sufficient garden can thrive in just 20–50 square feet if you focus on high-yield crops like leafy greens, herbs, and compact veggies. For families, aim for 100+ square feet to cover staples like tomatoes, potatoes, and beans. Vertical gardening and container setups maximize space efficiently!
When should I start planning my year-round harvest?
Start 6–9 months before planting to account for seasonal shifts. For temperate climates, begin indoors in winter (late fall) with cold-hardy crops (kale, spinach), then transition to warm-season plants (tomatoes, peppers) in early spring. Use succession planting to keep harvests rolling!
Is self-sufficient gardening expensive to start?
Not necessarily! Repurpose containers, compost kitchen scraps, and save seeds from store-bought produce. Initial costs focus on soil amendments (compost, worm castings) and tools (pruners, trowel). Prioritize perennials (fruits, herbs) to cut long-term expenses.
How do I deal with pests without chemicals?
Prevent pests with diverse planting, row covers, and beneficial insects (ladybugs, lacewings). For troubleshooting, try neem oil or homemade sprays (garlic/chili). Rotate crops yearly to disrupt pest cycles—nature’s pest control!
Can I grow food year-round in cold climates?
Use greenhouses, cold frames, or row tunnels to extend seasons. Focus on winter-hardy crops (garlic, carrots, Brussels sprouts) and indoor microgreens. Layer mulch to insulate soil—consistent harvests are possible!
Wrapping up and next steps
Embarking on your gardening self-sufficiency journey is more than just growing food—it’s about reclaiming control, reducing waste, and nurturing a sustainable lifestyle. 🌱 Whether you’re starting small with a windowsill herb garden or scaling up to a full-year harvest, every seed planted is a step toward independence and resilience.
The key is to begin where you are, learn as you go, and celebrate every bite you grow yourself!
Your next step? Pick one action—maybe it’s saving seeds, composting kitchen scraps, or expanding your garden by just one square foot. Small changes create big ripples. You’ve got this! 💪