
Tools
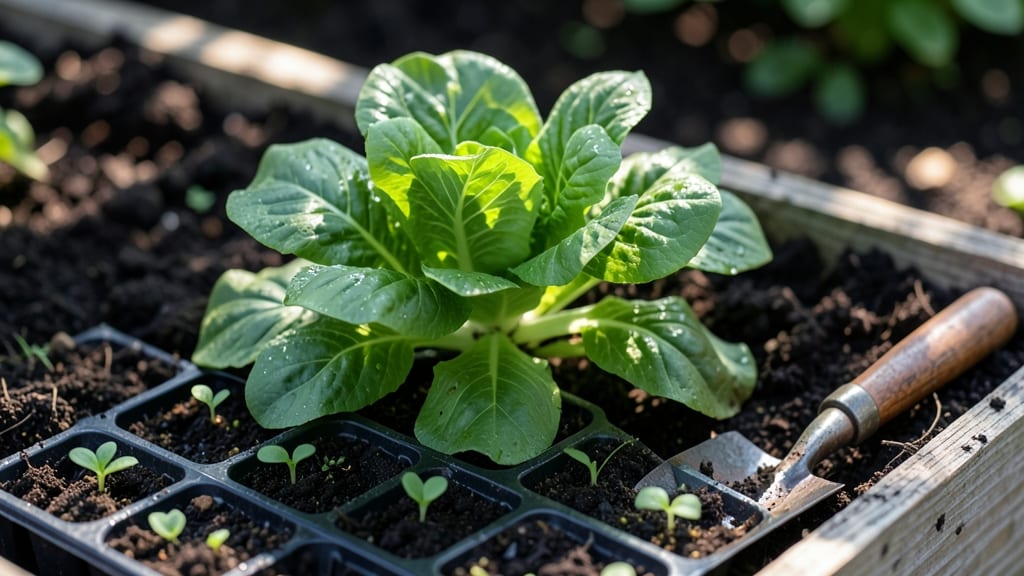
A garden box planner transforms even a 4x8-foot patch into a high-performance growing space that works year-round. I’ve designed dozens of these boxes, and the difference between a cluttered mess and a thriving garden comes down to smart spacing, plant pairings, and a little upfront planning.
The right layout lets you grow more in less space while keeping weeds and pests at bay.
Start with your box dimensions—most home gardeners use 4x8 feet or smaller for easy mobility—and sketch out zones for sun-loving plants, shade-tolerant varieties, and vertical climbers.
I recommend dedicating one side to herbs (they’re compact and productive), another to leafy greens (like lettuce and spinach), and the center to larger crops (tomatoes, peppers) that need room to sprawl. A simple wooden frame with cedar planks lasts years and resists rot.
By the time you’re done, you’ll have a layout that maximizes sunlight, minimizes water waste, and keeps harvesting easy. Picture rows of vibrant green basil next to fragrant marigolds, with climbing cucumbers trained up a trellis—all in a space smaller than a parking spot.
The best part? You can tweak it season by season without starting from scratch.
Whether you’re growing veggies, flowers, or a mix, this system works for raised beds, window boxes, or even container gardens. The key is flexibility—swap out plants as seasons change, but keep the same framework. Ready to turn that empty space into a garden that actually produces?
📚 In This Guide
- What you need
- Instructions
- Tips and common mistakes
- Wrapping up and next steps
What you need
- ● Garden box (container) – Choose a durable material like cedar, redwood, or galvanized metal. Sizes vary, but a 4’ x 8’ x 12” deep box is ideal for most plants.
- ● High-quality soil – 1 cubic yard of well-draining potting mix or garden soil (avoid regular yard soil—it compacts too easily!).
- ● Organic compost – 1-2 bags (5-10 lbs each) to enrich nutrients.
- ● Drainage layer – 2-3 inches of gravel or perlite to prevent root rot.
- ○ Plant supports (optional but helpful) – Trellises, stakes, or cages for vining plants (e.g., cucumbers, beans).
- ● Garden gloves – Protect your hands from dirt and thorns.
- ● Trowel or hand shovel – For digging and planting.
- ● Measuring tape – To plan spacing and layout.
- ● Watering can or hose with spray nozzle – Gentle watering is key!
- ● Pruners – For trimming and harvesting.
- ● Mulch – 2-3 inches of straw or wood chips to retain moisture and suppress weeds.
- ● Slow-release fertilizer – Follow package instructions for best results.
- ● Drip irrigation kit – Automates watering for busy gardeners.
- ● Companion planting guide – Helps maximize space and deter pests.
Instructions for designing a functional garden box layout
Here's how I approach planning a garden box that maximizes space while ensuring every plant thrives year-round.
Determine Box Dimensions and Sun Exposure
Start by measuring your available space—most garden boxes work best between 4 to 8 feet long and 12 to 18 inches deep. I prefer 4-foot-wide boxes because they allow easy access from both sides for planting and maintenance. Note the sun exposure: full sun (6+ hours) suits tomatoes, peppers, and herbs, while partial shade (3-6 hours) works for greens and lettuce.
Sketch your box dimensions on paper, marking north, south, east, and west sides. This helps visualize where taller plants (like pole beans or sunflowers) should go on the north side to avoid shading shorter varieties. If your box gets less than 4 hours of sun, focus on shade-tolerant plants like Swiss chard, spinach, or kale.
Plan Plant Arrangement by Height and Growth Habits
Group plants by height to create a natural tiered effect that maximizes vertical space. Start with tall plants (2-3 feet) like sunflowers or trellised cucumbers along the back or north side. Next, add medium-height plants (1-2 feet) such as bush beans, peppers, or basil in the middle. Finally, fill the front with short plants (6-12 inches) like lettuce, radishes, or strawberries.
I always leave 6-12 inches of walking space between boxes to prevent soil compaction and make harvesting easier. Avoid overcrowding—plants need room to breathe, especially fast growers like zucchini or pumpkins, which should have at least 2-3 feet of space in all directions. Use the square-foot gardening method for small spaces: plant 1 seedling per square foot for most vegetables.
Layer Soil and Add Organic Matter
Fill the box with a 12-inch layer of high-quality garden soil, amended with 3-4 inches of compost mixed into the top 6 inches. This ensures good drainage while retaining moisture. I like to add a 1-inch layer of coarse sand or perlite at the bottom if my soil drains poorly, as waterlogged roots lead to root rot.
For a no-dig approach, top-dress with 2-3 inches of straw or wood chips after planting to suppress weeds and retain moisture. Avoid fresh wood chips, as they can draw nitrogen from the soil—opt for aged or shredded varieties instead. Test your soil’s pH before planting; most vegetables prefer a neutral to slightly acidic range (6.0-7.0).
Plant in Staggered Rows or Blocks for Efficiency
Instead of traditional rows, I plant in staggered blocks or grids to maximize space and reduce wasted soil. For example, place 4-6 lettuce plants in a 2x2-foot square rather than a single row. This method also makes thinning easier and allows for interplanting—pairing fast growers (like radishes) with slow growers (like carrots) so you’re not left with empty space.
When planting seeds, follow packet instructions for depth—usually 2-3 times the seed’s diameter. Water gently after planting to settle the soil without displacing seeds. Mulch with 1-2 inches of straw once seedlings emerge to conserve moisture and keep weeds at bay. Avoid mulching too early, as damp soil can encourage fungal diseases in young plants.
Schedule Succession Planting for Year-Round Harvests
Plan your garden box in 3-4 planting waves to ensure continuous harvests. Start with cool-season crops (March-April) like peas, spinach, and carrots. Follow with warm-season plants (May-June) such as tomatoes, peppers, and basil. Finally, add fall crops (August-September) like kale, radishes, and bush beans for an extended harvest.
Keep a planting calendar to track when to sow, transplant, and harvest. For example, if you harvest radishes in 30 days, replant the space with a quick-growing crop like lettuce or bush beans. This ensures no square foot goes to waste. Rotate plant families yearly to prevent soil-borne diseases—never plant tomatoes or peppers in the same spot two years in a row.
Tips & tricks for perfect garden box design
Designing an efficient garden box requires thoughtful planning that goes beyond basic dimensions. These practical strategies will help you optimize space, prevent common pitfalls, and create a thriving garden layout that works year-round.
Plant Height Strategy: In Step 2, when arranging plants by height, consider using vertical supports like trellises or cages for vining plants such as cucumbers or beans. This not only saves space but also improves air circulation, reducing the risk of fungal diseases. I've found that dedicating the back of a 4-foot-wide box to vertical growers frees up valuable front space for shorter plants like lettuce or herbs, maximizing the box's productivity by up to 30%.
Soil Layering Precision: The 12-inch soil depth in Step 3 is ideal, but if you're working with heavier clay soil, consider adding a 2-inch layer of perlite or vermiculite throughout the entire depth rather than just at the bottom. This improves drainage without compromising moisture retention. For containers with drainage holes, I recommend lining the bottom with landscape fabric to prevent soil from washing out while still allowing water to drain freely.
Succession Planting Calendar: When implementing the 3-4 planting waves in Step 5, I've developed a simple system to track planting dates. Use colored markers on your calendar: green for cool-season crops, yellow for warm-season, and blue for fall crops. This visual approach helps prevent overlapping planting times and ensures you're always making the most of your garden space. For example, when radishes are harvested in 30 days, I immediately mark the space for lettuce or bush beans, keeping the cycle continuous.
Seasonal Adjustments: While the planting waves cover most seasons, don't overlook microgreens and sprouts which can be grown year-round in a garden box with proper lighting. These fast-growing crops (harvestable in 7-14 days) fill gaps between slower-growing vegetables and provide fresh greens even in winter months. I often dedicate one corner of my boxes to these quick producers, rotating varieties every few weeks to maintain a steady harvest.
Pro Tips for Garden Box Planner
- Designing an efficient garden box requires thoughtful planning that goes beyond basic dimensions.
- Plant Height Strategy: In Step 2, when arranging plants by height, consider using vertical supports like trellises or cages for vining plants such as cucumbers or beans.
- This improves drainage without compromising moisture retention.
Frequently asked questions
Got questions about planning your garden box?
You’re not alone! Here are answers to the most common concerns to help you get started with confidence.
What’s the best size for a garden box?
A standard size is 4’ x 8’ (or smaller for patios), but it depends on your space and goals. For veggies, aim for at least 12” deep—shallower boxes work for herbs or flowers. Pro tip: If you’re tight on space, try vertical planters or tiered boxes!
When is the best time to plant in a garden box?
Timing varies by climate, but spring (after last frost) and early fall are ideal for most plants. Cool-season crops (like lettuce) can go in late summer, while warm-season plants (tomatoes, peppers) need soil above 60°F. Extend your season with row covers or cold frames!
Are there affordable alternatives to wood garden boxes?
Try:
- Cinder blocks (stack and line with landscape fabric)
- Pallets or crates (sand edges for safety)
- Fabric grow bags (lightweight and portable)
- Upcycled containers (buckets, bathtubs—just drill drainage holes!)
How do I keep pests out of my garden box?
Prevention is key! Use row covers, companion planting (marigolds deter pests), and organic sprays (neem oil). For burrowing critters, add hardware cloth at the bottom. Healthy soil = happy plants that resist pests naturally!
Can I reuse soil from last year’s garden box?
Yes, but refresh it! Mix in compost (1/3 of the volume) and top off with 2–3” of fresh soil. Avoid overcrowding—old roots can deplete nutrients. Test soil pH yearly for peak plant health!
Wrapping up and next steps
Designing your dream garden box doesn’t have to be overwhelming—just start small, plan smart, and let your creativity bloom! 🌱 With the right garden box planner, you can transform even the tiniest space into a thriving, year-round oasis.
Whether you’re a beginner or a seasoned gardener, the key is to take that first step and begin planting.
Ready to turn your vision into reality? Grab your tools, sketch out your layout, and dive in—your future garden awaits! 🌿 Next up: Start planning your first box today!