
Tools
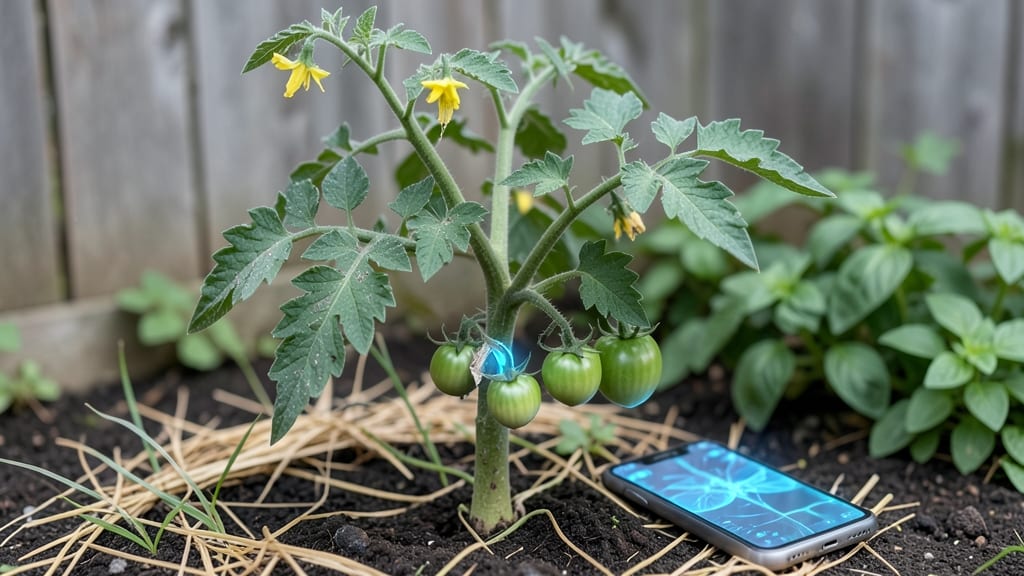
Seeing your garden come to life before you even plant a single seed—garden augmented reality turns design daydreams into instant visual plans. ✨ I spent an afternoon rearranging my entire backyard layout on my phone, moving perennials from shady spots to sunlit areas with just a tap.
The app even showed me how tall my sunflowers would grow without taking up physical space.
You’ll need a smartphone with a decent camera and one of the many free AR garden design apps available. Most work by scanning your space, then letting you drag and drop plants to see how they’ll look at full size.
Some even simulate seasonal changes, so you can check if that big oak will shade your roses by summer. The best part? No more guessing whether your garden will actually work.
Imagine walking through your yard and seeing vibrant blooms in their final positions, knowing exactly how much space each plant needs. You’ll spot design flaws before they happen—like that hosta getting drowned out by a too-close hydrangea—and adjust without digging a single hole.
The confidence boost alone makes it worth trying.
Works for small urban plots, sprawling estates, or anything in between. Whether you’re planning a new bed or just curious how that rare shrub would look in your corner, AR takes the guesswork out of garden design. Let’s get your vision on screen!
📚 In This Guide
- What you need
- Instructions
- Tips and common mistakes
- Wrapping up and next steps
What you need
- ● Smartphone or tablet (iOS/Android) with a recent model (2018 or newer) and a gyroscope for smooth AR tracking.
- ● AR-compatible app like IKEA Place, Adobe Aero, or AR Plant Designer (free/paid options available).
- ● Stable Wi-Fi or mobile data (download-heavy apps may need a strong connection).
- ● Measuring tape (10–25 ft) for scaling virtual plants to real space.
- ● Notebook or digital notes app to sketch AR-placed plants and adjustments.
- ○ Printed reference images (optional but helpful) of plants you want to test.
- ● AR markers or QR codes (for advanced setups) to anchor plants in specific spots.
- ● External light source (e.g., ring light) for better camera clarity in dim areas.
- ● 3D modeling software (e.g., SketchUp) if customizing plant models.
Step-by-Step instructions for interactive plant placement using garden AR
Here's how to use AR tools to visualize and plan your dream garden layout before the first shovel hits the dirt.
🪴 Step 1: Download and Install the AR Garden App
Start by downloading the AR garden design app from your device's app store. I recommend trying both free and premium versions to see which interface feels most intuitive—some apps offer more customization for plant varieties and landscape features. Once installed, open the app and grant location permissions so it can map your outdoor space accurately.
Here's the thing—don't rush this step. Take 5 minutes to explore the app's basic features like plant libraries, seasonal growth patterns, and sunlight analysis tools. You'll want to understand how to toggle between 2D planning and 3D AR visualization before starting your design.
☀️ Step 2: Calibrate Your Space for Accurate Plant Placement
Step outside with your device and select the "Scan Space" function in the app. Walk slowly around your garden area, letting the app's camera capture your space in real-time. The app will use your device's GPS and compass to create a scaled digital map of your yard. This step typically takes 3-5 minutes depending on your space size.
You'll notice the app highlights areas with different sunlight exposure—this is critical for plant placement. Pay special attention to shaded corners and sun-drenched spots. If the app shows any calibration errors, simply re-scan those areas until the map looks accurate when viewed through your device's camera.
🌿 Step 3: Select and Position Your Plants in AR Mode
Open your plant library and choose the varieties you want to include. Tap each plant to see its mature size and sunlight requirements displayed in AR. When you're ready to place a plant, hold your device over the desired location in your garden and watch as a 3D model appears in real-time. Use the on-screen controls to adjust plant size and rotation until it looks natural in your space.
I like to start with anchor plants—those with mature sizes that will define your garden's structure. Watch how the app shows plant shadows and growth patterns when you move your device around. This visual feedback helps you avoid common mistakes like placing tall plants where they'll block sunlight for shorter varieties.
⏰ Step 4: Test Seasonal Changes and Growth Patterns
Use the app's seasonal simulator to see how your garden will look in spring, summer, and fall. This feature is especially valuable for perennial plants that change dramatically throughout the year. You'll often discover that what looks perfect in summer might create too much shade in winter—this is when you can make adjustments before planting.
Take your time testing different combinations. The app typically lets you save multiple versions of your design, so don't be afraid to experiment. When you find a layout that works well across seasons, you'll know you've created a balanced, year-round garden.
✂️ Step 5: Generate Your Planting Plan and Export to Physical Layout
Once you're satisfied with your AR design, use the app's planning tools to generate a detailed planting map. This will show exact plant locations with measurements and spacing recommendations. Most apps let you export this as a PDF or image file that you can print and take to your garden center.
Here's where it gets practical: use the exported plan to mark your garden beds with stakes or spray paint before you start planting. This ensures your physical layout matches your AR design perfectly. I always double-check measurements with a tape measure to account for any scaling differences between the digital and real worlds.
Tips & tricks for perfect garden augmented reality design
A few clever strategies that'll transform your virtual garden from good to stunning before you even plant a seed.
Exploration Time Matters: In Step 1, those 5 minutes exploring the app's features are critical. Don't skip this—many apps have hidden tools like "soil type analysis" or "pollinator-friendly plant filters" that can dramatically improve your design. I always check the seasonal growth patterns first to avoid planting sun-lovers in shaded spots right from the start.
Calibration is Key: During Step 2's 3-5 minute calibration, walk the entire perimeter of your garden. I've seen people miss shaded corners that show up as "full sun" in the app. If your map looks skewed, try scanning from multiple angles or use the app's "recalibrate" option. The accuracy of your digital map directly affects your real-world success.
Anchor Plants First: In Step 3, when positioning plants, start with your tallest varieties as anchor points. I like to place these first because they define your garden's structure. Watch how the app shows shadows—this visual feedback helps you avoid the common mistake of planting shorter plants where they'll be completely shaded by mature trees or shrubs.
Seasonal Testing Saves Time: Step 4's seasonal simulator is where most people discover their biggest mistakes. I've seen beautiful summer designs that become winter nightmares with too much shade. Test at least three seasons before finalizing your layout. Most apps let you save multiple versions, so don't be afraid to experiment with different plant combinations until you find one that works year-round.
Pro Tips for Garden Augmented Reality
- A few clever strategies that'll transform your virtual garden from good to stunning before you even plant a seed.
- Exploration Time Matters: In Step 1, those 5 minutes exploring the app's features are critical.
- Calibration is Key: During Step 2's 3-5 minute calibration, walk the entire perimeter of your garden.
Frequently asked questions
Got questions about bringing garden augmented reality (AR) into your space? You’re not alone! Here are answers to the most common queries to help you get started—and keep your virtual garden thriving.
What devices can I use for garden AR apps?
Most garden AR apps work on smartphones (iOS/Android) and tablets, but some advanced tools require AR-capable glasses (like Magic Leap or Microsoft HoloLens). Check the app’s system requirements—many free options (e.g., IKEA Place or Google’s AR Measure) run smoothly on mid-range devices.
How long does it take to design a full AR garden layout?
For beginners, a simple layout takes 10–30 minutes using pre-loaded plant templates. Customizing soil types, lighting, or advanced spacing? Plan for 1–2 hours. Pro tip: Start small—test a 5x5 ft. section before scaling up!
Are there free alternatives to paid AR garden design tools?
Free options include:
- Google’s AR Measure (basic plant spacing)
- SketchUp Free (with AR plugins for mobile)
- PlantSnap AR (identifies plants + suggests placements)
Why won’t my AR garden render properly?
Troubleshoot with these fixes:
- Stable Wi-Fi/5G: AR apps need strong signals.
- Close background apps to free up RAM.
- Update your OS and AR app.
- Bright lighting: Dim spaces confuse AR cameras.
Can I use AR to plan edible gardens?
Yes! Apps like GrowVeg AR or PlantNet let you:
- Map companion plants (e.g., basil + tomatoes).
- Track sunlight/shade for herbs vs. veggies.
- Set harvest reminders via AR overlays.
Wrapping up and next steps
Garden augmented reality (AR) is transforming how we design and interact with green spaces—making plant placement intuitive, fun, and effortlessly personalized. 🌱 Whether you're a seasoned gardener or a beginner, AR tools let you visualize lush landscapes before the first shovel hits the dirt, blending creativity with practicality.
The best part? You’re just getting started!
Ready to bring your garden dreams to life? Start small:
- Download a free AR app (like IKEA Place or PlantSnap) and experiment with virtual plants in your space.
- Sketch your ideal layout, then use AR to test it—no mistakes, just magic!
- Share your designs with friends for feedback or inspiration.