
Tools
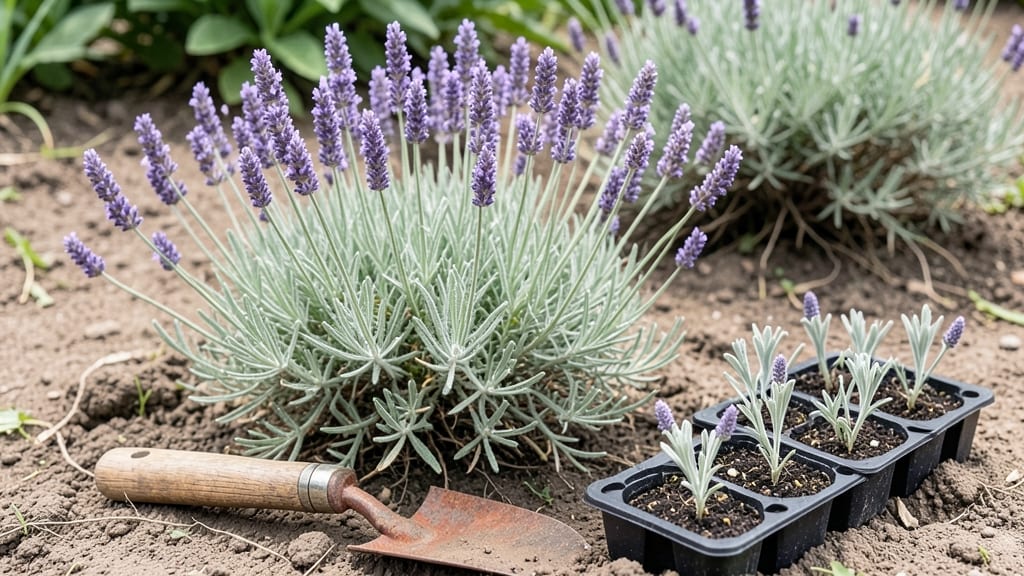
Digging a garden isn't just about clearing dirt—it's about creating a living canvas where every layer tells a story. I learned this the hard way when my first attempt at a garden ended up looking like a mud puddle after the first rain.
The secret to a garden that thrives year-round starts with smart planning, not brute strength.
You'll need basic tools—a sturdy shovel, a wheelbarrow for hauling soil, and a level to keep your beds straight. Mark your space with stakes and string before digging to avoid uneven edges or drainage problems.
Most beds should be 3-4 feet wide for easy reach, and raised beds can save your back while improving soil quality over time.
Once the ground is turned, layer in compost or aged manure to feed your future plants. The result? A fertile foundation that holds moisture, resists weeds, and gives your garden the head start it needs.
By summer, you'll have a space that looks as good as it grows—whether you're planting flowers, veggies, or both.
This method works for any size yard, from tiny urban plots to sprawling backyards. The key is adapting the depth and soil mix to what you're growing. Let's get your garden ready to shine—without the post-digging regrets.
📚 In This Guide
- What you need
- Instructions
- Tips and common mistakes
- Wrapping up and next steps
What you need
- ● Shovel: A sturdy round-point or digging shovel (18–24 inches long) for breaking ground and moving soil.
- ● Garden Fork: A heavy-duty broadfork or digging fork to loosen compacted soil without turning it over (great for organic gardening!).
- ● Garden Gloves: Durable, breathable gloves (water-resistant if working with wet soil).
- ● Wheelbarrow or Tote: A 5–7 cubic foot capacity for hauling soil, compost, or mulch.
- ● Rake: A bow rake (for leveling soil) and a leaf rake (for cleanup).
- ● Measuring Tape: A 25-foot tape for marking garden beds and spacing plants.
- ● String Line & Stakes: 100-foot nylon line and wooden or metal stakes to outline beds.
- ● Soil Amendment: Compost or aged manure (1–2 cubic yards per 100 sq. ft. of garden).
- ● Mulch: Shredded bark, straw, or wood chips (2–4 inches deep for weed suppression).
- ● Watering Can or Hose: A 5-gallon can for seedlings or a soaker hose for deep watering.
- ● Soil pH Test Kit: To check and adjust soil acidity/alkalinity for specific plants.
- ● Knee Pads or Pad: For comfort during long digging sessions.
- ● Garden Kneeler: A foldable padded kneeler to protect your joints.
- ● Laser Level: For perfectly straight, level beds (especially for raised gardens).
- ● Plant Labels: Biodegradable or reusable labels to track varieties.
- ● Hardscape Materials: Gravel, pavers, or edging stones to define paths or borders.
- ● Drip Irrigation Kit: For automated, efficient watering (great for layered gardens!).
- ● Clear the area of grass, weeds, or debris—use a sod cutter or matchet if needed.
- ● Check local frost dates and plant hardiness zones for timing.
- ● Plan your layered layout (e.g., tall plants at the back, mid-height in the middle, and low-growing or ground covers in front).
- ● Test your soil’s drainage—dig a hole, fill it with water, and time how long it takes to drain (ideal: 4–6 hours).
Instructions for designing a layered garden layout
Here’s how to create a functional, beautiful garden that thrives year-round with intentional layers.
Mark and Clear the Garden Space
Start by outlining your garden bed with a garden hose or spray paint, following your design sketch. I like to use a 4-foot by 6-foot rectangle for this example—adjust based on your space. Remove all grass, weeds, and debris, digging down 6-8 inches to break up compacted soil. This ensures roots can grow deeply without resistance.
Use a shovel to loosen the soil in sections, then rake it smooth. Pay attention to any rocks or roots larger than 2 inches—remove them now to avoid future obstacles. If your soil feels heavy or clay-like, mix in 2-3 inches of compost to improve drainage and fertility. This step sets the foundation for healthy plants.
Build Raised Beds or Define Layers
For a layered look, divide your space into three distinct zones: background (tall plants), midground (medium-height plants), and foreground (low-growing plants). If using raised beds, construct them with 2x4 lumber or cinder blocks, ensuring they’re 12-18 inches tall for easier access and better drainage.
Line the bottom with cardboard or landscape fabric to suppress weeds, then fill with a mix of topsoil and compost (a 50/50 blend). Leave 2-3 inches of space at the top for mulch. This structure keeps soil contained, reduces erosion, and makes maintenance easier. I always add a 1-inch layer of mulch immediately after planting to retain moisture.
Plant Background Layer (Tall Plants)
Begin with the tallest plants at the back of your bed—think perennials like sunflowers, hollyhocks, or ornamental grasses. Space them 18-24 inches apart to allow airflow and prevent overcrowding. Dig holes twice as wide as the root ball and just as deep, then place each plant gently, filling gaps with soil and pressing firmly around the base.
Water deeply after planting to settle the soil and encourage root growth. Tall plants anchor your design, so choose varieties that thrive in your climate. If your garden gets full sun, opt for drought-tolerant species like lavender or Russian sage. For partial shade, consider hostas or ferns. This layer creates depth and frames the rest of your garden.
Add Midground Layer (Medium-Height Plants)
Next, fill the middle with shrubs, bushy perennials, or small trees like dwarf lilacs or boxwood. Space these 12-18 inches apart, ensuring they won’t outgrow their neighbors. Dig holes slightly deeper than the root ball to encourage downward growth, then backfill with soil, tamping lightly to remove air pockets.
This layer adds texture and color. I like to mix evergreens for structure with seasonal bloomers like coneflowers or black-eyed Susans. Water each plant thoroughly after planting, and apply a 2-inch layer of mulch around the base to conserve moisture. Avoid piling mulch against stems, as this can cause rot.
Complete the Foreground Layer (Low-Growing Plants)
Finish with ground covers, annuals, or small bulbs like ajuga, creeping thyme, or pansies. These plants spill over edges and fill empty spaces. Space them 6-12 inches apart, depending on their mature size. Press them lightly into the soil and water gently to settle them in.
This layer ties everything together, softening the garden’s edges and preventing weeds. Choose plants that thrive in your light conditions—sun-loving sedums for hot spots or shade-tolerant ivy for darker areas. A final 1-inch mulch topping keeps soil cool and moist. Step back and admire your work—your layered garden is now ready to flourish year-round.
Tips & tricks for perfect layered garden layouts
Designing a layered garden isn't just about planting—it's about creating visual depth and functionality. These practical tips will help you avoid common mistakes and create a thriving space that looks stunning year-round.
Soil Preparation Matters: When digging down 6-8 inches in Step 1, don't just remove weeds—break up the soil thoroughly with your shovel. Compacted soil prevents roots from growing deeply, which is especially important for perennials that need strong foundations. I've found that adding a shovel full of compost to the bottom of each planting hole (before adding topsoil) gives plants an extra nutrient boost right where they need it most.
Layered Plant Spacing Secrets: The spacing measurements in Steps 3-5 aren't arbitrary—they create that professional, balanced look. For background plants spaced 18-24 inches apart, think of this as your "anchor layer." Medium-height plants at 12-18 inches create visual interest without overcrowding, while foreground plants at 6-12 inches fill gaps beautifully. Pro tip: Use a tape measure to check spacing before planting—eyeballing often leads to uneven distribution.
Mulch Application Technique: The instructions mention adding 1-inch of mulch after planting and 2-inches around midground plants, but here's what nobody tells you: Rake the soil surface smooth before applying mulch. This creates a clean base and prevents mulch from piling against plant stems (which causes rot). I like to use a straightedge like a shovel handle to create a neat border when applying mulch around edges—it makes the garden look more polished.
Seasonal Planting Strategy: While the instructions focus on planting, consider this timing tip: Plant cool-season crops (like pansies or ajuga) in early spring and fall for vibrant color, while warm-season plants (like sunflowers) go in after your last frost date. This creates year-round interest without overwhelming any single season. For perennial plants, I always plant in early fall—they establish roots before winter and bloom more vigorously the following year.
Pro Tips for Dig A Garden
- Designing a layered garden isn't just about planting—it's about creating visual depth and functionality.
- Soil Preparation Matters: When digging down 6-8 inches in Step 1, don't just remove weeds—break up the soil thoroughly with your shovel.
- Layered Plant Spacing Secrets: The spacing measurements in Steps 3-5 aren't arbitrary—they create that professional, balanced look.
Frequently asked questions
Got questions about digging a garden with layered layouts? We’ve got answers!
Whether you’re a beginner or a seasoned green thumb, these FAQs will help you plan, troubleshoot, and maximize your space for year-round beauty and productivity.
When is the best time to dig a garden?
The ideal time depends on your climate! In temperate zones, early spring (before planting season) or fall (after harvest) is best—soil is workable and less disturbed. In warmer climates, dig during cooler months (winter or early spring) to avoid heat stress. Avoid digging when soil is frozen or waterlogged.
What tools do I need beyond a shovel?
Start with a sturdy digging fork or garden spade for breaking up soil, plus a hand trowel for precision. Add a wheelbarrow for hauling debris, gloves (gardening or heavy-duty), and a soil knife for edging. For layered gardens, a measuring tape and string line help mark layouts!
How deep should I dig for layered planting?
Dig to 12–18 inches deep for most plants—this ensures roots have space to spread and improves drainage. For root crops (carrots, potatoes), loosen soil to 24 inches. If your soil is clay-heavy, amend it with compost or sand during digging. Pro tip: Turn soil in layers to avoid compacting the bottom!
What if my soil is rocky or hard to dig?
Don’t stress! Start small with raised beds (fill with a mix of topsoil and compost) or use container gardening for rocky areas. For tough clay soil, add organic matter (leaf mold, peat moss) and till in sections. A broadfork can help aerate without turning soil over completely.
Can I dig a garden in a small space or balcony?
Use vertical layers (trellises for vines, hanging planters) and container gardening (deep pots for herbs/veggies). Opt for compact varieties like bush beans, dwarf tomatoes, or strawberries. Even a 1x2-foot space can yield herbs or microgreens with layered soil—just ensure proper drainage!
How do I keep pests out after digging?
Prevent pests by rotating crops yearly and planting companion plants (e.g., marigolds deter nematodes). After digging, add a 2-inch mulch layer (straw, wood chips) to block weeds and pests. For layered gardens, interplant repellent herbs (basil, mint) among vulnerable plants.
Wrapping up and next steps
Digging into your garden isn’t just about planting—it’s about crafting a living, evolving masterpiece that rewards you all year long! Whether you’re drawn to layered perennials, edible landscapes, or seasonal blooms, the key is to start small, plan smart, and let your creativity grow. 🌱
Ready to transform your space? Grab your tools, sketch your design, and take the first shovelful—your future garden (and future you!) will thank you. What’s one layer you’ll add first?