
Tools
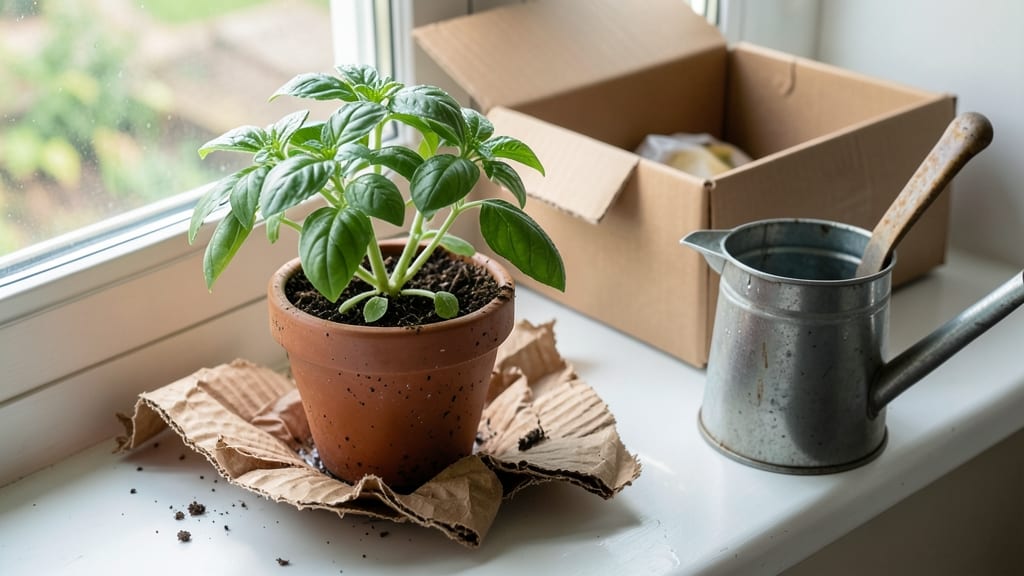
Turn empty cardboard boxes into a thriving garden that fits your balcony or windowsill. 🌱 I’ve grown everything from lettuce to strawberries in these planters, and they’re the perfect solution for small spaces or urban apartments where traditional gardening isn’t an option.
The beauty of cardboard box gardens is their simplicity—no fancy tools or expensive supplies. You’ll need sturdy boxes (like those from appliances or shipping), soil, seeds or seedlings, and a little creativity. The boxes break down naturally over time, enriching the soil as your plants grow.
You’ll end up with fresh herbs, leafy greens, or even small fruits in just a few weeks. The setup takes under an hour, and you can customize the size to fit your space. Plus, it’s a zero-waste project that gives new life to materials you’d otherwise recycle.
Works for beginners or seasoned gardeners—just pick plants that thrive in containers and keep the soil moist. Ready to grow without the space? Let’s get started!
📚 In This Guide
- What you need
- Instructions
- Tips and common mistakes
- Wrapping up and next steps
What you need
- ● Cardboard box(es): 1–3 medium/large boxes (e.g., appliance or moving boxes). Avoid boxes with chemical residue (like ink or tape).
- ● Drill or sharp utility knife: For drainage holes (¼-inch diameter).
- ● Potting soil: 1–2 bags (1–2 cubic feet), depending on box size. Use a lightweight, well-draining mix.
- ● Plants: 3–5 small seedlings or cuttings (herbs, lettuce, or succulents work great!). Avoid heavy roots.
- ● Spray bottle or watering can: For gentle hydration.
- ○ Newspaper or landscape fabric: Optional but helpful to line the bottom and prevent soil leakage.
- ● Paint or decorative paper: To jazz up your box with colors or patterns.
- ● Small pebbles or gravel: For a 1-inch drainage layer at the bottom.
- ● Plant markers: Label plants with popsicle sticks or chalkboard tags.
- ● Humidity dome or plastic wrap: Helps seedlings retain moisture.
- ● LED grow lights: For low-light spots (12–16 hours/day).
Step-by-Step instructions for building a cardboard box garden
Transforming simple cardboard into a thriving garden is easier than you think—here's my no-fail method.
🪴 Step 1: Select and Prepare Your Cardboard Box
Choose a sturdy, clean cardboard box with at least 12-inch depth to accommodate root growth. Avoid boxes with chemical residue—look for plain, unprinted cardboard from shipping or appliance packaging. Cut drainage holes in the bottom using a utility knife, spacing them 2-3 inches apart in a grid pattern. This prevents waterlogging while allowing excess moisture to escape.
Line the interior with 1 layer of landscape fabric to block weeds and stabilize the soil. Secure it with staples or tape, ensuring no gaps remain. The fabric also prevents soil from washing out through the drainage holes. I always test the box's stability by filling it halfway with water first—if it holds shape without warping, it's ready for planting.
🌱 Step 2: Layer for Drainage and Soil Retention
Add a 2-inch layer of coarse gravel or broken pottery shards over the drainage holes. This creates an air pocket at the bottom, preventing root rot while allowing water to flow freely. Press the material lightly but don't compact it—roots need space to breathe. Next, layer 1 inch of perlite or vermiculite on top of the gravel to improve aeration and moisture retention.
Here's the thing—skipping these layers leads to soggy roots and stunted growth. The gravel handles excess water, while the perlite keeps the soil loose enough for tender roots to explore. Fill the remaining space with 4 gallons of high-quality potting mix, leaving 1 inch of space at the top for watering. Tap the box gently to settle the soil without compacting it.
☀️ Step 3: Plant and Water for Immediate Growth
Dig planting holes twice as deep as the root ball and space plants 6-8 inches apart to allow airflow. For a 4-plant box, I choose fast-growing, shallow-rooted varieties like lettuce, herbs, or dwarf tomatoes. Gently remove each plant from its container, loosen the roots if they're circling, and place it in the hole. Fill around the base with soil, pressing lightly to eliminate air pockets.
Water immediately after planting until moisture seeps from the drainage holes. Use 1 gallon of water total, applied slowly to avoid displacing soil. You'll see the soil surface darken slightly—this confirms even saturation. Place the box in a location with 4-6 hours of sunlight daily, rotating it weekly to prevent leaning toward the light.
💧 Step 4: Maintain Moisture and Monitor Growth
Water when the top inch of soil feels dry to the touch, typically every 2-3 days depending on your climate. Cardboard absorbs moisture quickly, so check the soil daily during hot weather. I use a spray bottle for delicate seedlings to avoid disturbing them, while mature plants get a steady stream at the base. Avoid wetting the leaves to prevent fungal diseases.
Watch for signs of overwatering—yellowing leaves or a foul odor mean drainage isn't working. If this happens, empty the box, check the drainage holes, and refresh the soil layers. With proper care, you'll see first true leaves within 10-14 days, signaling healthy growth. Fertilize lightly with a balanced liquid fertilizer every 4 weeks to support vigorous development.
Tips & tricks for perfect cardboard box gardens
Transforming cardboard into a thriving garden takes more than just planting—here are the game-changing details that separate thriving plants from sad excuses for greenery.
Material Selection Matters: Don't just grab any cardboard box! Look for boxes labeled "recycled" or "plain" that show no signs of chemical treatments or wax coatings. I've learned the hard way that boxes with glossy finishes or food residue can leach toxins into your soil. Test your box by filling it halfway with water—if it warps or leaks excessively, it won't hold up. For extra strength, reinforce corners with duct tape before adding soil layers. This simple step prevents collapsing under wet conditions.
Drainage Layer Strategy: The 2-inch gravel layer in Step 2 isn't just about drainage—it's about creating an oxygen-rich zone at the bottom. I've found that using broken pottery shards works even better than smooth gravel because they create more air pockets. Press them lightly but don't compact—roots need that space to breathe. For an extra boost, add a handful of activated charcoal to this layer to prevent bacterial buildup, especially if you're growing herbs or leafy greens.
Plant Placement Pro Tip: When spacing your 4 plants 6-8 inches apart in Step 3, consider the mature size of your plants. Lettuce stays compact, but even dwarf tomatoes need that extra room to spread. Place your tallest plants (like herbs) toward the back of the box if you're using it on a balcony or windowsill. This prevents shading issues and ensures all plants get equal sunlight exposure during those critical 4-6 hours daily. I always sketch a quick layout before planting to visualize the growth pattern.
Watering Wisdom: That 1-gallon watering in Step 3 is just the beginning. Cardboard absorbs moisture differently than traditional planters, so check the soil daily during hot weather. I've developed a simple test: stick your finger 1 inch into the soil—if it feels dry, it's time to water. For seedlings, use a spray bottle to avoid disturbing the delicate roots, but switch to deep watering at the base once plants are established. The key is consistency—cardboard gardens dry out faster than you'd expect, especially in urban environments with less natural moisture.
Pro Tips for Cardboard Box Garden
- Transforming cardboard into a thriving garden takes more than just planting—here are the game-changing details that separate thriving plants from sad excuses for greenery.
- Material Selection Matters: Don't just grab any cardboard box!
- Drainage Layer Strategy: The 2-inch gravel layer in Step 2 isn't just about drainage—it's about creating an oxygen-rich zone at the bottom.
Frequently asked questions
Got questions about your cardboard box garden?
Here are some of the most common ones—plus quick, easy answers to keep your urban oasis thriving!
How long will a cardboard box garden last before breaking down?
A well-maintained cardboard box garden typically lasts 2–4 months before decomposing. To extend its life, line the box with a heavy-duty plastic liner or burlap, and keep it dry when not in use. For longer projects, opt for sturdier materials like wooden crates or fabric grow bags.
Do I need to water my cardboard box garden differently than regular soil?
Yes! Cardboard can absorb moisture quickly, so check soil dampness daily—especially in hot weather. Water gently at the base (avoid soaking the cardboard itself) and use a tray underneath to catch excess. Mulch the top with straw or grass clippings to slow evaporation and keep roots happy.
Can I reuse a cardboard box from a grocery store or pizza delivery?
Just ensure it’s clean, flat, and free of tape or staples that could leach chemicals. Avoid boxes with waxy coatings (like some frozen food containers) or ink from receipts, which may harm plants. A quick rinse with vinegar water removes residue safely.
What should I do if pests (ants, slugs, or rodents) invade my cardboard garden?
Pests love cardboard’s cozy nooks! Prevent them with diatomaceous earth (food-safe powder) around the box edges or copper tape to deter slugs. For ants, wipe down the box with soapy water. If rodents are a problem, elevate the box on bricks or use a wire mesh barrier at the bottom.
What are some low-maintenance plants perfect for a cardboard box garden?
Start with fast-growing, shallow-rooted plants like:
- Herbs: Basil, mint, or chives (thrive in small spaces!)
- Leafy greens: Lettuce, spinach, or kale (harvest leaves to encourage regrowth).
- Microgreens: Radish or broccoli sprouts (ready in 1–2 weeks!).
- Flowers: Marigolds or nasturtiums (repel pests naturally).
Wrapping up and next steps
A cardboard box garden is your ticket to lush greenery without the space—or budget—constraints! Whether you're a city dweller with a tiny balcony or a DIY enthusiast eager to experiment, this project proves that creativity and sustainability go hand in hand. 🌱
Ready to turn your green thumb dreams into reality? Start small—grab a box, some soil, and your favorite seeds—and watch your urban oasis grow! What will you plant first?
- Next step: Pick your plants (herbs, veggies, or flowers!) and get growing today!