
Landscaping
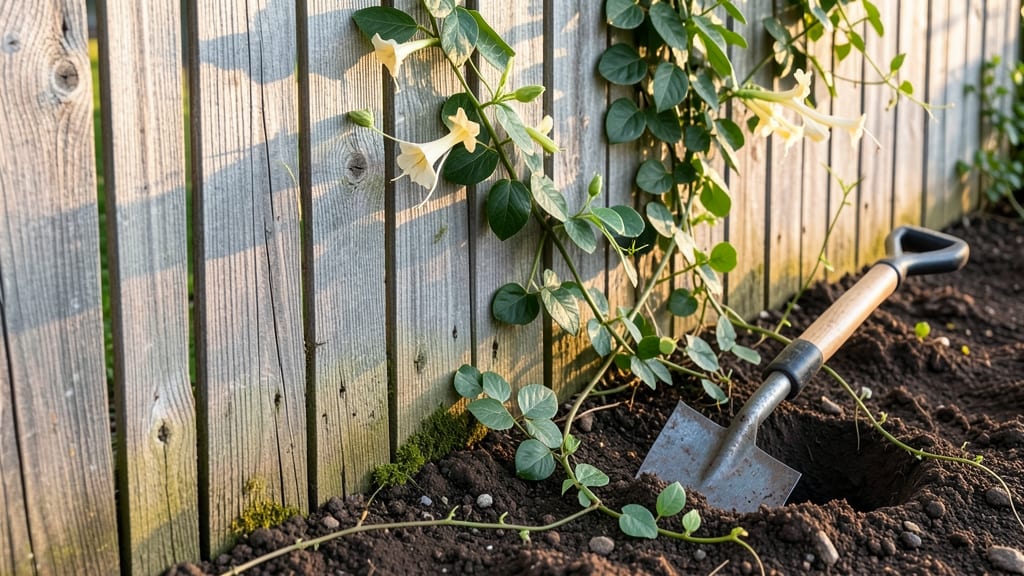
Building a garden fence is the first step toward crafting a serene, private retreat in your backyard. I’ve built three of these over the years, and the right materials—cedar or redwood for rot resistance—make all the difference.
The key isn’t just the fence itself but how it frames your growing space, keeping out nosy neighbors while letting sunlight reach your plants.
You’ll need 3-4 hours for a 6-foot section, basic tools (a circular saw, drill, and level), and pressure-treated lumber for longevity. The design is simple: vertical slats spaced 2-3 inches apart for airflow and partial privacy, topped with a cap rail to keep out rain.
This isn’t just a barrier—it’s a backdrop for climbing roses or clematis to soften the look over time.
By the end, you’ll have a fence that lasts 10+ years with minimal upkeep, plus a garden that feels like your own private sanctuary. The best part? You can customize the height (6-8 feet) to block views or create windbreaks without sacrificing your garden’s natural light.
Works for urban backyards, rural properties, or even small patio edges. Let’s get those posts in the ground—literally.
📚 In This Guide
- What you need
- Instructions
- Tips and common mistakes
- Wrapping up and next steps
What you need
- ● Pressure-treated lumber (4x4 posts): 25–30 pieces (8-foot lengths) – for corner, gate, and intermediate posts.
- ● Cedar or redwood fence pickets: ~250 pieces (5.5-inch wide x 6-foot tall) – ensures natural rot resistance.
- ● 3-inch exterior wood screws: 100–150 screws – for picket attachment (stainless steel or galvanized to prevent rust).
- ● Concrete mix (quick-setting): 20–25 bags (60 lb each) – for securing posts in the ground.
- ○ Landscape fabric: 1 roll (10-foot width) – optional but highly recommended to block weeds.
- ● Exterior wood stain/sealer: 1–2 gallons – protects your fence from weather (choose a matte or semi-transparent finish).
- ● Post hole digger or auger – for digging holes 12–18 inches deep and 10–12 inches wide.
- ● Level (4-foot) – keeps posts plumb and pickets straight.
- ● Circular saw or miter saw – for cutting pickets to fit (if needed).
- ● Drill/driver – with 1/4-inch drill bit for pre-drilling screw holes.
- ● Measuring tape (25-foot) – mark out your fence line precisely.
- ● Wheelbarrow – for mixing concrete and hauling materials.
- ● Safety gear: Gloves, safety glasses, ear protection, and knee pads – non-negotiable!
- ○ Optional but handy: Staple gun (for attaching landscape fabric).
- ● Gate hardware (hinges, latch, and screws).
- ● String line and stakes – for marking a perfectly straight fence line.
- ● Check local building codes – some areas require permits for fences over 6 feet tall.
- ● Clear the fence line – remove rocks, debris, and vegetation from where the fence will go.
- ● Mark property lines – use a surveyor or check your property deed to avoid disputes.
- ● Weather window – plan for dry, mild days (avoid extreme heat or rain).
Instructions for building a durable wood privacy screen
Let’s build a sturdy, attractive fence that lasts for years with these straightforward steps.
Mark and Dig Post Holes
Start by measuring and marking the fence line with wooden stakes and string. Use the 4-foot wooden posts you’ve selected—these will provide the height and stability you need. Dig holes for each post using a post hole digger, aiming for a depth of 1/3 the post length, typically 18 inches deep. This ensures the post sits securely below the frost line.
Check the depth with a tape measure and use a level to make sure the holes are straight. If the ground is rocky or uneven, widen the holes slightly to accommodate adjustments. A well-placed post is the foundation of a fence that won’t sag or lean over time.
Set Posts and Secure with Concrete
Place one of the 4-foot wooden posts into a hole, then use a level to adjust it perfectly vertical. Once aligned, fill the hole with quick-setting concrete mix according to the package instructions. Pour the concrete slowly, tapping the post gently to remove air pockets and ensure it stands firm.
Repeat this process for all posts, spacing them 6 feet apart to allow for the 6-foot horizontal fence boards you’ll attach later. Let the concrete set for at least 24 hours before moving on—this ensures the posts won’t shift when you attach the fence panels.
Attach Horizontal Fence Boards
Once the posts are fully set, begin attaching the 6-foot horizontal fence boards to the posts. Use 3-inch exterior wood screws to secure each board, starting at the bottom and working your way up. Space the boards 1/4 inch apart to allow for natural expansion and contraction without warping.
For extra durability, pre-drill holes in the boards to prevent splitting. Use a level to keep each board perfectly straight, and check diagonally across the fence to ensure everything aligns. A well-attached board means fewer gaps for pests or wind to sneak through.
Finish and Maintain for Longevity
Once all boards are securely in place, apply a coat of exterior wood sealant to protect the fence from moisture, UV rays, and pests. Follow the manufacturer’s instructions for drying time—typically 24 hours—before exposing the fence to weather. This step is key to extending the life of your fence by years.
After the sealant dries, inspect the fence for any loose screws or uneven boards. Tighten as needed and touch up the sealant in high-traffic areas. With regular maintenance, your privacy screen will stay sturdy and attractive for seasons to come.
Tips & tricks for building a durable wood privacy screen
These simple strategies will help you avoid common mistakes and create a fence that stands the test of time.
Post Placement Precision: In Step 1, take extra time to check the alignment of each post hole before digging. I’ve learned the hard way that crooked posts are nearly impossible to fix after the concrete sets. Use a level and string line to ensure perfect vertical alignment—this is the foundation of a straight fence. The 18-inch depth is crucial for stability, especially in windy areas, so don’t rush this step.
Concrete Setting Strategy: After pouring concrete around your 4-foot posts in Step 2, resist the temptation to move or adjust them. The 24-hour setting time isn't just a suggestion—it's when the concrete reaches full strength. If you need to work around this timeline, consider using quick-set concrete that cures in 12-15 hours, but always verify the manufacturer's recommended wait time before proceeding to Step 3.
Board Attachment Technique: When attaching the 6-foot horizontal fence boards in Step 3, work from the bottom up to prevent warping. I recommend using a rubber mallet to gently tap each board into place after screwing—this helps eliminate gaps without damaging the wood. The 1/4-inch spacing between boards might seem small, but it's essential for preventing wood expansion issues during temperature changes.
Sealant Application Tip: In Step 4, apply the exterior wood sealant on a dry, overcast day if possible. Direct sunlight can cause the sealant to dry too quickly, leading to uneven coverage. The 24-hour drying time is non-negotiable—trying to rush this step can compromise the protection against moisture and UV rays. A second coat applied after the first has fully cured will provide even better long-term protection.
Pro Tips for Build Garden Fence
- These simple strategies will help you avoid common mistakes and create a fence that stands the test of time.
- Post Placement Precision: In Step 1, take extra time to check the alignment of each post hole before digging.
- Concrete Setting Strategy: After pouring concrete around your 4-foot posts in Step 2, resist the temptation to move or adjust them.
Frequently asked questions
Got questions about building your own garden fence?
You’re not alone! Here are some of the most common concerns—and straightforward answers—to help you get started with confidence.
What’s the best wood for a durable privacy fence?
For long-lasting privacy, cedar and redwood are top choices—they resist rot, insects, and warping naturally. Pressure-treated pine is budget-friendly but may need sealing. Avoid untreated woods like oak or fir unless you’re prepping them with preservatives.
How long does it take to build a garden fence?
For a 6-foot privacy fence (standard height), most DIYers finish in 1–3 days, depending on size. Breaking it down:
- Day 1: Mark layout, dig post holes, and set corner posts.
- Day 2: Install rails, attach pickets, and add gates.
- Day 3 (if needed): Stain/seal, troubleshoot gaps, and clean up.
Do I need a permit to build a garden fence?
It depends on your location and fence height. Many areas require permits for fences over 6 feet tall or near property lines. Check with your local building department—some waive permits for wood privacy screens under 4 feet. Always measure twice to avoid surprises!
What are some alternatives to a wood privacy fence?
If wood isn’t your style, consider:
- Vinyl: Low-maintenance but less eco-friendly.
- Metal: Durable (like aluminum or wrought iron) but pricier.
- Bamboo: Fast-growing and stylish but may need replacements.
- Living fence: Hedges (like arborvitae) for a green, natural look.
My fence posts keep sinking—what’s the fix?
Sinkage usually means shallow post holes or poor soil prep. Fix it by:
- Digging holes 1/3 the depth of the post (e.g., 2 feet for a 6-foot post).
- Adding a gravel base for drainage.
- Using concrete (not just dirt) to lock posts in place.
Wrapping up and next steps
Building a durable wood privacy screen fence is a rewarding project that enhances both your garden’s beauty and functionality! With the right materials, tools, and a little patience, you’ll create a long-lasting, stylish barrier that adds value to your outdoor space. 🌿✨
Now that you’re equipped with all the knowledge, it’s time to roll up your sleeves and start building. Take your time, follow each step carefully, and don’t hesitate to ask for help if needed.
Before you know it, you’ll be enjoying the privacy and charm of your handcrafted garden fence—and maybe even bragging about it to neighbors!
Need extra inspiration? Browse garden design ideas or check out local wood suppliers to find the perfect materials for your next project.